 Pin this
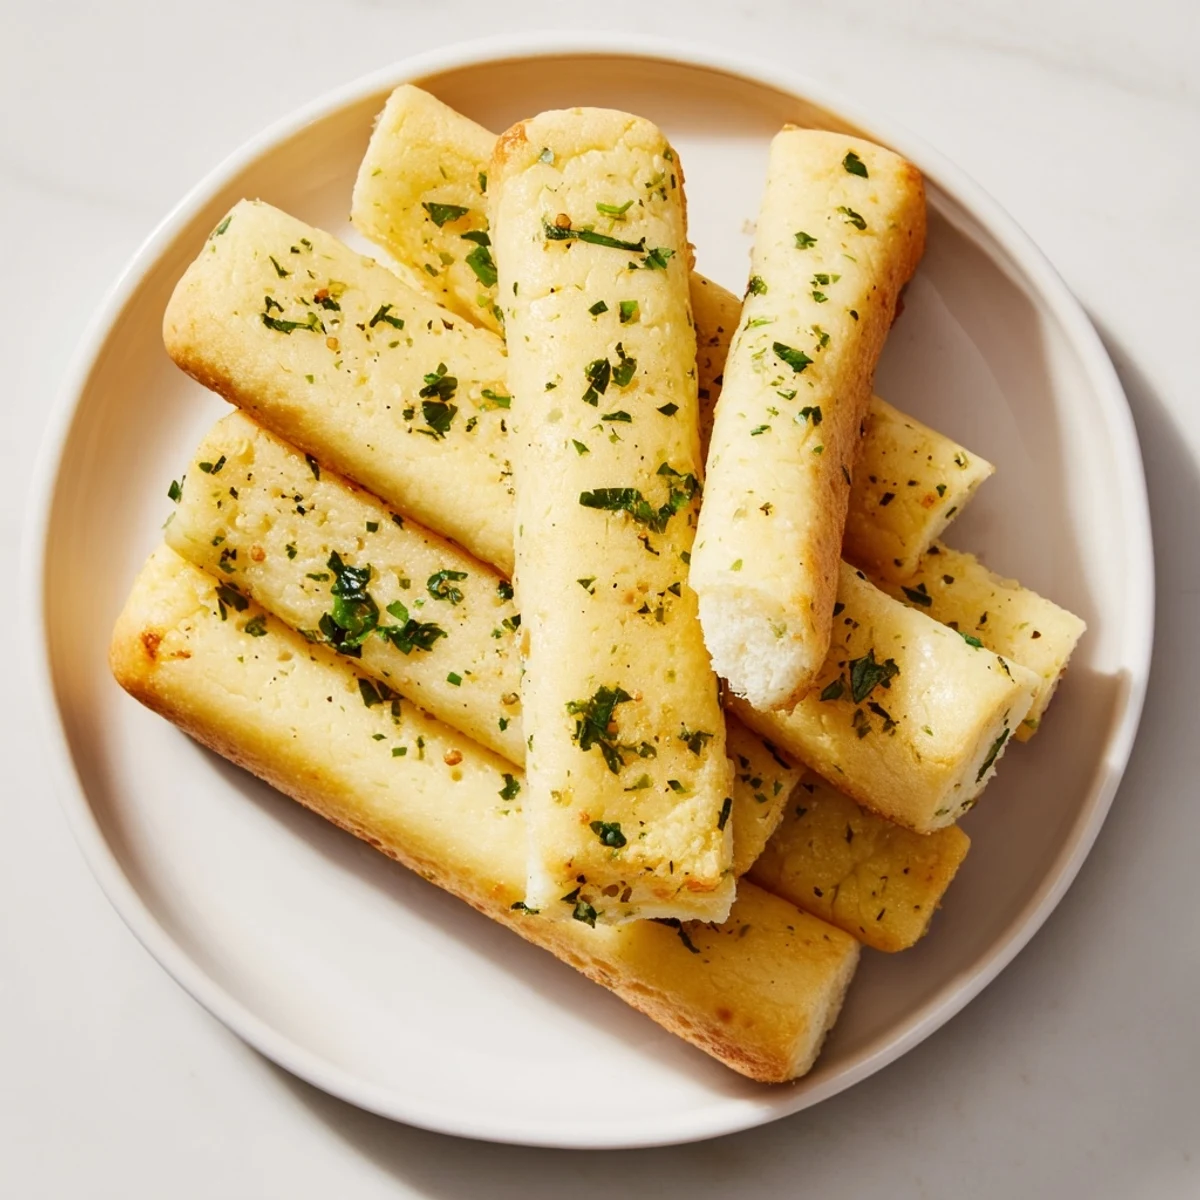
 These breadsticks offer a soft and fluffy texture, enhanced by a rich garlic butter brushed generously before and after baking. The dough rises twice for optimal lightness, combining simple ingredients like yeast, warm water, and olive oil. Perfectly golden after baking, they're ideal for pairing with pasta or warm soups. Fresh parsley adds a subtle freshness, and optional Parmesan brings extra depth. The process is easy but yields an impressive side full of savory garlic aroma and tender crumb.
I still remember the first time I made garlic breadsticks from scratch in my tiny apartment kitchen. The aroma of yeast blooming mixed with golden garlic butter filled every corner, and my roommate followed the smell like a cartoon character. That moment taught me that sometimes the simplest recipes create the most memorable kitchen magic. Now, whenever I pull a warm batch from the oven, I'm transported back to that evening when homemade bread felt like pure alchemy.
I'll never forget bringing these breadsticks to a dinner party where my usually quiet friend actually asked for the recipe before dessert was even served. That's when I knew I'd stumbled onto something truly special, something that transforms a simple meal into an event worth remembering.
Ingredients
- All-purpose flour (3 1/4 cups): The foundation of everything. Use the freshest flour you have because it makes a real difference in how the dough rises. I've learned that flour varies by brand and humidity, so if your dough seems too sticky, add a touch more flour gradually.
- Warm water (1 cup): The temperature matters more than you'd think. If it's too hot, you'll kill the yeast. Too cold, and nothing happens. Aim for around 110°F, or about as warm as you can comfortably hold your finger in.
- Active dry yeast (2 1/4 tsp): This is your magic ingredient. Watch it bloom in the sugar water, and you'll see it come alive with tiny bubbles. It's proof that something wonderful is about to happen.
- Granulated sugar (2 tbsp): The yeast loves this. It's not about sweetness in the final breadstick, it's about feeding your yeast and helping it do its job beautifully.
- Salt (1 1/2 tsp for dough, 1/2 tsp for garlic butter): Salt enhances everything. In the dough, it controls fermentation and adds flavor depth. Don't skip it.
- Olive oil (3 tbsp for dough): This keeps the dough tender and adds a subtle richness that makes people wonder what your secret is.
- Unsalted butter (5 tbsp, melted): This is where the magic happens. The garlic butter is what transforms simple breadsticks into something restaurant-worthy. Use good quality butter if you can.
- Fresh garlic (3 cloves, finely minced): Mince it small so every bite has garlic throughout. Fresh garlic makes all the difference compared to powdered.
- Fresh parsley (1 tbsp, chopped): The finishing touch that makes these look as good as they taste. It adds a whisper of freshness and brightness.
Instructions
- Wake up your yeast:
- In a large bowl, combine your warm water, sugar, and yeast. Let it sit for about 5 minutes until it's foamy on top. This is the moment you'll know your yeast is alive and ready to work its magic. If it doesn't foam, your yeast may be old, so start fresh with new packets.
- Build your dough:
- Add the olive oil, salt, and about 2 cups of flour to your yeast mixture. Stir everything together until it's mostly combined, then gradually add the remaining flour while kneading. Knead for 6 to 8 minutes until you have a soft, slightly sticky dough that feels alive in your hands. You want it just barely sticky, not dry.
- Let it rise and relax:
- Place your dough in a lightly oiled bowl, cover it with a damp cloth or plastic wrap, and let it rise in a warm spot for about an hour. You're looking for it to double in size. A warm kitchen corner or even a turned-off oven with the light on works perfectly.
- Get your oven ready:
- Preheat your oven to 400°F and line a baking sheet with parchment paper. This prevents sticking and makes cleanup a dream.
- Shape your breadsticks:
- Punch down the dough gently and divide it into 12 equal pieces. This is where you get to touch and feel the dough. Roll each piece into a 7-inch rope, and place them on your prepared baking sheet. Don't worry about perfection here; they'll look rustic and beautiful.
- Second rise:
- Cover the breadsticks loosely and let them rise for 20 minutes. You want them puffy but not overproofed. This second rise is shorter but important for that final lift in the oven.
- Prepare your garlic butter:
- While the breadsticks rise, combine your melted butter with minced garlic and salt in a small bowl. The garlic will soften slightly and infuse the butter with its aromatic charm.
- The first brush:
- Brush half of your garlic butter generously over the breadsticks. Don't be shy here; this is flavor insurance.
- Golden magic:
- Bake for 15 to 18 minutes until they're gorgeously golden brown. Your kitchen will smell absolutely incredible. This is when you know something special is happening.
- The finishing touch:
- Remove them from the oven and immediately brush with the remaining garlic butter while they're still hot. This is crucial, it seals in the moisture and flavor. Sprinkle with fresh parsley, and watch them transform into something that looks restaurant-quality.
- Serve with joy:
- Serve them warm, ideally while they're still slightly steaming. They're best enjoyed fresh, straight from the oven, with people who appreciate good food.
 Pin this
 I remember my grandmother watching me make these for the first time and then tasting one with closed eyes. Without saying a word, she just smiled and held out her hand for another. That's when I realized that sharing good food is really about sharing a moment of genuine care with someone.
The Art of Garlic Butter Perfection
Garlic butter is simple, but it's also where the soul of this recipe lives. I've learned that the quality of your butter matters tremendously. Good butter has a natural creaminess that cheap butter can't match. When you melt it and add fresh, finely minced garlic, you're creating something that transforms ordinary bread into something memorable. The heat from the fresh-baked breadsticks brings out the garlic's natural sweetness and mellows its harshness into something almost floral. Pay attention to how the garlic sizzles gently in the hot butter, how the smell becomes almost intoxicating. This is the detail that separates good from unforgettable.
Why Fresh Ingredients Change Everything
In my early kitchen days, I made these with old yeast and jarred garlic, wondering why they never tasted quite right. Then I started paying attention to freshness dates and switched to fresh garlic, mincing it by hand. The transformation was immediate. Fresh yeast meant better rise and more complex flavor. Fresh garlic meant brightness instead of harshness. Fresh parsley meant I could smell the herb before I tasted it. These small choices accumulate into real differences that your guests will notice, even if they can't quite name what they're tasting.
Variations and Moments of Creative Freedom
Once you master the basic recipe, you'll find yourself wanting to experiment. I've brushed these with a mix of garlic, parmesan, and red pepper flakes for a spicy version that friends devour. I've made them with rosemary and sea salt for dinner parties. I've even sprinkled them with everything bagel seasoning for a casual weeknight twist. The beauty of this recipe is that it's flexible enough to make your own. Whatever direction you take it, remember that the foundation is solid, and you're building on something that already works beautifully. Have fun with it, trust your instincts, and don't be afraid to make it your own.
- Try adding 1 teaspoon of dried Italian herbs to the garlic butter for extra depth
- Brush with a mix of garlic butter and pesto for a completely different flavor profile
- Sprinkle with grated Parmesan or a sharp cheddar before the second rise for cheesy breadsticks that are absolutely addictive
 Pin this
 There's something deeply satisfying about pulling a tray of golden, aromatic breadsticks from the oven. Every time I do it, I'm reminded that the best recipes aren't complicated, they're just made with care and a little bit of kitchen love.
Recipe Questions & Answers
- → How can I achieve soft and fluffy breadsticks?
-
Allow the dough to rise fully until doubled in size before shaping. Gentle kneading and warm liquids help activate the yeast for a light texture.
- → What is the purpose of brushing garlic butter twice?
-
Brushing once before baking infuses flavor during cooking, while brushing immediately after adds richness and moisture to the surface.
- → Can I add parmesan for extra flavor?
-
Yes, sprinkling grated Parmesan before baking adds a savory note and creates a slightly crisp topping.
- → How do I store leftover breadsticks?
-
Store in an airtight container at room temperature for up to two days or freeze to maintain freshness longer.
- → Are there alternatives for the butter in the garlic spread?
-
Vegan butter substitutes work well to maintain rich flavor while keeping dietary preferences in mind.
