 Pin this
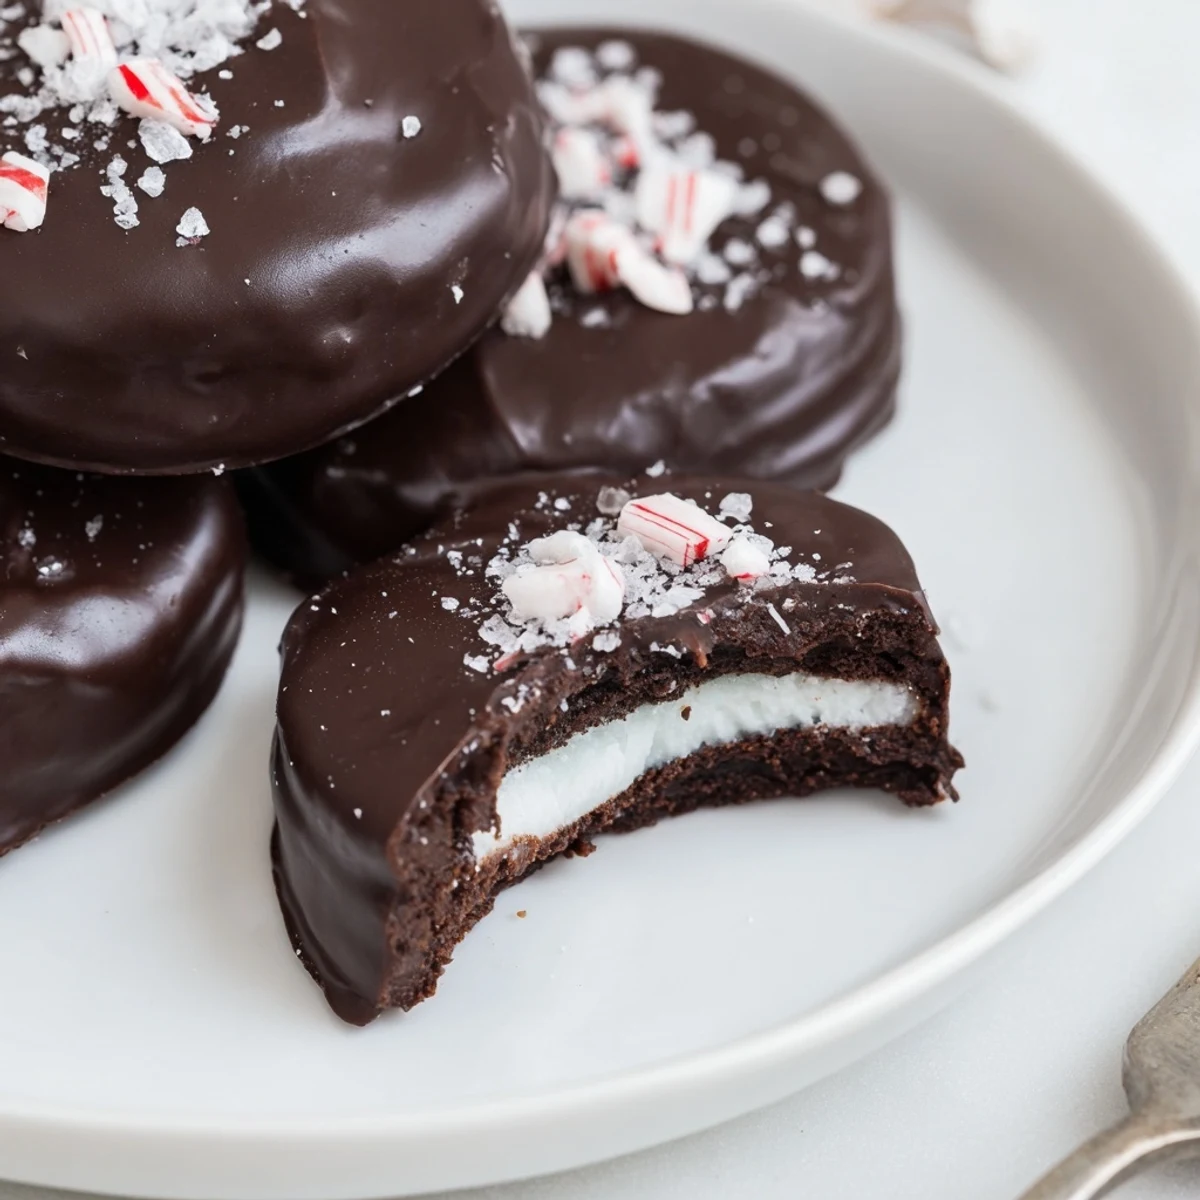
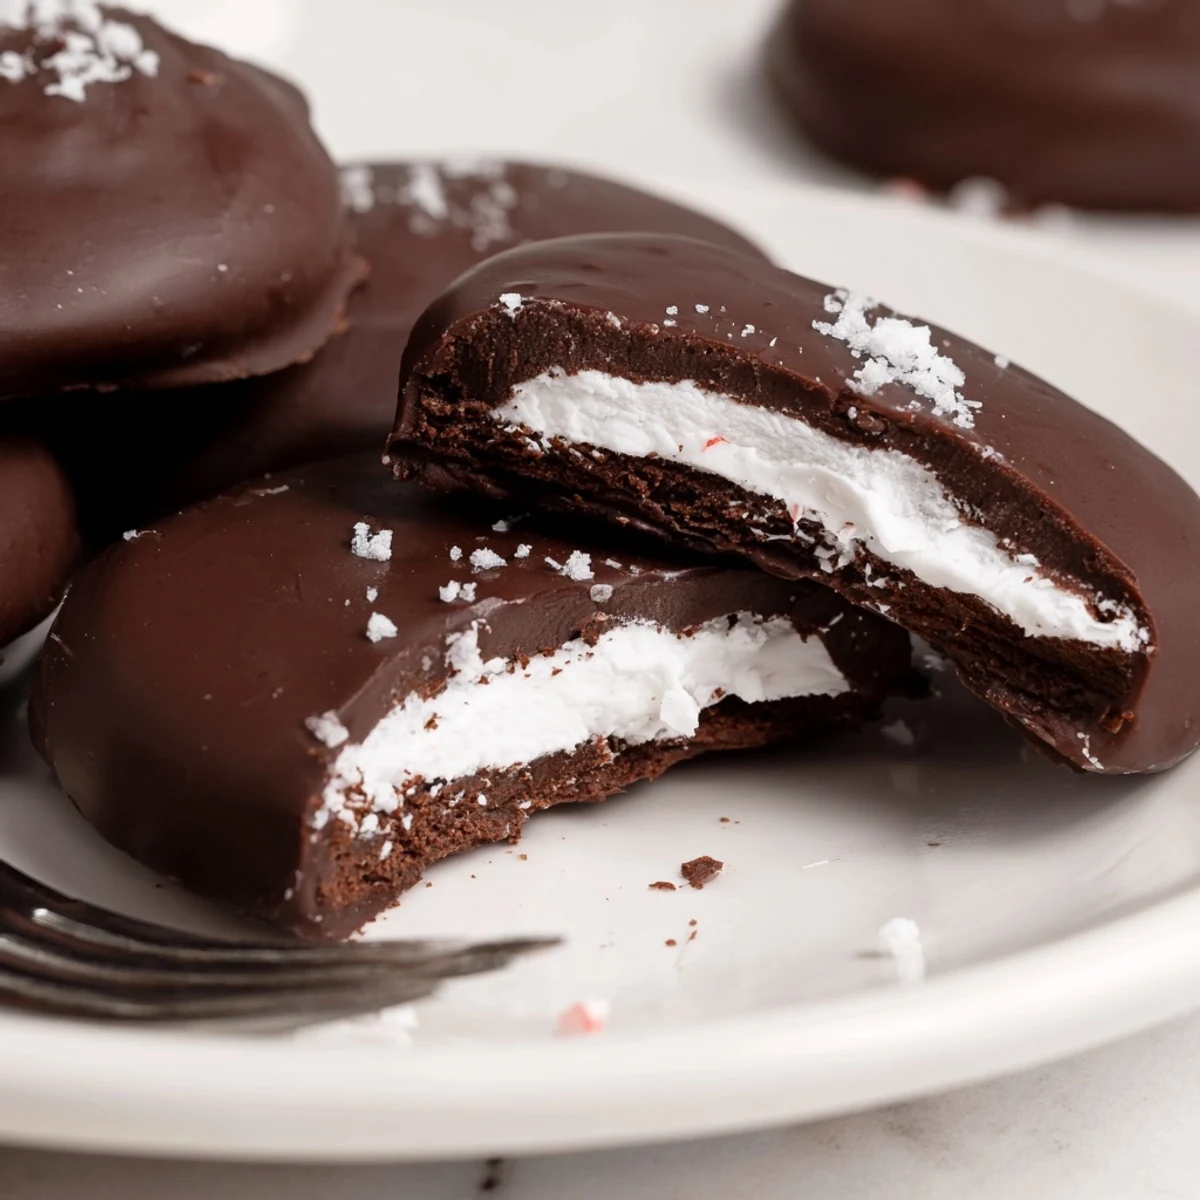
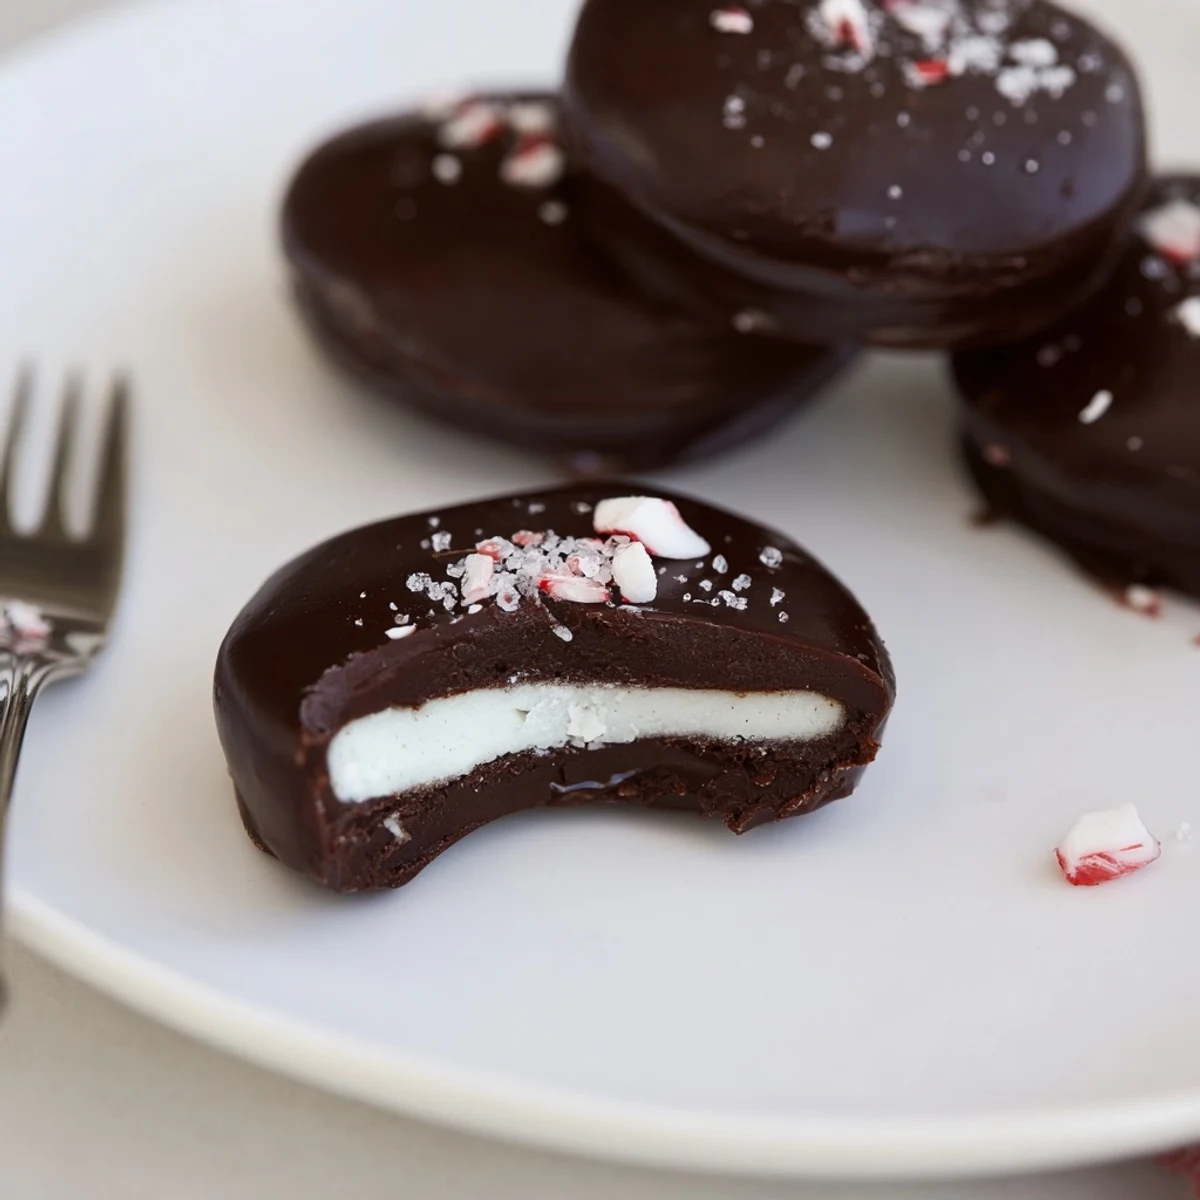
 Make a smooth mint filling by beating powdered sugar, butter, peppermint extract and cream until pliable. Shape into small discs, freeze until firm, then dip in melted dark chocolate with a touch of coconut oil for shine. Let set in the fridge; sprinkle crushed candy or flaky sea salt before the chocolate fully sets. Store chilled in an airtight container for up to two weeks.
Every time I open a bag of peppermint patties, that invigorating chill of mint instantly makes me perk up. I fell in love with the combination of cool peppermint and dark chocolate on a rainy Tuesday while raiding my baking stash for something to nibble, only to end up making my first homemade batch on a whim. The simple, hands-on process—dust drifting from the powdered sugar, chocolate smudges on my sleeves—became more satisfying than I’d ever expected. There’s something both playful and grown-up about crafting these at home, watching them transform from sticky dough to glossy treats on parchment paper.
One winter, I brought a tin of these homemade peppermint patties to a game night, thinking they’d be a quiet alternative to noisy snacks. Instead, everyone beelined for them, playfully arguing over who would grab the last one and insisting I share the recipe before the evening ended.
Ingredients
- Powdered Sugar: Sifting it gives that signature melt-in-your-mouth texture, and more can be added if the dough feels tacky.
- Unsalted Butter: Room temperature butter blends effortlessly, enveloping the mint in richness.
- Peppermint Extract: Go for pure extract—nothing else gives quite the frosty zing.
- Heavy Cream: Just a splash makes the filling plush without being sticky.
- Salt: Just a pinch balances all that sugar, so the mint pops rather than cloying.
- Dark Chocolate (60–70% cocoa): The bittersweet depth really anchors the coolness of the peppermint.
- Coconut Oil (optional): If you want a shiny, snappy shell, a little goes a long way.
Instructions
- Make the Peppermint Dough:
- In your favorite mixing bowl, beat together powdered sugar, butter, peppermint extract, heavy cream, and salt until a soft dough forms. If it gets too sticky, sprinkle in a little more powdered sugar at a time, kneading gently until it becomes silky and pliable.
- Shape the Patties:
- Roll dough into small balls roughly the size of a walnut, then press them into flat rounds on a parchment-lined baking sheet. Don’t worry if they’re not identical—imperfection here just adds to their homemade charm.
- Chill to Set:
- Slide the tray into the freezer for about 25 minutes, until the patties feel sturdy when you touch them. This makes them easier to dip and keeps them from melting into the chocolate later.
- Melt the Chocolate:
- Over barely simmering water, melt your chopped chocolate (plus a spoonful of coconut oil if using) until glossy and fluid. Stir often—it’s oddly calming.
- Dip the Patties:
- Drop each chilled disc into the chocolate, lift out with a fork, and gently shake off the excess. Line them up on fresh parchment and admire their minimalistic elegance.
- Final Chill:
- Chill the dipped patties in the fridge for about 15 minutes, just until they’re snappy and set.
 Pin this
 Seeing a friend’s eyes light up after tasting one—minty, rich, and unexpectedly homemade—reminded me that little kitchen joys sometimes make the strongest impressions.
Making It Work in Any Kitchen
I learned the hard way that you don’t need fancy tools for these—just a reliable spatula and patience. My first batch was shaped with a teaspoon and pressed with my palm, and they were every bit as delicious as perfectly cut patties.
Adapting for All Diets and Occasions
Switching to dairy-free butter and coconut cream made these an instant hit at a vegan potluck. You can sprinkle sea salt or even edible glitter on top if you want to dress them up for a festive table or a sweet edible gift.
Final Touches and Storage
They store well tucked in a tin between parchment layers, waiting for afternoon cravings or spur-of-the-moment guests. If you sprinkle on crushed peppermint or flaky salt, do it right after dipping, before the chocolate sets so they stick beautifully.
- Always reserve a few for yourself—trust me, they vanish fast.
- Serve straight from the fridge for extra snap and freshness.
- These make perfect thank-you gifts wrapped in a small box or cellophane bag.
 Pin this
 I hope making these brings you the same quiet satisfaction and bright minty happiness they’ve given me. May every bite bring a little burst of joy, however you share them.
Recipe Questions & Answers
- → How do I achieve a smooth mint center?
-
Sift powdered sugar and beat with softened butter, peppermint extract and cream until the mixture is smooth and pliable. If it's too sticky, gradually add more powdered sugar until you can shape discs cleanly.
- → How can I prevent the chocolate from seizing?
-
Melt chocolate gently over simmering water and avoid any steam or water contacting the chocolate. Stir continuously and add a teaspoon of coconut oil for a glossier, smoother coating if needed.
- → What are good substitutions for a dairy-free version?
-
Use dairy-free butter and coconut cream in the filling, and choose a dairy-free dark chocolate for coating. Texture may be slightly softer, so chill a little longer before dipping.
- → How should I store the patties and how long do they keep?
-
Layer patties between sheets of parchment in an airtight container and keep refrigerated for up to two weeks. Allow a few minutes at room temperature before serving for a softer center.
- → Why are my centers crumbly or too soft?
-
Crumbly centers usually need more fat or liquid; too-soft centers have excess liquid. Adjust by adding a little more butter or powdered sugar as needed to reach a pliable consistency—not dry, but firm enough to shape.
- → What chocolate works best for coating?
-
Dark chocolate with 60–70% cocoa offers a good bitterness balance with the mint. Compound chocolate is easier to work with but delivers different flavor and sheen. For room-temperature stability, temper real chocolate.
