 Pin this
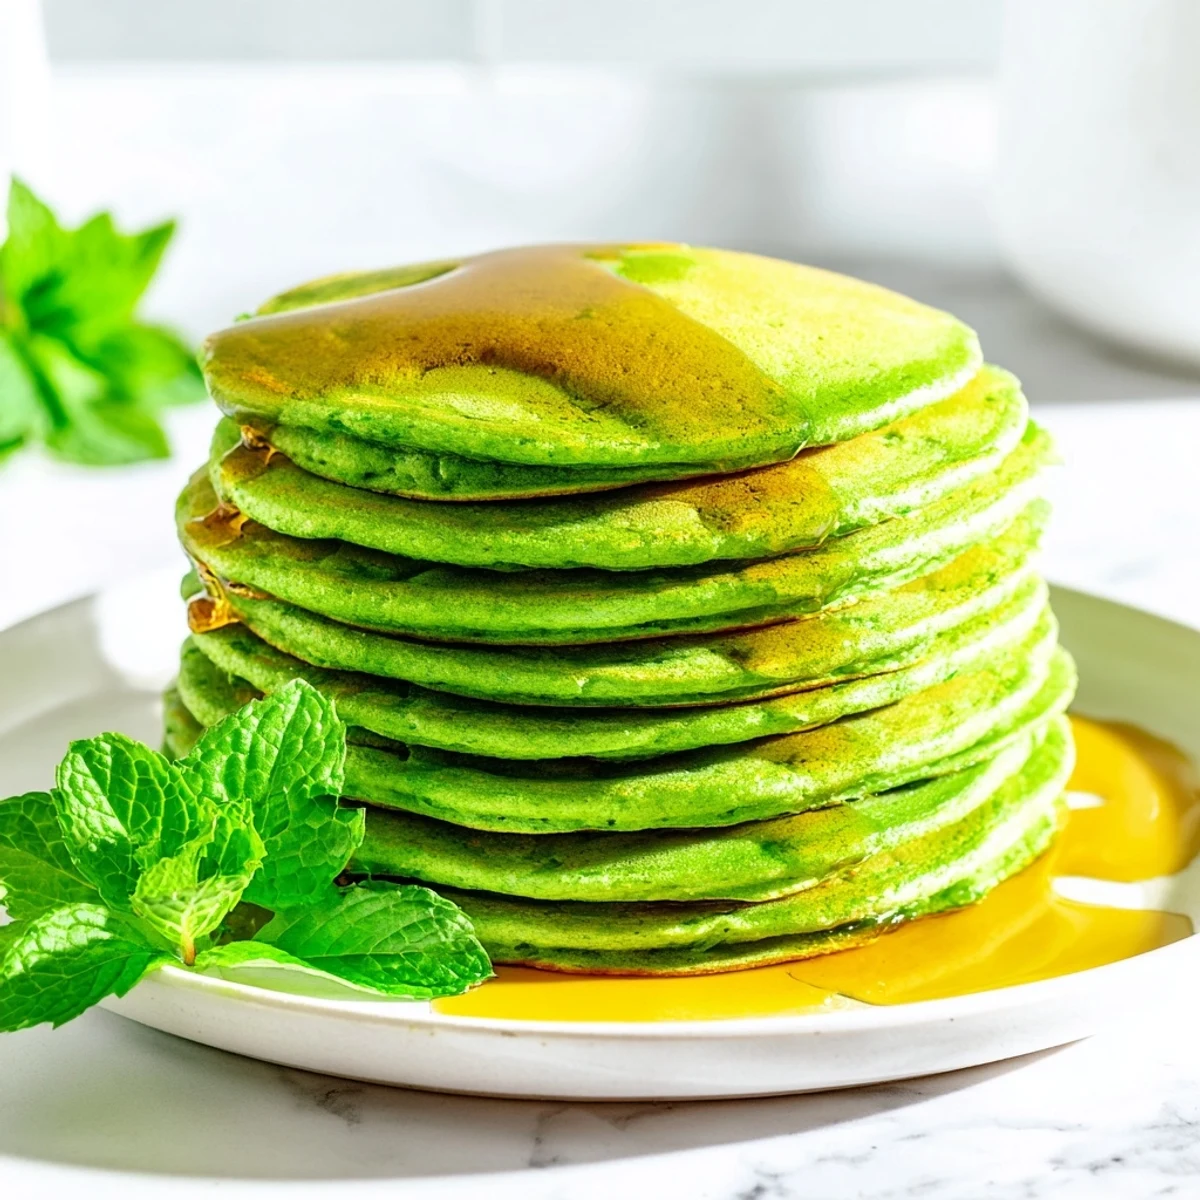
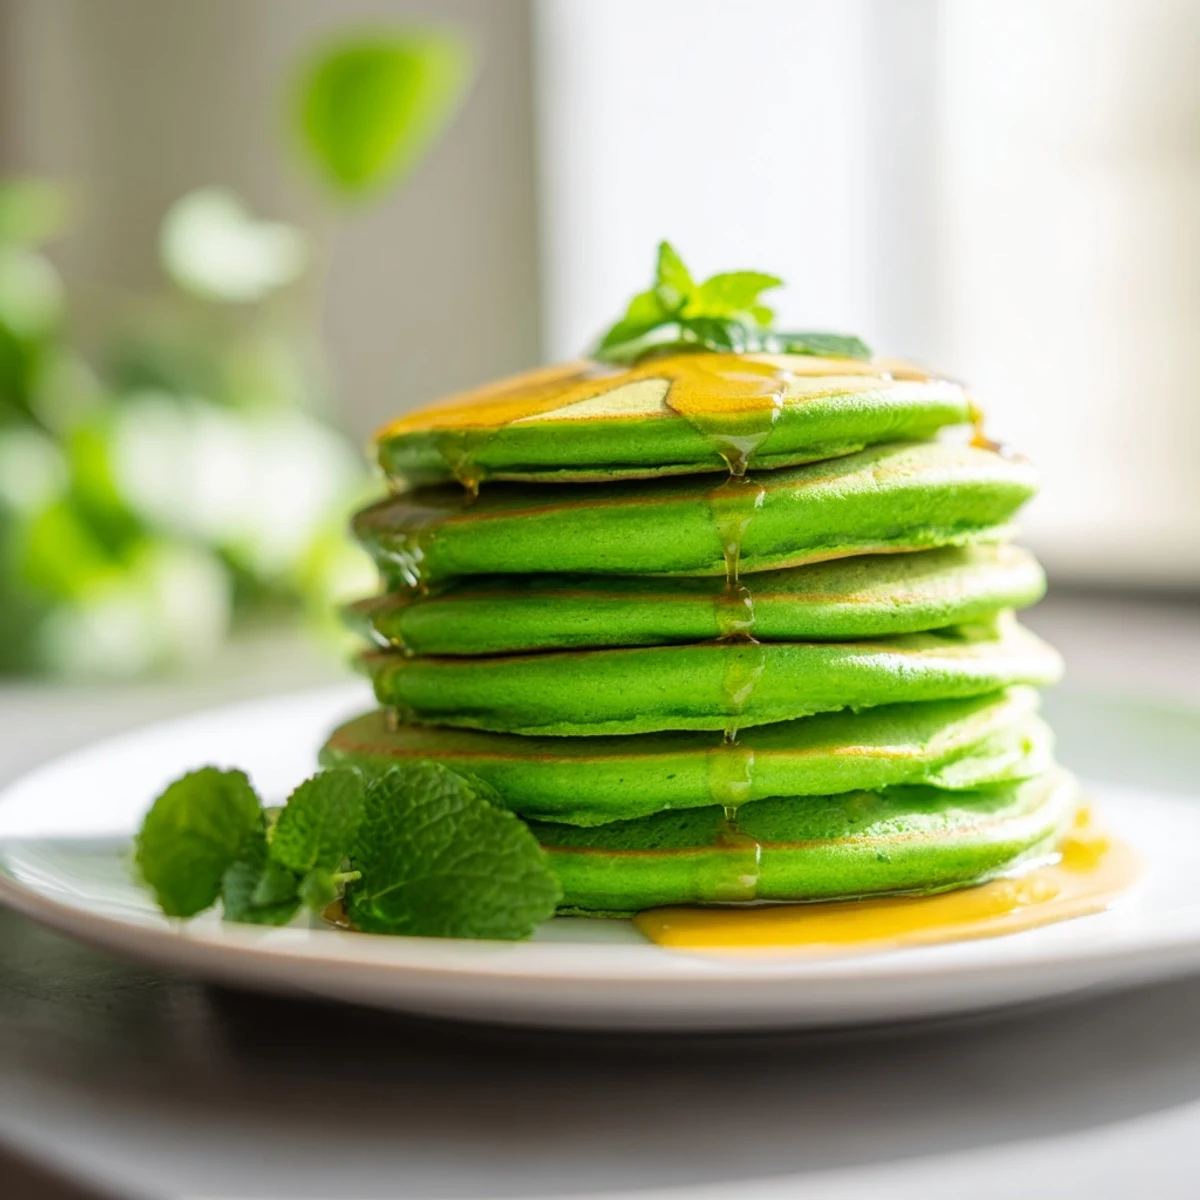
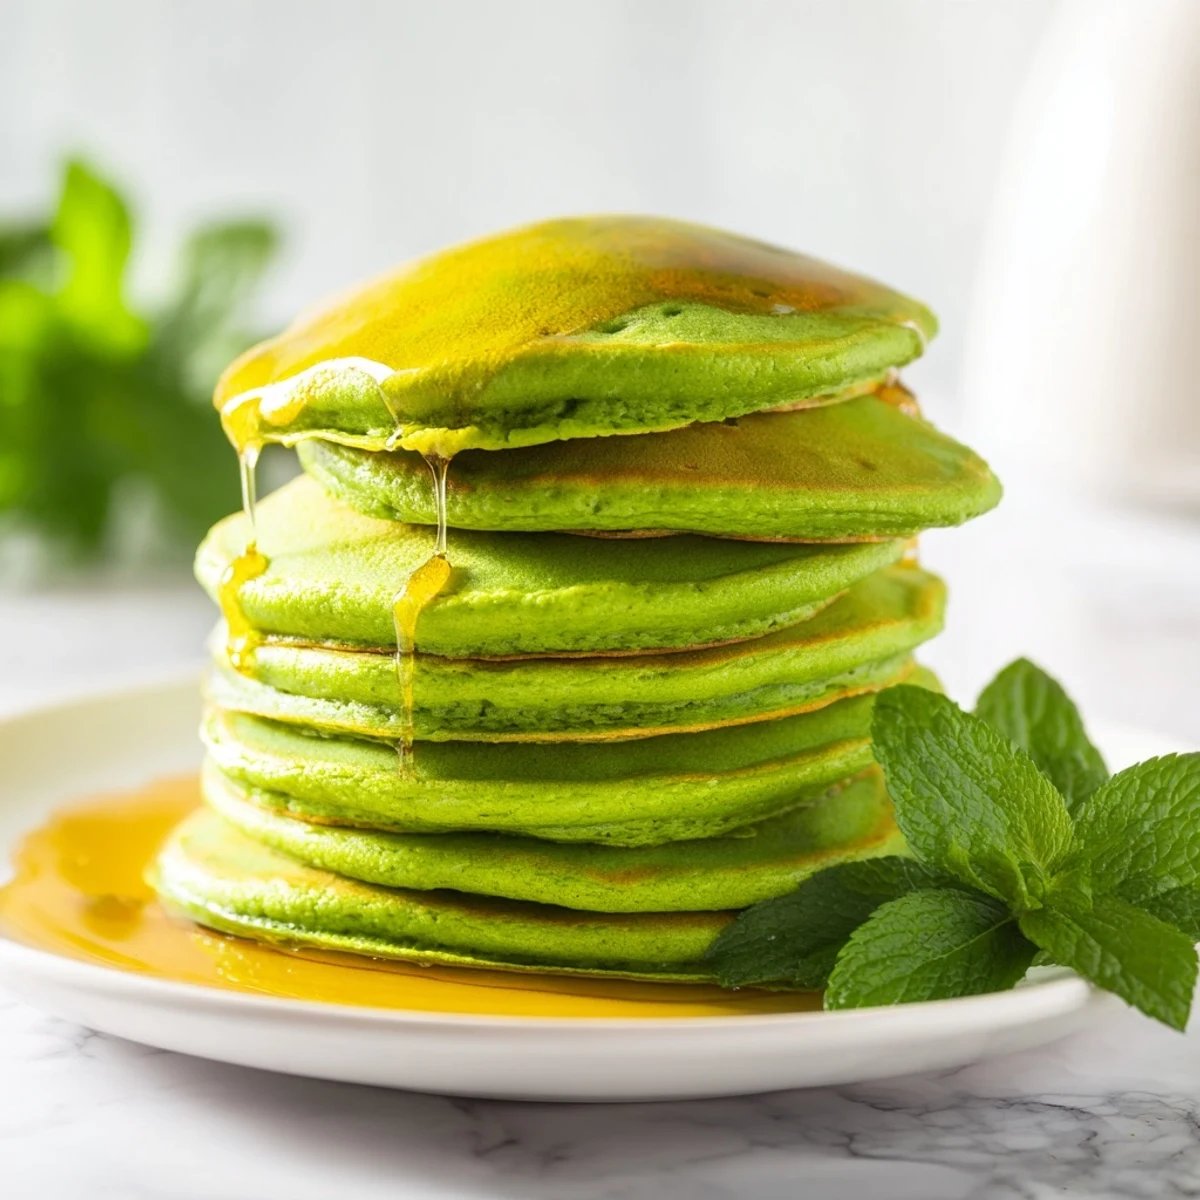
 These shamrock green pancakes bring a festive touch to any breakfast table with their vibrant color and fluffy texture. Combining classic dry ingredients like flour and baking powder with wet ingredients including milk, eggs, and melted butter, the batter is gently mixed with green gel coloring for that iconic hue. Cooked on a non-stick skillet until golden, they are served stacked and drizzled with sweet syrup. Optional garnishes like fresh mint or whipped cream add freshness and creaminess to each bite.
Simple preparation and short cooking time make these pancakes a delightful way to celebrate special occasions or add a burst of color and flavor to any morning meal.
Last March, my youngest came home from school absolutely determined that we needed something green for breakfast, something that would make his sisters laugh. I hesitated at first, picturing sad droppy spinach experiments from years past. But then I remembered how food coloring transforms ordinary pancake batter into something almost magical. Now these shamrock pancakes have become our unofficial first day of spring tradition, no matter what the calendar says.
I made these for a neighbors St. Patricks Day brunch last year and watched six grown adults crowd around the stove, ooing and awwing like children over bubbles rising to the surface. Theres something about food that defies expectations, that breaks the rules of what breakfast should look like. People kept sneaking extra ones, claiming they were just testing the color consistency.
Ingredients
- All-purpose flour: The foundation that gives these pancakes their tender crumb and reliable rise
- Granulated sugar: Just enough to balance without making them taste like dessert
- Baking powder and baking soda: This double combination ensures fluffy height every single time
- Salt: Essential for rounding out sweetness and enhancing all other flavors
- Whole milk: Creates richness that makes these feel special rather than ordinary
- Eggs: Structure and binding that keeps everything together while cooking
- Melted butter: Adds that irresistible flavor and helps create golden edges
- Vanilla and almond extract: The almond is optional but adds such a lovely subtle warmth
- Green gel food coloring: Gel gives deeper color without thinning your batter like liquid can
Instructions
- Whisk your dry foundation:
- In a large bowl, combine the flour, sugar, baking powder, baking soda, and salt until everything is evenly distributed. This step takes all of thirty seconds but makes such a difference in final texture.
- Blend your wet mixture:
- In a separate bowl, whisk together the milk, eggs, melted butter, vanilla extract, and almond extract until smooth and slightly frothy.
- Add the magic:
- Start with just two or three drops of green gel food coloring, whisking gently and adding more until you reach that perfect shamrock shade. Remember, gel is concentrated so a little goes remarkably far.
- Bring them together:
- Pour your green wet mixture into the dry ingredients and stir gently with a spatula or wooden spoon until just barely combined. Some small lumps are actually good, overmixing makes tough pancakes.
- Heat your cooking surface:
- Set a nonstick skillet or griddle over medium heat until a drop of water dances across the surface, then lightly butter the pan.
- Cook to perfection:
- Pour about one quarter cup of batter per pancake and wait for those telltale bubbles forming across the surface, usually two to three minutes. Flip when edges look set and cook another minute or two until golden.
- Stack and serve:
- Plate them in a proud stack with generous maple syrup and maybe a mint leaf or whipped cream if youre feeling fancy.
 Pin this
 These have become my go-to when someone needs cheering up. There is something undeniably joyful about cutting into a stack of impossibly green pancakes, the way syrup drips down the sides like emerald waterfalls. Food this playful reminds us not to take ourselves too seriously.
Making Them Naturally
If you prefer avoiding food coloring, blend fresh spinach with the milk before combining with other ingredients. The color is more subtle, that lovely muted green of actual shamrocks rather than cartoon bright. Strain it through a fine mesh sieve to remove any pulp for the smoothest batter texture possible.
Perfecting Your Flip Technique
The timing on that first flip makes all the difference between fluffy success and disappointment. Wait until bubbles have formed across the entire surface and popped, leaving tiny craters. Give the edges a gentle nudge with your spatula, they should feel firm and slightly pulling away from the pan.
Serving Suggestions
Beyond the classic maple syrup topping, consider fresh berries for tart contrast or even chocolate chips folded into the batter for extra indulgence. A cup of Irish breakfast tea on the side makes this feel like a proper celebratory meal.
- Warm your syrup slightly for that restaurant style presentation
- Have everything ready before you start cooking, these disappear fast
- Mix up a double batch if feeding teenage boys or hungry crowds
 Pin this
 However you serve them, these green pancakes guarantee smiles around the table.
Recipe Questions & Answers
- → How can I make the pancakes naturally green?
-
Blend fresh spinach with the milk before mixing with other ingredients to achieve a natural green color without artificial food coloring.
- → What type of syrup pairs best with these pancakes?
-
Maple syrup or golden syrup provide a rich, sweet complement that enhances the fluffy texture and green hue.
- → Can I add mix-ins to the pancake batter?
-
Yes, stirring in chocolate chips or blueberries can add texture and flavor variations to the pancakes.
- → What cooking tools do I need for making these pancakes?
-
A non-stick skillet or griddle, mixing bowls, whisk, measuring cups, and a spatula are essential for easy preparation.
- → Are these pancakes suitable for vegetarian diets?
-
Yes, they contain no meat products and use vegetarian-friendly ingredients like eggs, milk, and butter.
- → How do I know when to flip the pancakes?
-
Flip when bubbles start to form on the surface and the edges begin to look set, usually after 2–3 minutes of cooking.
