 Pin this
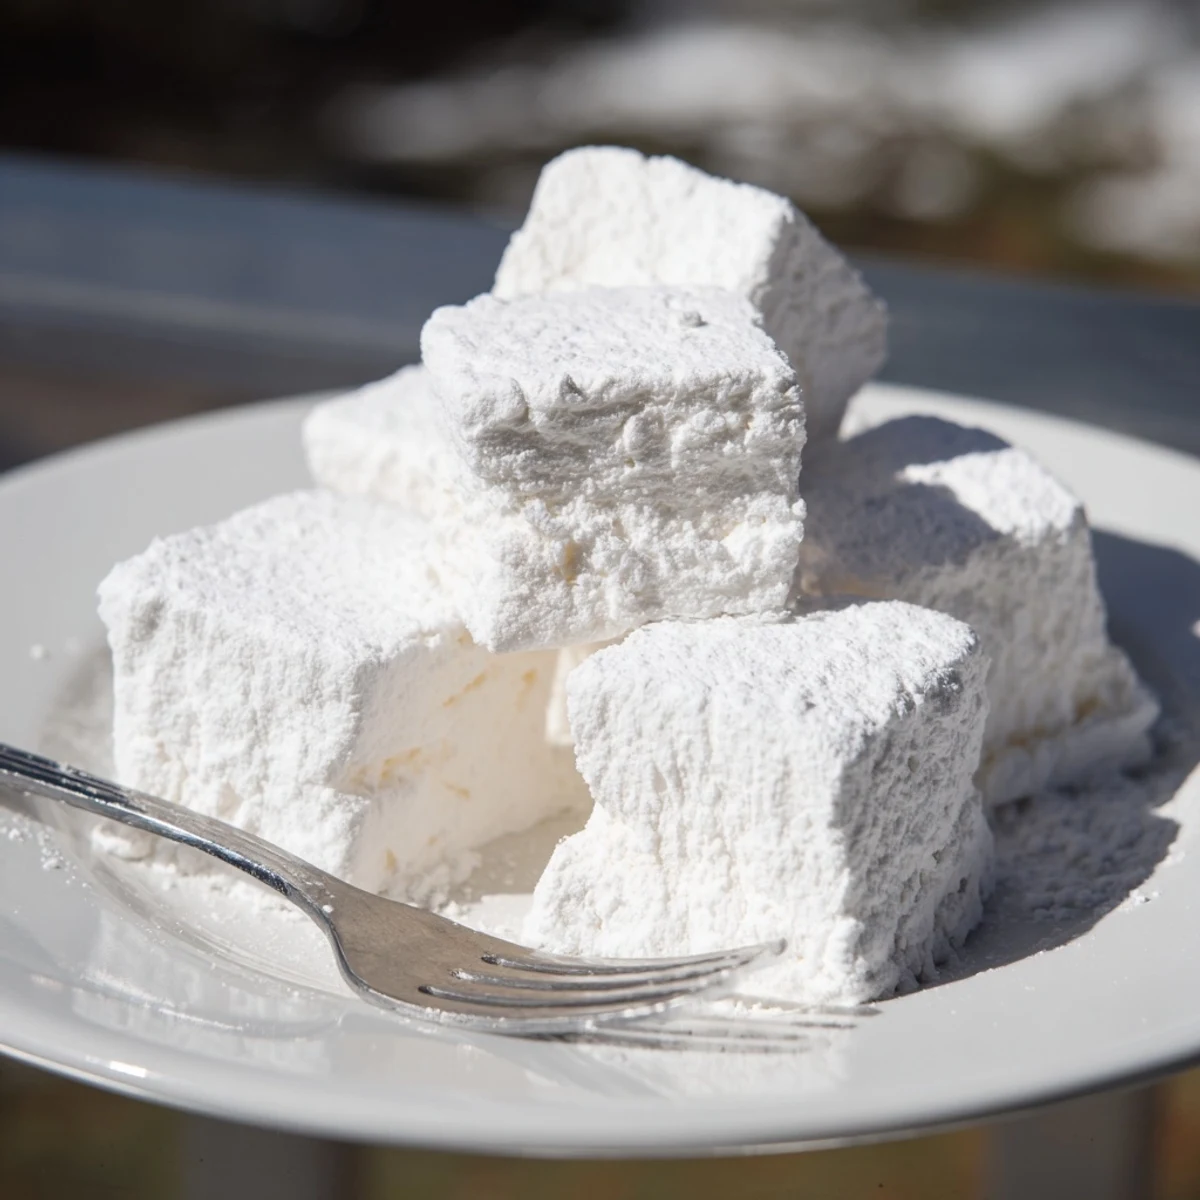
 These soft, fluffy homemade marshmallows transform simple ingredients into pillowy confections. The process involves creating a sugar syrup, blooming gelatin, then whipping the mixture until it triples in volume for that signature airy texture. Perfect for elevating hot chocolate, enjoying as standalone treats, or packaging as gifts.
My kitchen counter looked like a winter wonderland after my first batch of homemade marshmallows, white powdery sugar everywhere. I'd been skeptical that something so simple could taste so different from the store-bought cubes I'd grown up with. One bite of that fluffy, vanilla-scented cloud changed everything. Now I can't imagine going back to the bagged stuff.
Last December, I made these for a hot chocolate bar at my sister's holiday party. Guests kept sneaking into the kitchen to grab them plain, right off the cutting board. By the time hot cocoa was actually served, I had to whip up another batch. Now theyre the first thing people ask about when they visit during winter months.
Ingredients
- Granulated sugar: The foundation of your syrup, create the structure that holds those beautiful air bubbles
- Light corn syrup: Prevents crystallization and keeps your marshmallows tender instead of grainy
- Unflavored gelatin: The magic ingredient that transforms liquid sugar into fluffy clouds, make sure to bloom it properly
- Pure vanilla extract: Dont use imitation here, the real stuff shines in such a simple recipe
- Confectioners sugar and cornstarch: This coating is essential, keeps everything from becoming one sticky disaster
Instructions
- Prep your pan like you mean it:
- Grease that 9x9-inch pan thoroughly, then dust with half your confectioners sugar and cornstarch mixture, tapping out any excess.
- Wake up the gelatin:
- Combine gelatin with cold water in your stand mixer bowl and let it sit while you work on the syrup.
- Cook the sugar syrup:
- Combine sugar, corn syrup, water, and salt in a saucepan, stirring until dissolved, then bring to 240°F without stirring.
- Combine hot and cold:
- With mixer running on low, carefully stream that hot syrup into the gelatin, then beat on high for 10-12 minutes until glossy and tripled in volume.
- Spread and wait:
- Work quickly to spread the fluffy mixture into your prepared pan, smooth the top, and dust with more sugar mixture.
- The hardest part:
- Let it sit uncovered for at least 4 hours or overnight, resisting every urge to touch it.
- Cut yourself some squares:
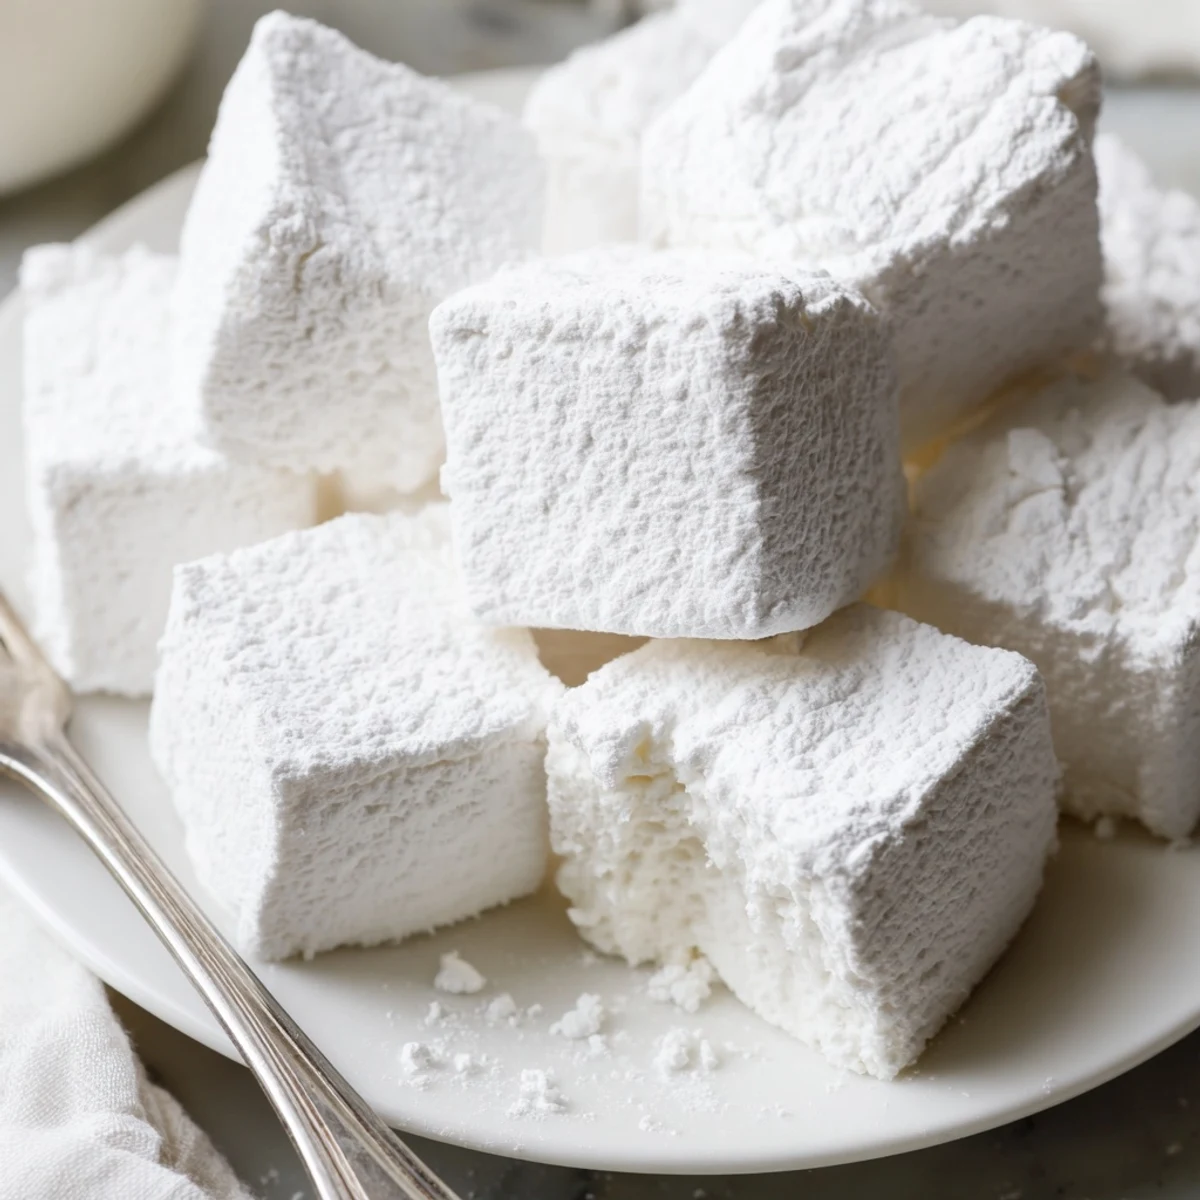
- Turn the slab onto a board and cut into 1-inch squares with a knife dusted in your sugar mixture, tossing each piece as you go.
 Pin this
 My three-year-old niece helped me cut peppermint marshmallows last Christmas, her tiny hands dusted in white powder. She kept eating more than she saved, which I told her was part of the quality control process. Now whenever I visit, she asks if were making the cloud candy again.
Flavor Adventures
The basic vanilla is incredible, but I've discovered some variations that might just be better. Peppermint extract creates the most perfect hot cocoa companion, while almond extract adds a sophisticated note that adults love. A few drops of food coloring during the final minute of mixing makes them feel even more special.
Storage Secrets
These keep remarkably well in an airtight container for up to a week, though they rarely last that long in my house. I've found that separating layers with parchment paper prevents them from sticking together into one giant marshmallow blob.
Serving Ideas
Once you master the basic recipe, the possibilities are endless. I've dipped them in chocolate, sandwiched them between graham crackers, and even used them to top sweet potato casseroles. They make the most thoughtful homemade gift, tucked into mason jars with pretty ribbon.
- Try swirling in some fruit preserves for a fruity marshmallow variation
- Dust the tops with colorful sprinkles while the mixture is still tacky
- Cut them into larger rectangles for the ultimate s'mores experience
 Pin this
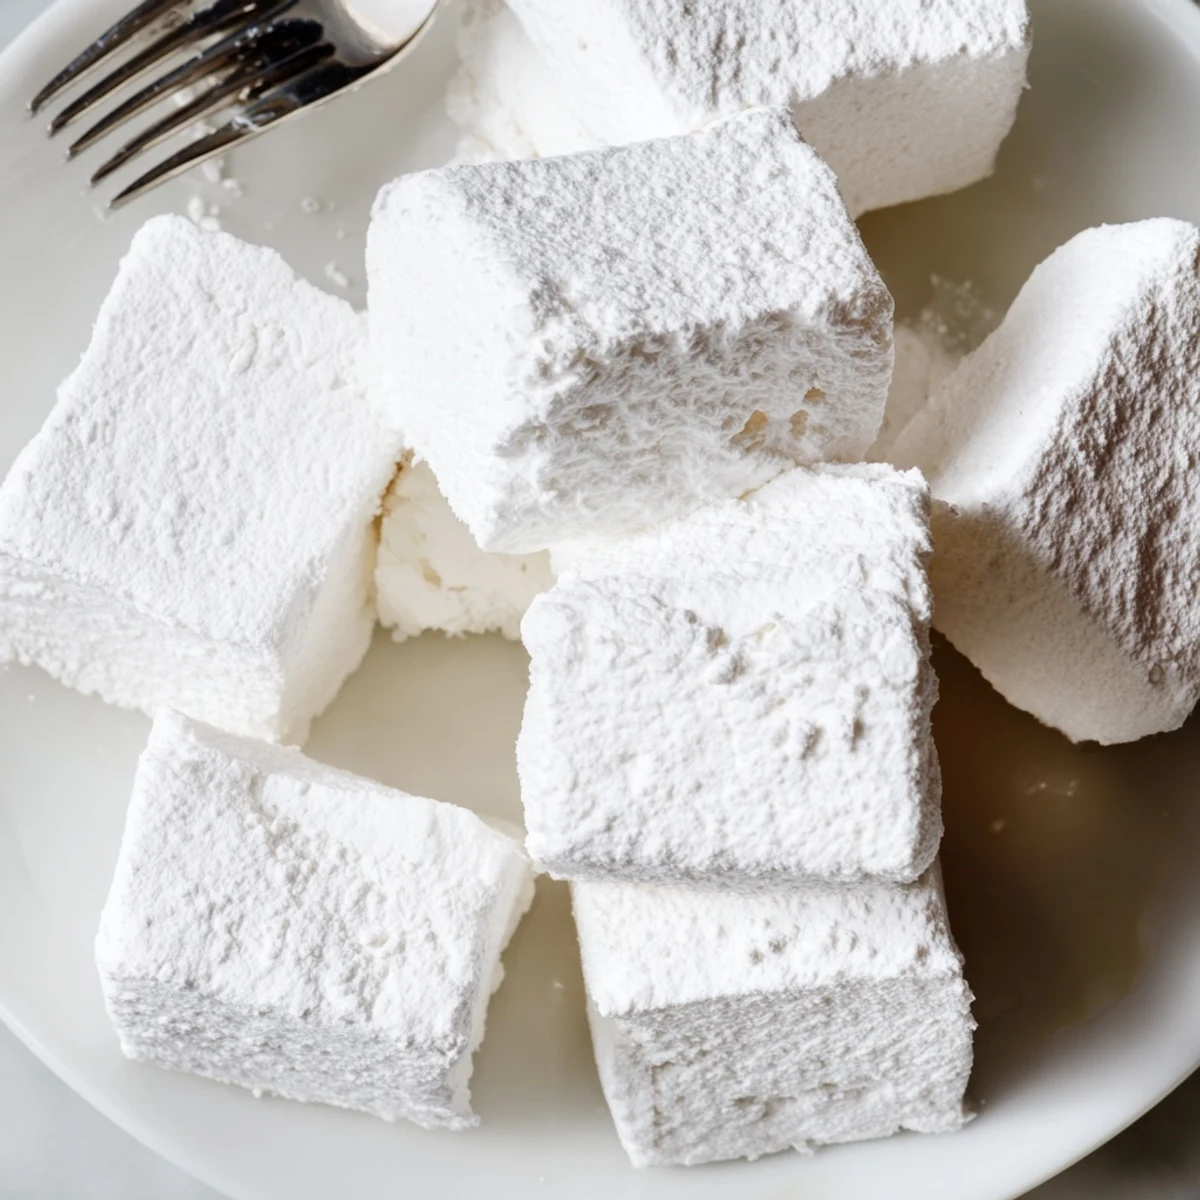
 Theres something deeply satisfying about making something so magical from such humble ingredients. Every time I pull that pan of fluff out of the fridge, I still get a little thrill of accomplishment.
Recipe Questions & Answers
- → How long do homemade marshmallows take to set?
-
Allow at least 4 hours at room temperature for the marshmallows to set properly. For best results, let them rest overnight before cutting to achieve the ideal texture.
- → Can I make marshmallows without a stand mixer?
-
While a stand mixer makes the process easier, you can use a hand mixer. Just be prepared for a longer whipping time—about 15-18 minutes—to reach the proper glossy, thickened consistency.
- → What temperature should the sugar syrup reach?
-
The sugar syrup must reach exactly 240°F (115°C) on a candy thermometer. This temperature ensures the marshmallows will hold their shape and achieve the perfect chewy-yet-fluffy texture.
- → How should I store homemade marshmallows?
-
Store in an airtight container at room temperature for up to one week. Keep pieces dusted with the sugar-cornstarch mixture to prevent sticking. Avoid refrigeration as it makes them hard.
- → Can I customize the flavor?
-
Absolutely! Replace vanilla extract with peppermint, almond, raspberry, or lemon extracts. Add food coloring during the final minute of mixing for vibrant colored marshmallows that match the flavor.
- → Why do my marshmallows stick to the knife when cutting?
-
Dust your knife or pizza cutter generously with the confectioners sugar and cornstarch mixture before cutting. Re-dust as needed. You can also lightly oil the blade for easier cutting through sticky sections.
