 Pin this
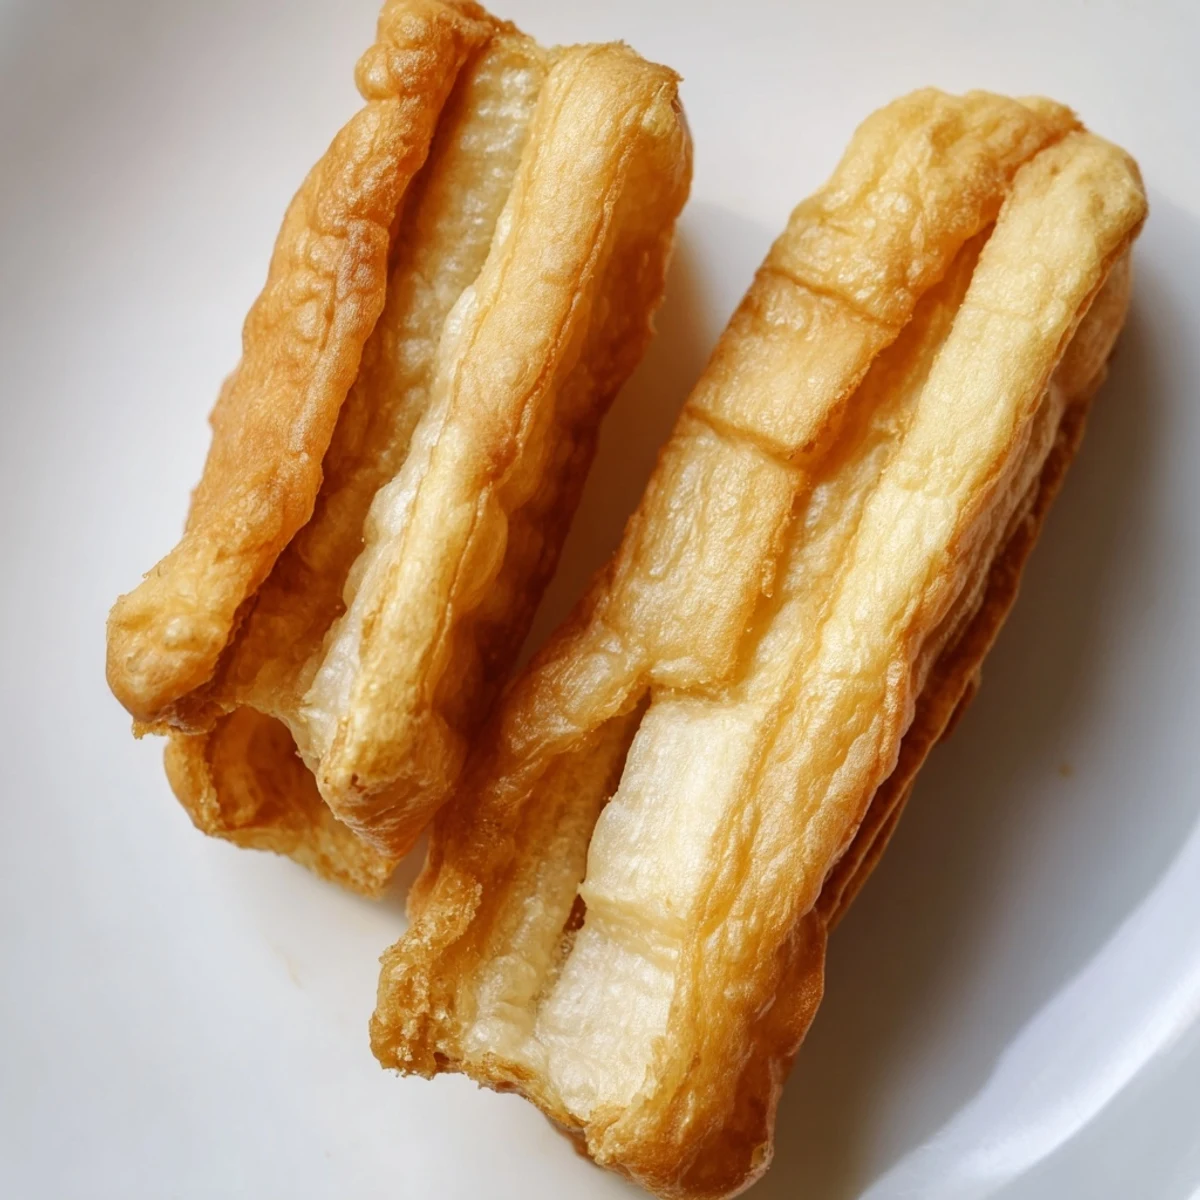
 These classic Chinese breakfast treats feature an irresistible crunch outside and pillowy softness inside. The dough requires simple pantry staples and two resting periods to develop the perfect texture. Deep-frying creates that signature golden exterior while the inside stays light and airy.
Traditionally served alongside warm soy milk or congee, these versatile sticks can also be enjoyed plain or dipped in sweet condiments. The technique involves pairing dough strips, pressing them together, and stretching before frying for that characteristic hollow center.
The aroma of frying youtiao hit me before I even opened my eyes that morning in Taipei. Street vendors had been at it since dawn, and through my hotel window, I could hear the rhythmic sizzle and see distant clouds of steam rising from the corners. Later that day, watching an elderly auntie deftly stretch and fry those golden strips with hands that had done this thousands of times, I realized this wasn't just breakfast—it was craft. I've been chasing that perfect puff ever since.
My first attempt at youtiao was a complete disaster—they turned out dense and chewy, like sad breadsticks rather than ethereal doughnuts. I'd skipped the resting time, thinking who needs an hour when I'm hungry? That lesson in patience stuck. Now whenever I make these, I remind myself that good things come to those who wait, and the transformation from sticky shaggy dough to clouds of fried gold is worth every minute.
Ingredients
- All-purpose flour: Forms the structure but needs help from leaveners to achieve that signature hollow center
- Baking powder and baking soda: This dual action creates the dramatic puff when the dough hits hot oil
- Salt: Just enough to balance the sweetness and enhance flavor without making them savory
- Sugar: A tablespoon is all you need for subtle sweetness and a beautiful golden brown color
- Egg: Adds richness and helps create that tender crumb structure
- Water: Room temperature is crucial here as cold water can slow down yeast activity and affect texture
- Vegetable oil: Keeps the dough manageable and prevents it from becoming too tough to handle
- Frying oil: A neutral oil with a high smoke point is essential for proper frying temperature
Instructions
- Mix the dry foundation:
- Whisk the flour, baking powder, baking soda, salt, and sugar in a large bowl until everything is evenly distributed and you can't see any white spots of baking soda or powder.
- Bring the dough together:
- Make a well in the center of your dry ingredients and crack in the egg, pour in the water and oil, then mix with a spatula until a shaggy, sticky dough forms.
- First quick knead:
- Knead the dough right in the bowl for just 1 to 2 minutes until it barely holds together, keeping in mind it should feel tacky and somewhat messy.
- First rest:
- Cover the bowl tightly with plastic wrap and let the dough rest at room temperature for 15 minutes to let the flour hydrate and the gluten start to relax.
- Second knead:
- Lightly oil your hands and work surface, then knead the dough for 2 to 3 minutes until it transforms into a smooth, cohesive ball that springs back when pressed.
- Long rest:
- Return the dough to the bowl, cover again, and let it rest for a full hour so the gluten relaxes completely and the dough becomes pliable.
- Roll and cut:
- Gently press or roll the rested dough into a rectangle about half an inch thick, then cut strips 1 inch wide and 5 inches long.
- Pair and press:
- Layer two strips on top of each other and press firmly along the center with a chopstick or knife back to fuse them together without cutting through.
- Heat the oil:
- Bring your frying oil to 375°F, using a thermometer if you have one because the temperature really matters for proper puffing.
- Stretch and fry:
- Gently pull each dough pair to about 8 inches long, carefully lower into the hot oil, and turn constantly with chopsticks until golden and puffed.
- Drain and serve:
- Transfer the fried youtiao to a wire rack or paper towels to drain, then serve immediately while they're still hot and spectacularly crispy.
 Pin this
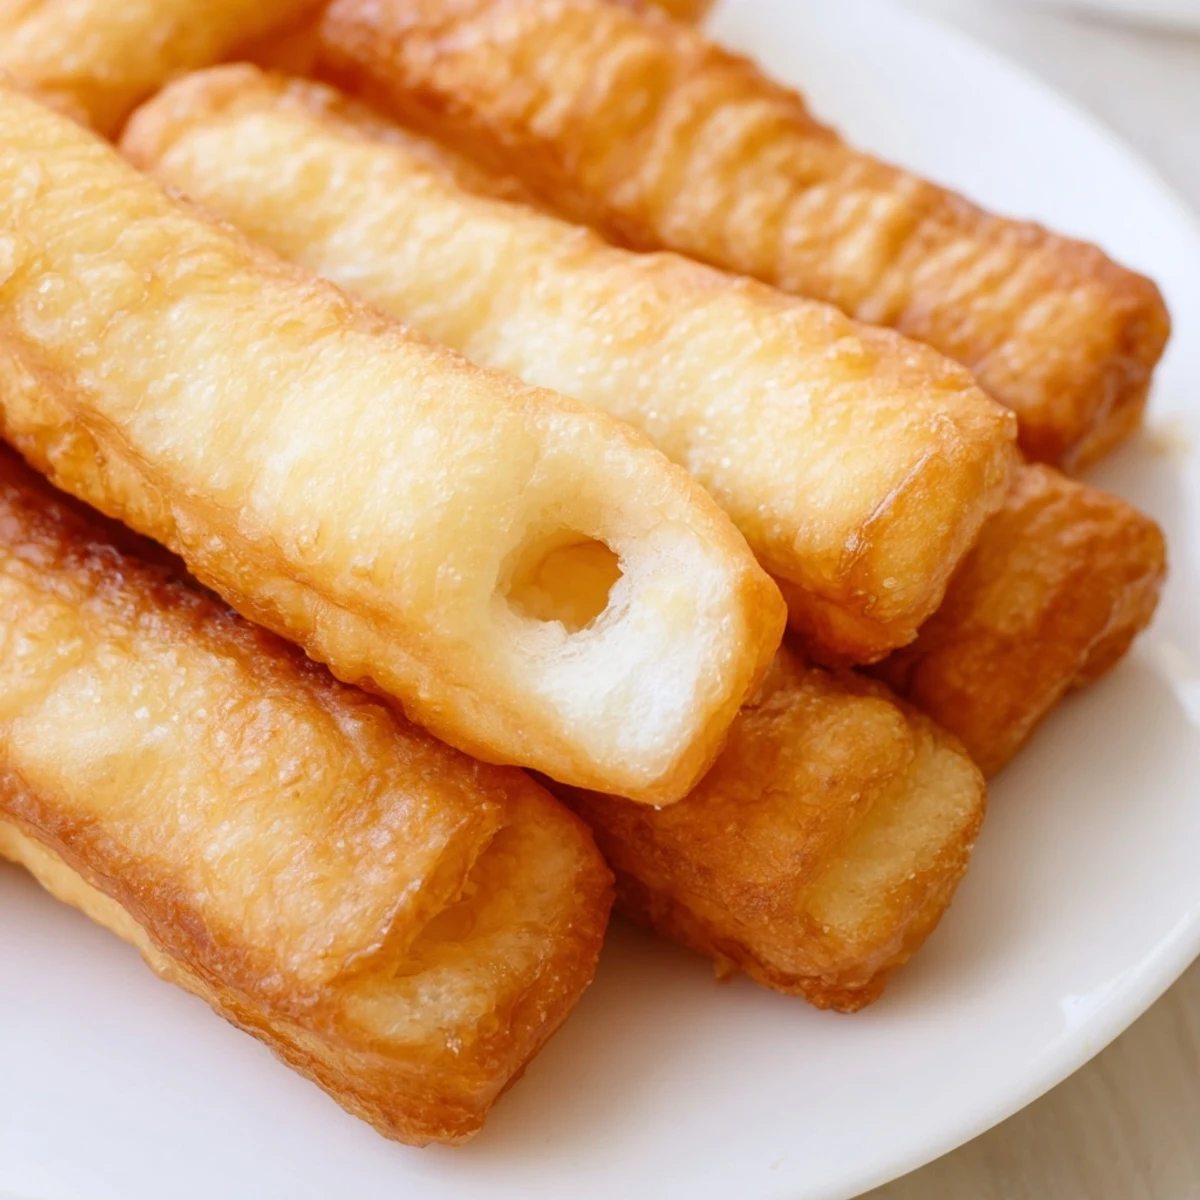
 Last winter, my sister came over and we made youtiao together while snow fell outside the kitchen window. We stood over the pot, turning the dough strips with chopsticks, watching them puff up like magic while the kitchen filled with the warm scent of frying. There's something deeply satisfying about making something so simple and so perfect, especially when someone you love is there to share the first warm bite.
Getting the Perfect Texture
The difference between good youtiao and great ones comes down to that second rest period. I know it's tempting to rush, but that full hour of resting lets the gluten relax completely so the dough can stretch dramatically in the hot oil instead of resisting. Think of it as giving the dough time to prepare for its transformation.
Frying Secrets
Keeping the oil at the right temperature is arguably the most critical skill here. I've found that maintaining 375°F gives the best results, but every stove is different, so pay attention to how your dough behaves. If it's not puffing enough, your oil might need to be slightly hotter.
Serving Ideas
While traditionally eaten with congee or dipped in sweetened soy milk, these are incredibly versatile. I've seen people split them lengthwise and stuff with savory fillings, or even use them as the base for Chinese-style breakfast sandwiches. They're best eaten within an hour of frying, though you can refresh them briefly in a hot oven if needed.
- Try dipping them in condensed milk for a sweet variation
- Slice them into small rounds to float on top of soup
- Make youtiao sandwiches by splitting and filling with scrambled eggs
 Pin this
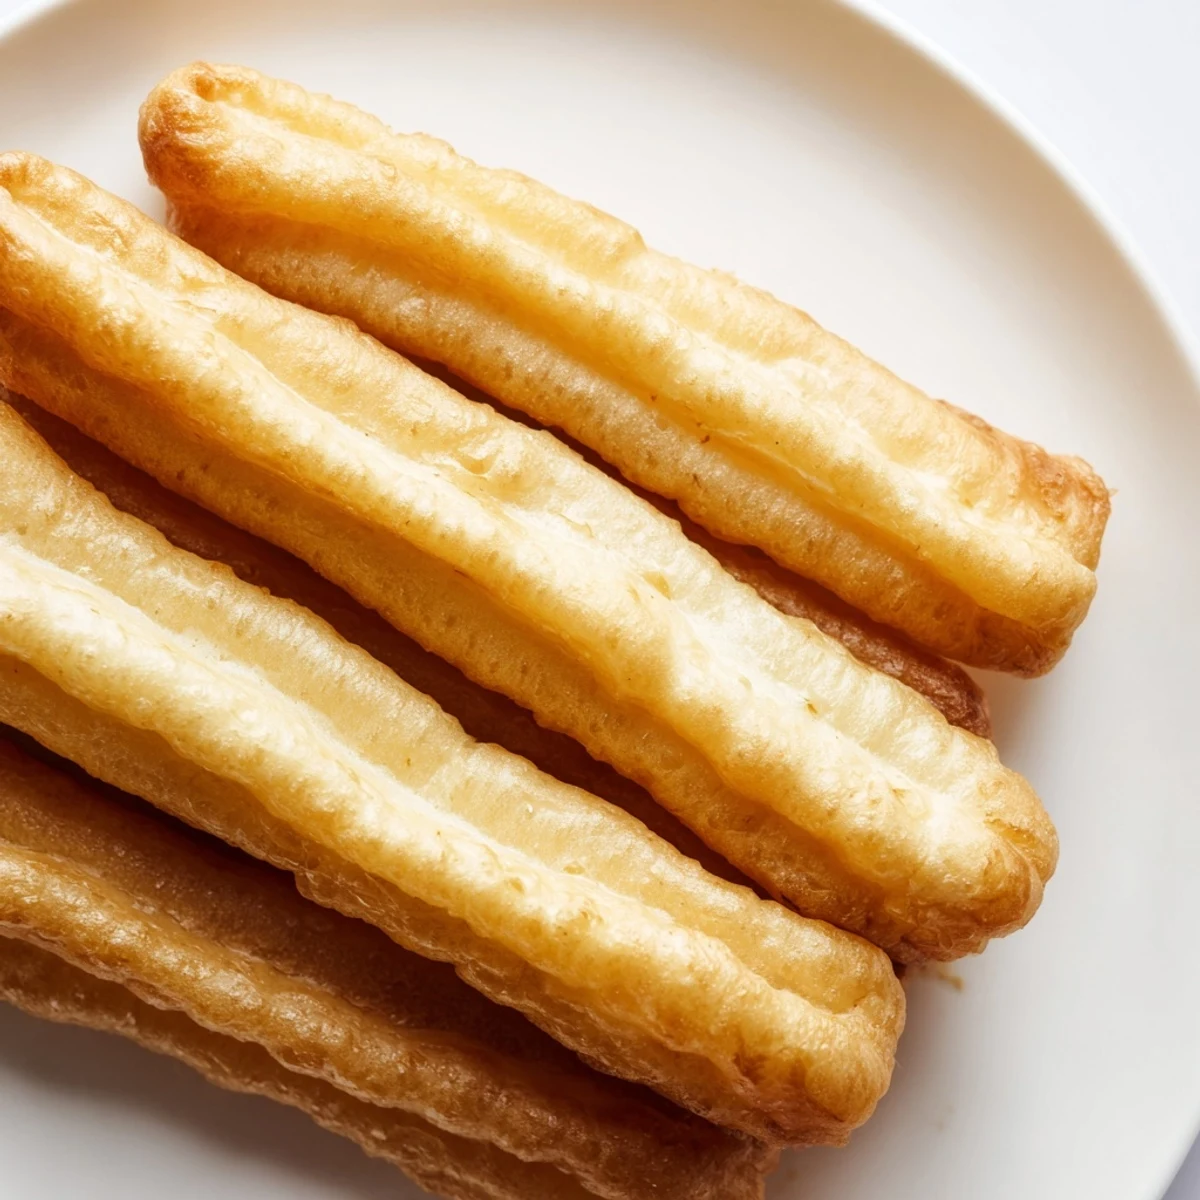
 Whether you're making them for a weekend breakfast or just because, I hope these bring a little bit of that street vendor magic into your kitchen. Few things in life are as satisfying as pulling apart a freshly fried youtiao and feeling that perfect crunch give way to pillowy warmth.
Recipe Questions & Answers
- → What makes youtiao puff up during frying?
-
The combination of baking powder and baking soda creates carbon dioxide when heated, while the paired dough strips expand and separate in hot oil. Proper resting periods allow gluten to relax, enabling maximum puffiness during frying.
- → Can I make the dough ahead of time?
-
Yes, the dough can be prepared and refrigerated overnight after the first rest period. Let it come to room temperature before rolling and cutting. This actually develops flavor and can improve texture.
- → Why do I need to pair two strips together?
-
Pairing strips creates the classic hollow center characteristic of youtiao. As the dough fries, steam builds between the layers, causing them to separate and form that signature light, airy interior.
- → What's the best oil temperature for frying?
-
Maintain oil at 375°F (190°C) for optimal results. Too cool and the dough absorbs excess oil, becoming greasy. Too hot and the exterior burns before the interior cooks through. Use a kitchen thermometer for accuracy.
- → How do I store and reheat leftover youtiao?
-
Store cooled sticks in an airtight container at room temperature for up to 2 days. Reheat in a 350°F (175°C) oven for 5-7 minutes to restore crispiness. Avoid microwaving as this makes them tough and chewy.
- → Can I bake instead of deep fry?
-
Baking won't produce authentic results - the exterior won't achieve the same crispness and the interior won't develop the characteristic hollow texture. For similar results with less oil, try air frying at 375°F for 8-10 minutes, turning halfway.
