
 Pin this
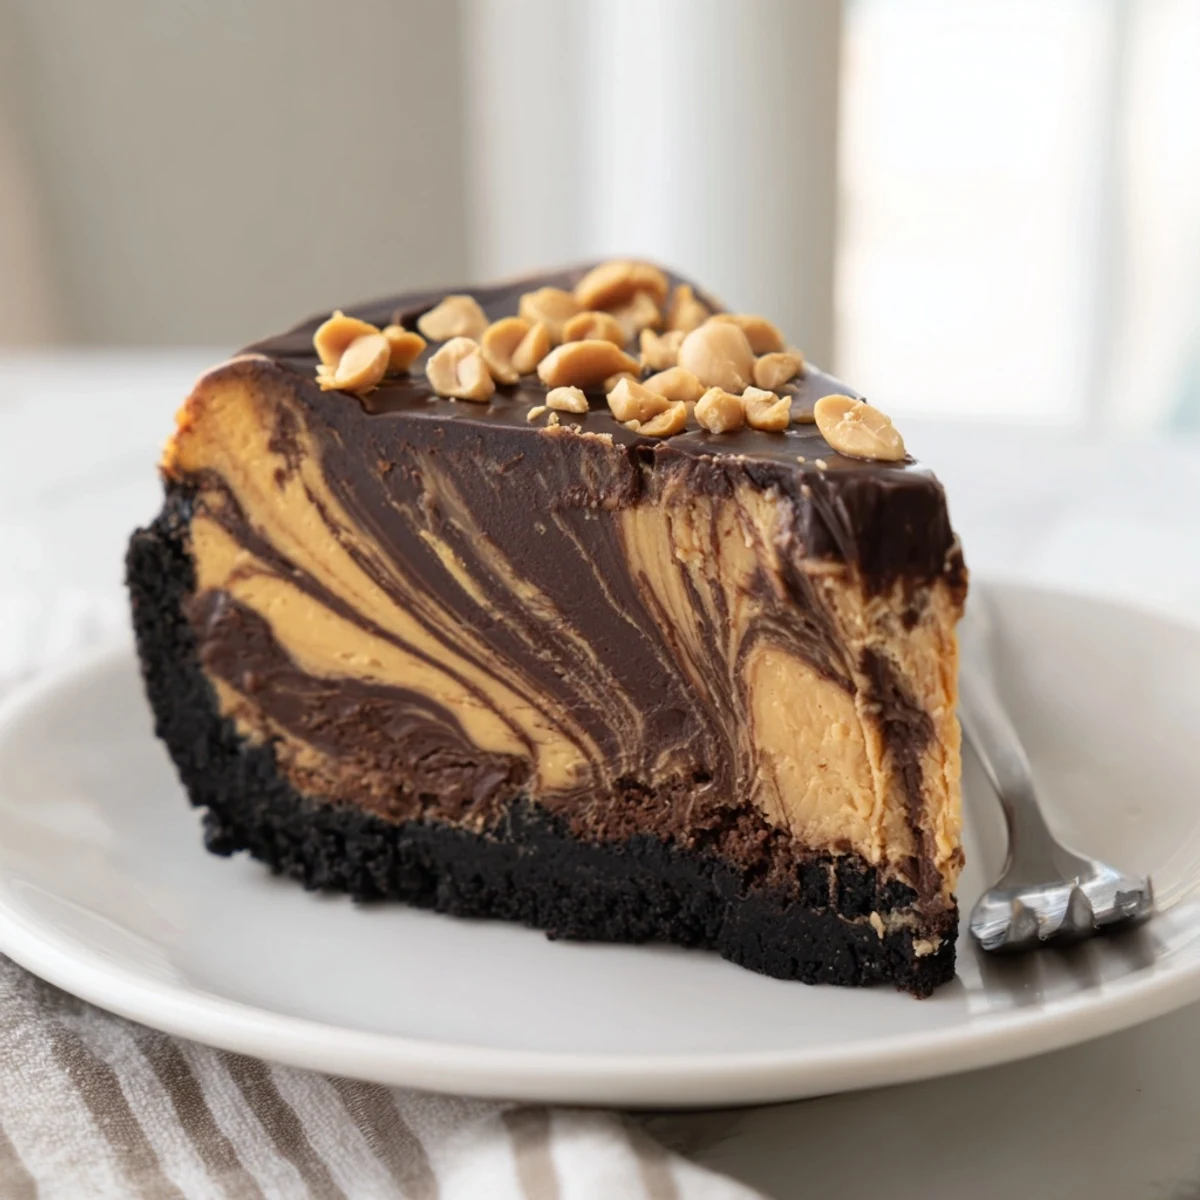
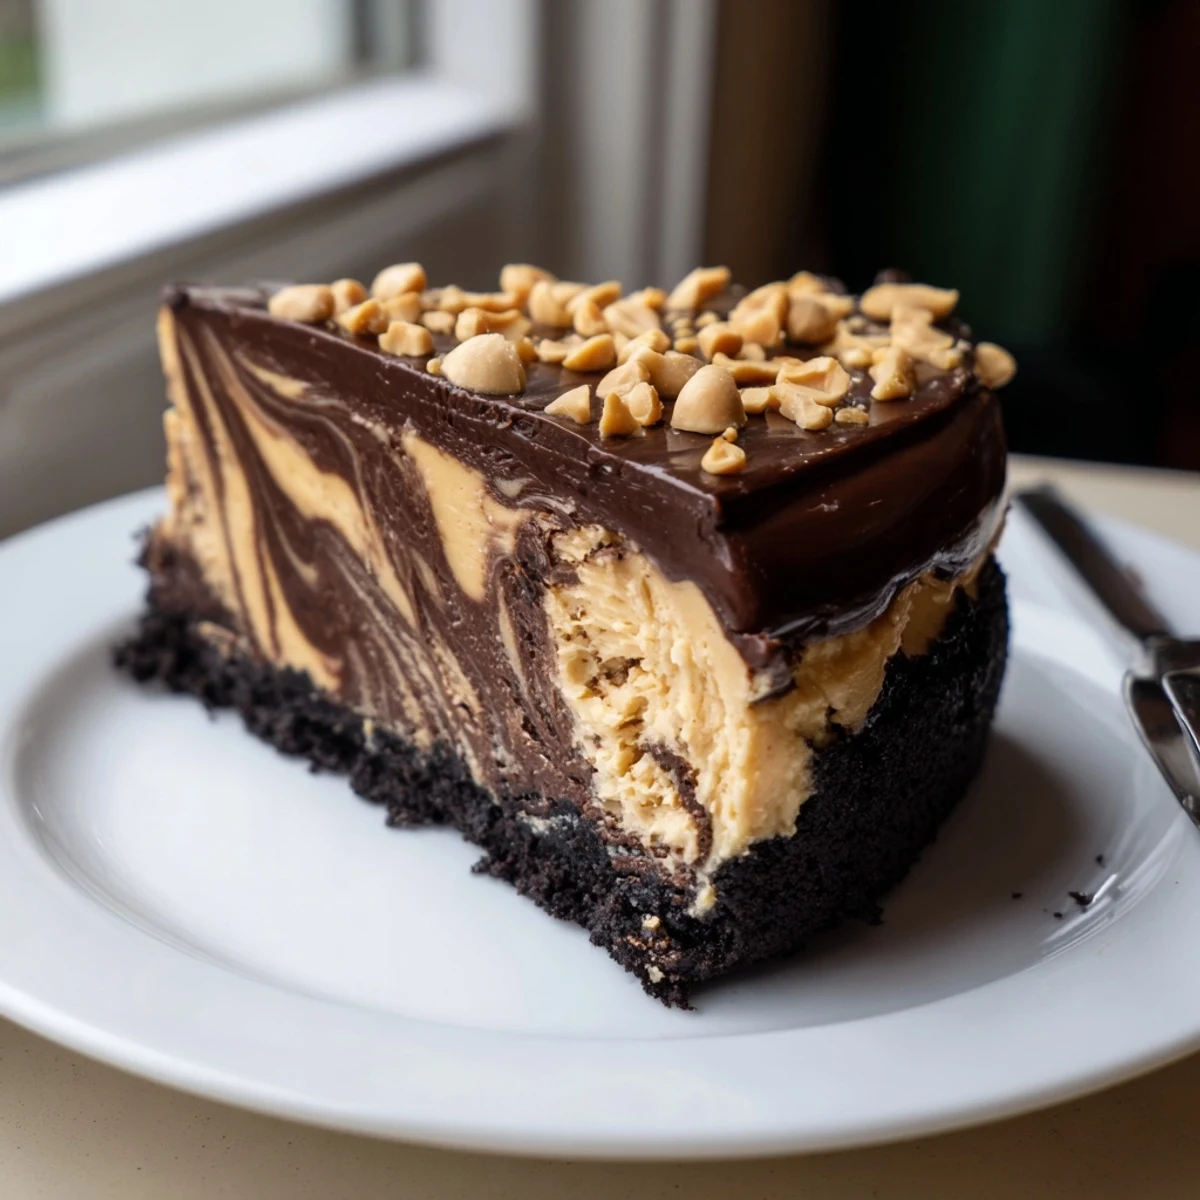
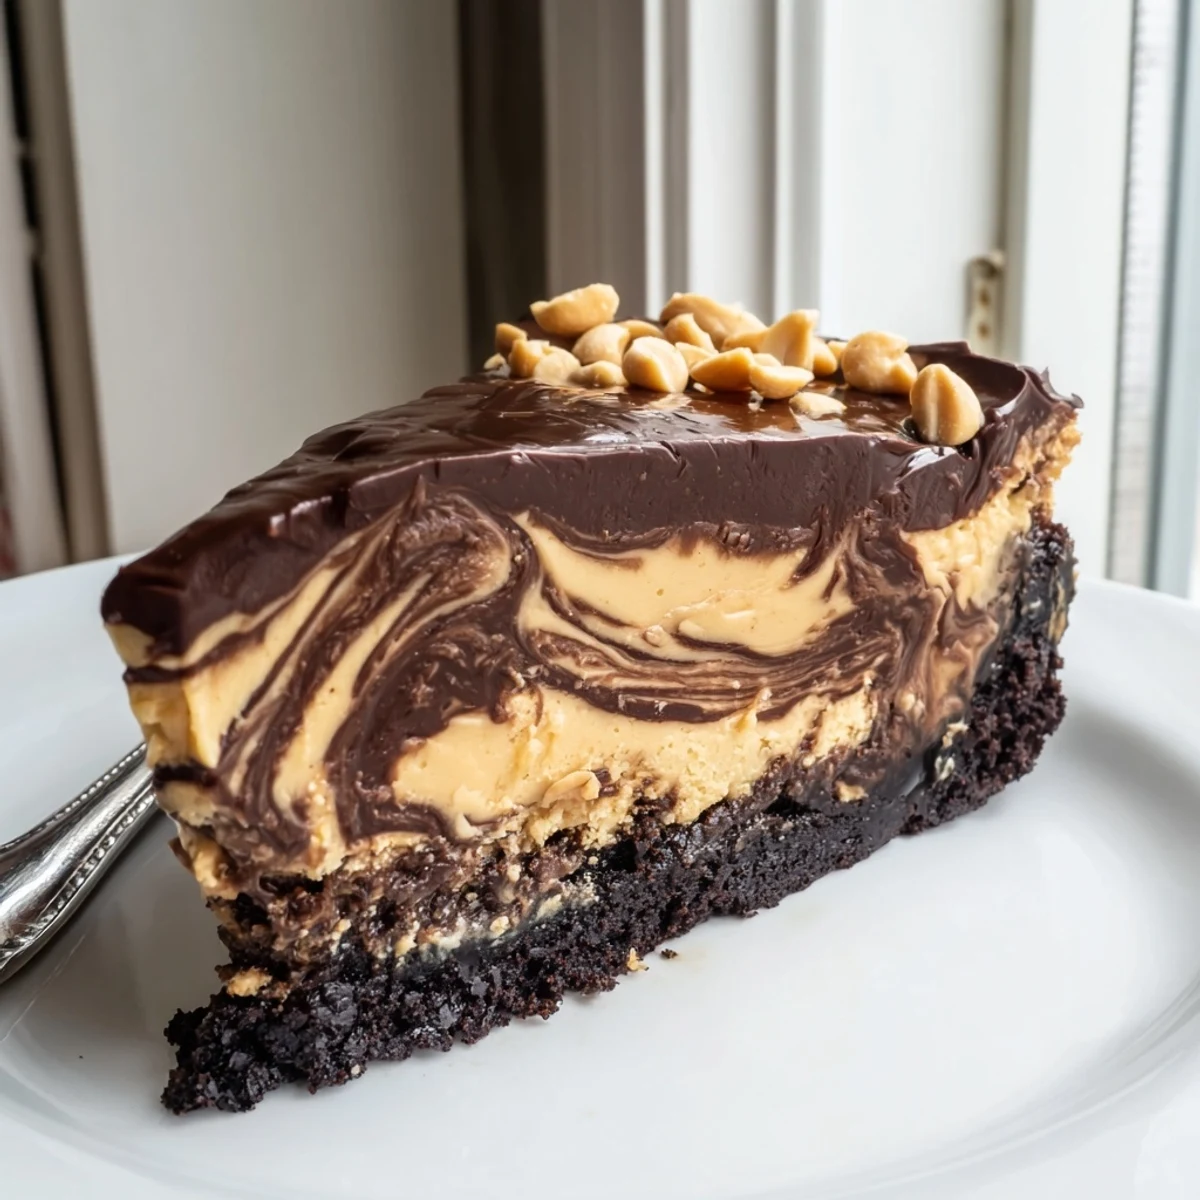
 This chocolate peanut butter cheesecake brings together two beloved flavors in one showstopping dessert. A buttery crushed cookie crust forms the base, layered with a swirled filling of rich dark chocolate and smooth peanut butter cream cheese mixture.
The marbled effect is achieved by pouring the two fillings separately and gently swirling with a knife. After a slow bake and thorough chilling, the cheesecake is finished with a glossy chocolate peanut butter ganache and optional roasted peanut garnish.
Allow at least 4 hours of refrigeration, or preferably overnight, for the best set and texture. Each slice delivers a velvety, indulgent experience worth every minute of preparation.
My kitchen still smells like roasted peanuts and dark cocoa from three days ago, and honestly I am not mad about it. This chocolate peanut butter cheesecake started as a birthday experiment that nearly ended in disaster when I forgot to grease the springform pan properly. Somehow the combination of rich chocolate and creamy peanut butter filling rescued the entire project, and now my sister calls it her guilty pleasure.
I brought this to a friends potluck last winter and watched a grown man close his eyes after the first bite, muttering something about his grandmother. We stood around the kitchen island at midnight cutting slivers from the remaining edge because nobody wanted it to end.
Ingredients
- Chocolate sandwich cookies (200 g): Oreos are the classic choice here and the filling actually helps bind the crust together beautifully.
- Unsalted butter (60 g), melted: This is the glue holding your crust together, so do not skimp on it.
- Cream cheese (600 g), softened: Full fat is nonnegotiable for that velvety texture, and let it sit out for at least two hours.
- Smooth peanut butter (200 g): Use a commercial brand rather than natural style, because the stabilizers help the cheesecake set properly.
- Granulated sugar (200 g): This amount balances the dark chocolate bitterness perfectly.
- Large eggs (3): Room temperature eggs blend more smoothly and prevent ugly air bubbles in your filling.
- Vanilla extract (1 tsp): A quiet background note that makes both the chocolate and peanut butter taste more like themselves.
- Sour cream (120 ml): This adds a subtle tang that keeps the richness from becoming cloying.
- Dark chocolate (100 g for filling + 120 g for topping): Something around 60 to 70 percent cacao works best.
- Heavy cream (120 ml): Heated until steaming to create that satiny ganache topping.
- Creamy peanut butter (2 tbsp, for topping): Swirled into the ganache for a salty sweet finish.
- Chopped roasted peanuts (optional): For crunch and visual appeal on top.
Instructions
- Prepare the oven and pan:
- Preheat your oven to 160 degrees Celsius (325 degrees Fahrenheit). Grease a 23 cm springform pan and line the bottom with parchment paper, because trust me, this saves tears later.
- Build the crust:
- Crush the cookies into fine crumbs using a zip top bag and a rolling pin, then mix with melted butter until everything feels like damp sand. Press firmly and evenly into the bottom of the pan, bake for 10 minutes, and let it cool while you work on the filling.
- Start the filling:
- Beat the softened cream cheese and sugar together until completely smooth, scraping the bowl twice so no lumps hide at the bottom. Add the peanut butter and mix until evenly combined.
- Add the eggs and flavorings:
- Crack in the eggs one at a time, beating on low speed after each addition so you do not whip too much air into the batter. Stir in the vanilla and sour cream until just incorporated.
- Split and flavor:
- Divide the filling into two equal halves, then fold the melted and slightly cooled dark chocolate into one half until it looks like silk. The other half stays pure peanut butter.
- Create the marble effect:
- Pour the chocolate layer over the cooled crust and spread it out evenly. Spoon dollops of the peanut butter mixture on top, then drag a butter knife through both layers in gentle figure eight motions.
- Bake with patience:
- Bake for 50 to 60 minutes until the edges look set but the center still wobbles like gelatin when you gently shake the pan. This jiggle is exactly what you want for a creamy finish.
- Cool gradually:
- Turn off the oven, crack the door open, and let the cheesecake cool inside for one full hour. This slow temperature drop prevents the surface from cracking.
- Chill thoroughly:
- Transfer to the refrigerator for at least four hours or preferably overnight, because patience here is the difference between good and extraordinary.
- Make the ganache topping:
- Heat the cream in a small saucepan until it steams but never let it boil, then pour it over the chopped chocolate and stir until glossy. Stir in the peanut butter, let it cool slightly, and spread it over the chilled cheesecake. Sprinkle with chopped peanuts if you want that extra crunch.
 Pin this
 The real magic happened when I served this at my book club and the discussion completely derailed into a debate about whether the chocolate or peanut butter half was superior. Nobody agreed, and somehow that disagreement made the whole evening better.
Choosing Your Chocolate
I learned through trial and error that the chocolate you pick genuinely changes the personality of this dessert. A 50 percent cacao bar makes it sweeter and more kid friendly, while 70 percent brings out an almost truffle like depth that adults seem to love. Go too dark above 80 percent and the bitterness fights with the peanut butter instead of dancing with it.
Peanut Butter Matters More Than You Think
Natural peanut butter that separates in the jar will make your filling greasy and unstable, which I discovered the hard way on my second attempt. Stick with a commercial creamy style like Jif or Skippy because those hydrogenated oils actually serve a purpose here in keeping the texture consistent throughout the cheesecake.
Serving and Storage Wisdom
This cheesecake actually tastes better on day two because the flavors meld and the texture settles into something impossibly smooth. Use a sharp knife dipped in hot water and wiped clean between each cut for those picture perfect slices. Store any leftovers covered in the refrigerator for up to five days, though it never lasts that long in my house.
- Freeze individual slices wrapped tightly in plastic for up to two months and thaw overnight in the fridge.
- A cup of strong black coffee beside a slice of this cake is genuinely one of lifes perfect pairings.
- Always let the cheesecake sit at room temperature for about 20 minutes before slicing so the ganache softens slightly.
 Pin this
 Some desserts are just dessert, but this one has a way of turning a regular evening into something worth remembering. Bake it once and it will become part of your story too.
Recipe Questions & Answers
- → Can I make this cheesecake ahead of time?
-
Yes, this cheesecake actually benefits from being made in advance. You can prepare it up to 3 days ahead and store it covered in the refrigerator. The flavors meld and the texture firms up beautifully overnight.
- → Why does the cheesecake need to cool in the oven with the door cracked?
-
Cooling the cheesecake slowly in the turned-off oven prevents cracks from forming on the surface. A gradual temperature change avoids the sudden contraction that causes the filling to split or sink in the center.
- → Can I use crunchy peanut butter instead of smooth?
-
Smooth peanut butter is recommended for the filling to achieve a silky, uniform texture. However, you can use crunchy peanut butter if you prefer bits of peanut throughout. The topping works well with either variety.
- → How do I get a clean slice when cutting the cheesecake?
-
Use a sharp knife dipped in hot water and wiped clean between each cut. The warm blade glides through the filling and topping cleanly, giving you presentable, restaurant-quality slices every time.
- → Can I freeze leftover cheesecake?
-
Absolutely. Wrap individual slices tightly in plastic wrap, then place in an airtight container. Freeze for up to 2 months. Thaw overnight in the refrigerator before serving for the best texture.
- → What can I substitute for sour cream in the filling?
-
Plain Greek yogurt works as a direct substitute for sour cream. It provides the same tanginess and moisture. Full-fat yogurt will give the closest result to the original creamy texture.