 Pin this
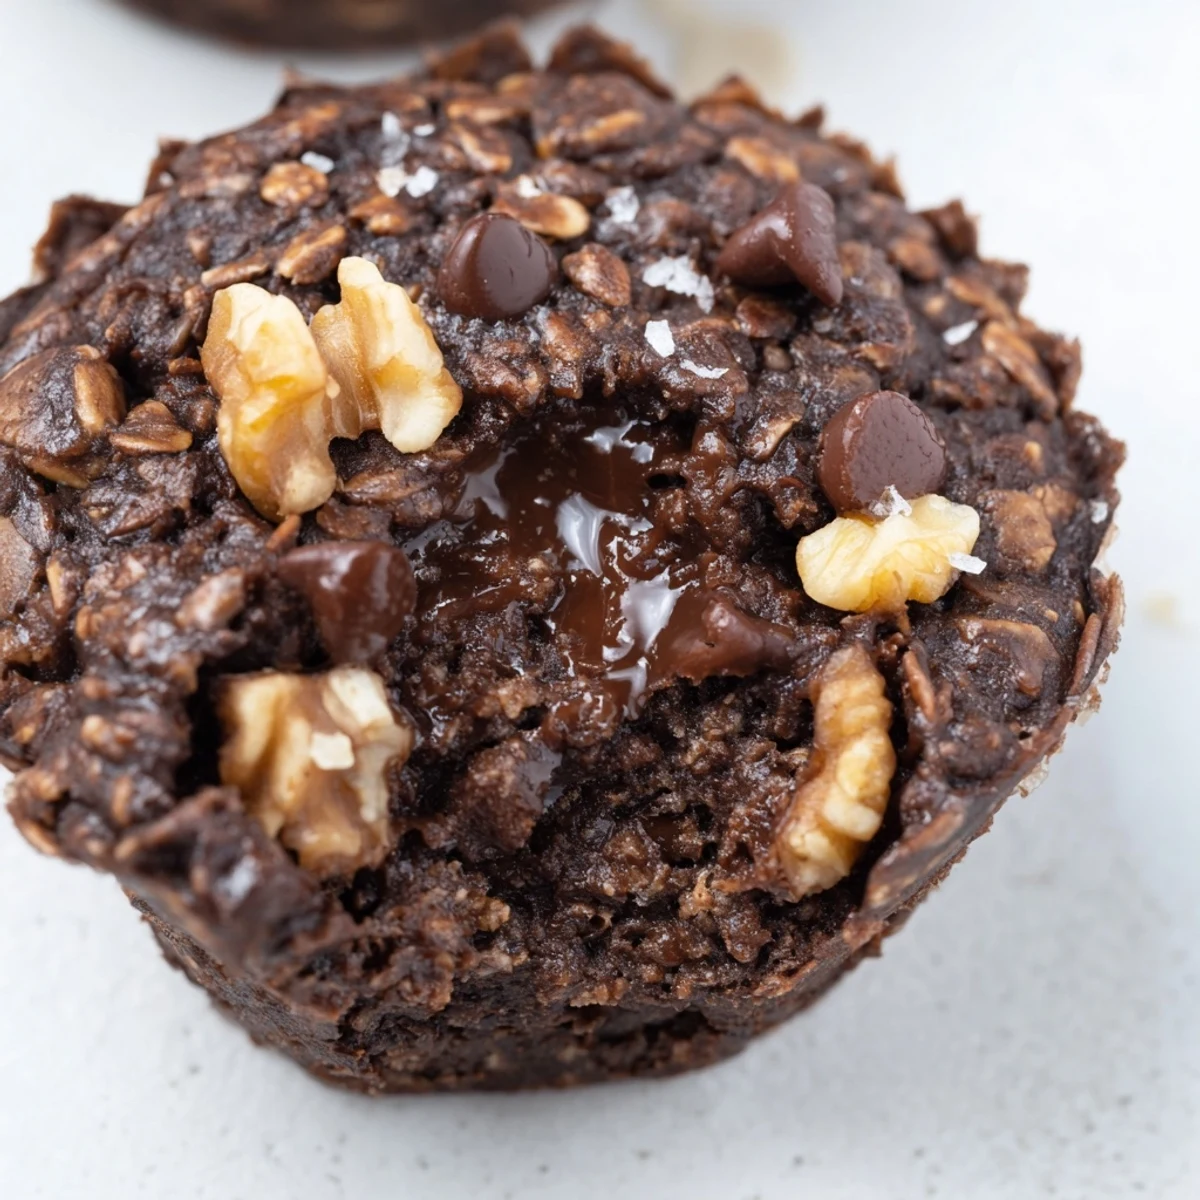
 These decadent dark chocolate oatmeal cups deliver the perfect balance of indulgence and nutrition. Rich cocoa powder melts with dark chocolate chips, while wholesome oats provide hearty texture. A touch of sea salt enhances the chocolate depth, creating fudgy, moist cups that satisfy cravings without the guilt. Ready in 35 minutes, these portable treats are ideal for meal prep, lunchboxes, or anytime snacking.
The smell of cocoa powder hitting my kitchen counter still takes me back to that rainy Tuesday when I decided chocolate for breakfast was absolutely acceptable. These oatmeal cups emerged from a very specific craving: I wanted something that felt like dessert but wouldn't make me crash by 10 AM. My roommate walked in, saw chocolate everywhere, and asked if I was having a breakdown. Nope, just perfecting portable happiness.
I brought a batch to my niece's soccer game once, and suddenly I was the cool aunt. The other parents were skeptical until someone took a bite and immediately asked for the recipe. Now they're my most requested contribution to any gathering, partly because they're impressive and partly because they travel so beautifully.
Ingredients
- 2 cups old-fashioned rolled oats: These give structure and that satisfying chewy texture while keeping things wholesome
- 1/2 cup almond flour or all-purpose flour: Almond flour adds moisture and nuttiness but regular flour works perfectly fine
- 1/4 cup unsweetened cocoa powder: Go for good quality here since it's the star flavor that makes these feel indulgent
- 1/4 teaspoon sea salt: This tiny amount makes the chocolate sing and balances the sweetness
- 1/2 teaspoon baking powder: Just enough lift to keep them from being dense hockey pucks
- 1/2 cup coconut oil melted: Adds richness but melted butter works if that's what you have on hand
- 1/3 cup pure maple syrup: Keeps things moist with a deep sweetness that honey cant quite replicate
- 1/4 cup brown sugar packed: Creates those irresistible caramel notes and chewy edges
- 2 large eggs: Bind everything together and provide structure for the cup shape
- 1 teaspoon vanilla extract: Always use the real stuff because fake vanilla ruins chocolate
- 1 cup dark chocolate chips or chopped dark chocolate: At least 70% cocoa because you want that grownup chocolate intensity
- 1/2 cup chopped walnuts or pecans optional: Add texture and crunch but totally leave them out if you prefer pure chocolate focus
Instructions
- Preheat your oven:
- Get it to 350°F and line your muffin tin with paper liners because nobody has time for scrubbing stuck chocolate out of metal crevices
- Whisk the dry team:
- Combine oats almond flour cocoa powder sea salt and baking powder in a large bowl making sure to break up any cocoa clumps
- Blend the wet mixture:
- Whisk melted coconut oil maple syrup brown sugar eggs and vanilla until completely smooth and glossy
- Bring them together:
- Pour wet ingredients into dry and fold gently until just combined because overmixing makes tough oatmeal cups
- Add the good stuff:
- Fold in dark chocolate chips and nuts letting them distribute evenly throughout the batter
- Fill and bake:
- Divide mixture among muffin cups about 3/4 full and bake 18 to 20 minutes until set but still slightly fudgy in the center
- The patience test:
- Let them cool 10 minutes in the pan then finish cooling on a wire rack because cutting into them too early breaks your heart
 Pin this
 My dad started taking two to work every day after I made these for a family brunch. He calls them his power cups and looks forward to that midmorning chocolate moment. There's something deeply satisfying about eating something that tastes like a treat but actually fuels you through a long morning.
Making Them Your Way
These oatmeal cups are incredibly forgiving and adapt to whatever you're craving. Swap walnuts for pecans or leave nuts out entirely if allergies are a concern. Sometimes I throw in dried tart cherries which cut through all that rich chocolate beautifully.
Storage Secrets
They'll stay perfect on your counter for three days in an airtight container though in my house they disappear much faster. The freezer option is a game changer for busy weeks just wrap individually and grab one whenever you need it.
Serving Ideas That Hit Different
A warm oatmeal cup with a dollop of Greek yogurt transforms it into a legitimate breakfast. I've also crumbled them over vanilla ice cream for dessert when I wanted to feel fancy but lazy. A sprinkle of flaky sea salt on top before baking makes them taste bakery-worthy.
- Try them with morning coffee for a mocha experience
- Crumble over oatmeal for extra chocolate intensity
- Serve warm with a glass of cold milk
 Pin this
 Every time I pull these from the oven I'm reminded that sometimes the best recipes come from very specific cravings and a little bit of kitchen chaos. Hope they become your go to chocolate fix too.
Recipe Questions & Answers
- → Can I make these oatmeal cups vegan?
-
Yes, substitute the two large eggs with flax eggs (2 tablespoons flaxseed meal mixed with 5 tablespoons water) and use dairy-free dark chocolate chips. The texture remains wonderfully fudgy.
- → How should I store these chocolate oatmeal cups?
-
Keep them in an airtight container at room temperature for up to 3 days for the fudgiest texture. For longer storage, freeze individually wrapped cups for up to 2 months and thaw at room temperature.
- → What makes these cups fudgy rather than dry?
-
The combination of melted coconut oil, brown sugar, maple syrup, and cocoa powder creates a moist, dense texture. The dark chocolate chips also melt during baking, adding to the fudgy consistency.
- → Can I reduce the sugar content?
-
Decrease maple syrup to ¼ cup and omit brown sugar entirely. The dark chocolate chips will still provide sweetness, though the cups will be less sweet overall. You may also use a natural sugar-free sweetener.
- → What nuts work best in these cups?
-
Walnuts and pecans are excellent choices, adding crunch and earthy flavor. For a softer texture, try hazelnuts which complement chocolate beautifully. You can also omit nuts entirely or swap for dried tart cherries.
- → Why do I need to let them cool in the pan?
-
Resting for 10 minutes allows the structure to set properly. The centers are very fragile when hot, and cooling slightly prevents them from falling apart when removed from the muffin tin.
