 Pin this
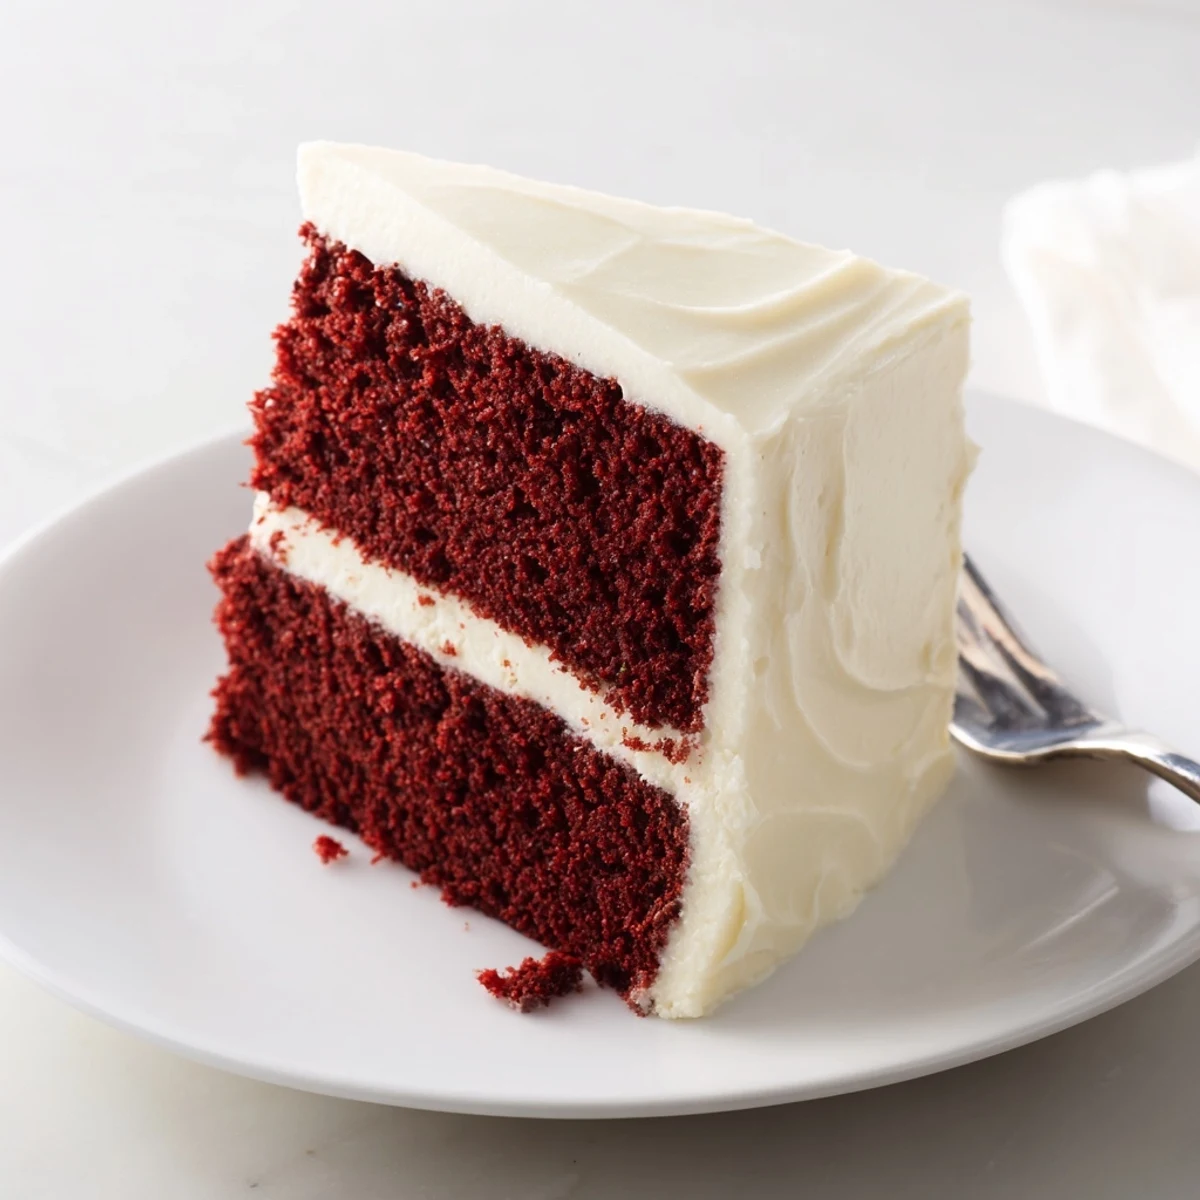
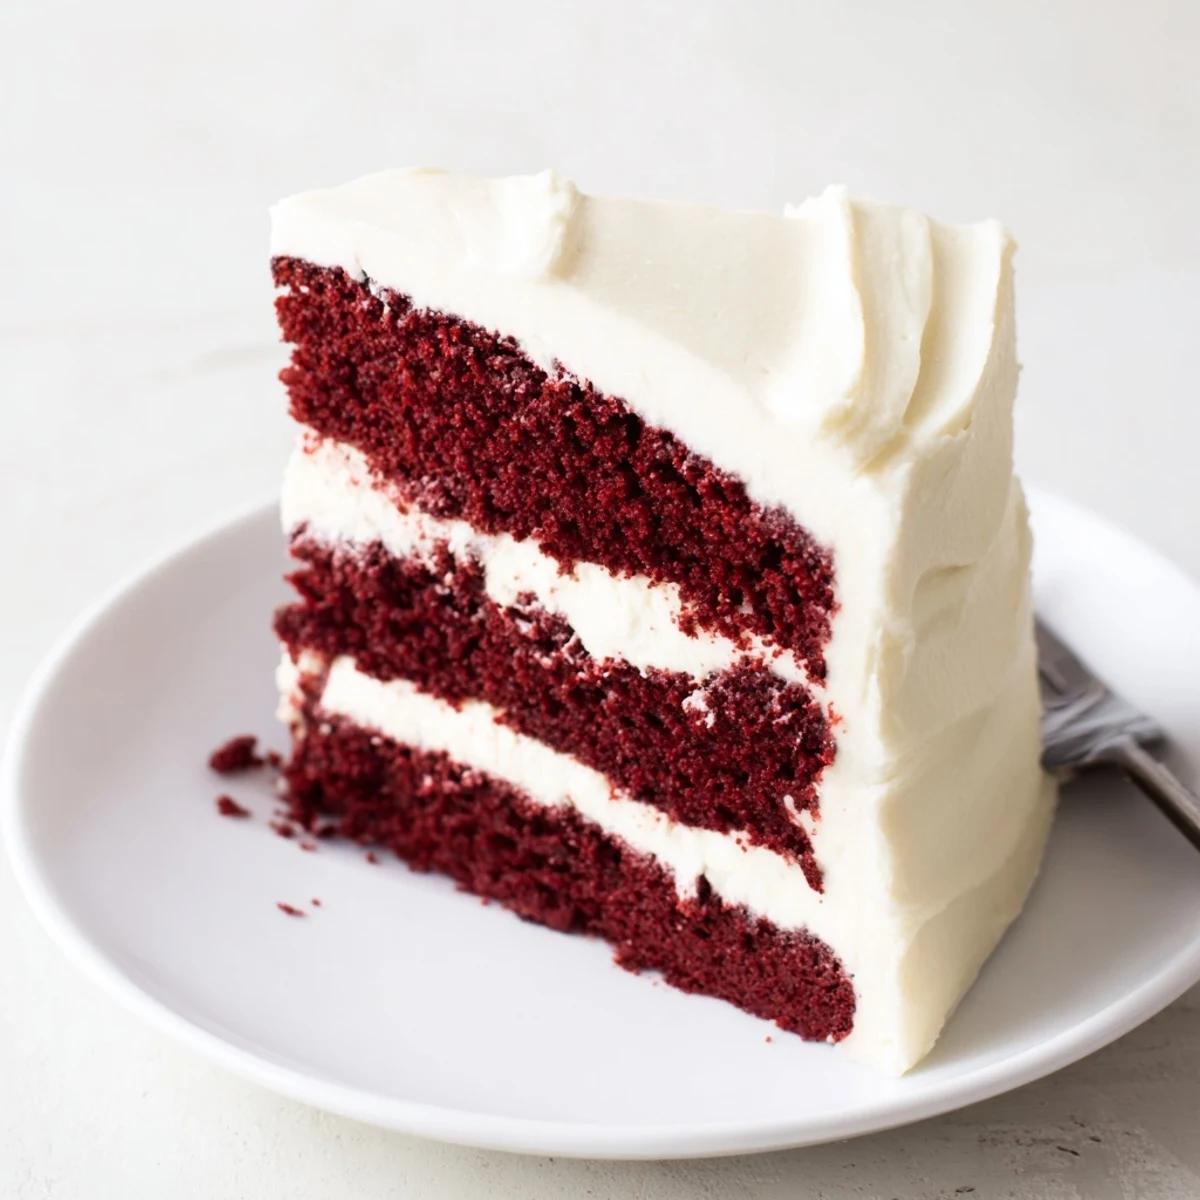
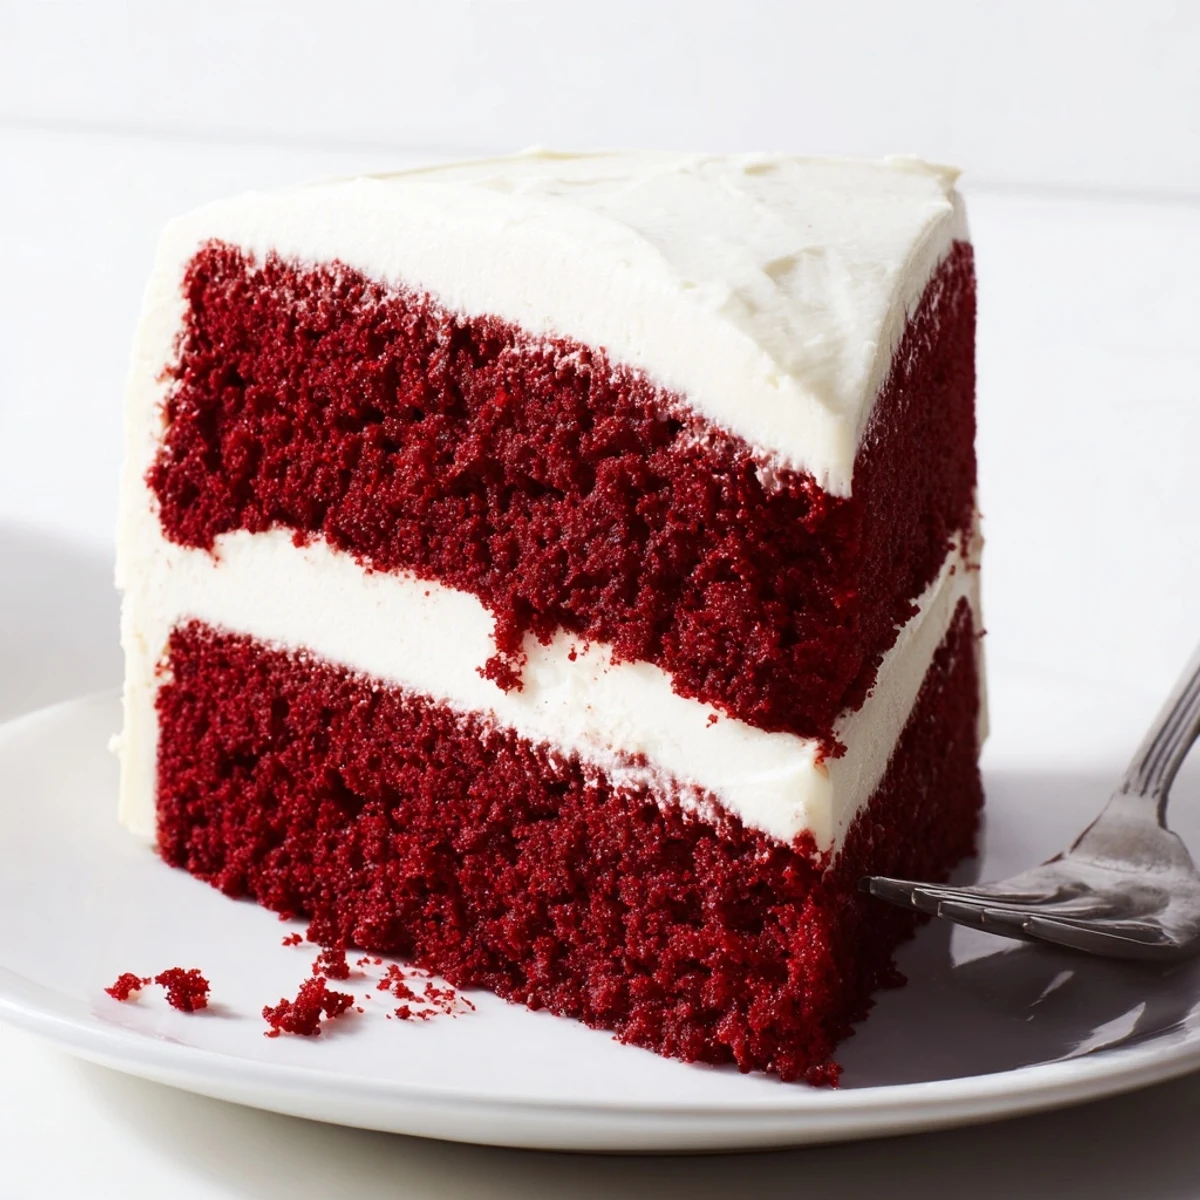
 This luscious red velvet cake delivers the perfect balance of subtle cocoa flavor and velvety texture, topped with creamy homemade frosting. The buttermilk and oil-based batter creates exceptional moistness that stays fresh for days. With its signature vibrant red color and smooth cream cheese frosting, this classic American dessert serves 12 and requires just 25 minutes of prep time before baking.
My sister called me at midnight, voice crackling with excitement about a red velvet cake she had just tasted at a wedding. She described it as this perfect balance of chocolate and something else she couldn't name, and the next morning I was in my kitchen determined to recreate that mystery flavor.
I made three versions that week, tweaking the cocoa and vinegar ratios each time. By Saturday, my kitchen counters were covered in red splatters and my family had eaten more red velvet cake than any human should consume in a lifetime, but we finally nailed it.
Ingredients
- Flour: Sift it twice to prevent any clumps in your batter
- Granulated sugar: Creates that tender crumb structure
- Baking soda: Reacts with the vinegar for extra lift
- Fine salt: Balances the sweetness and enhances chocolate flavor
- Unsweetened cocoa powder: Just enough for depth without overpowering
- Vegetable oil: Keeps the cake moist for days
- Buttermilk: Room temperature helps it incorporate smoothly
- Large eggs: Also at room temperature for proper emulsification
- Red food coloring: 2 tablespoons gives that classic velvety hue
- Vanilla extract: Use pure extract for the best flavor
- White vinegar: The secret ingredient that activates the baking soda
- Cream cheese: Completely softened prevents lumpy frosting
- Unsalted butter: Softened to room temperature for smooth beating
- Powdered sugar: Sifting removes lumps before adding
- Salt: A pinch cuts through the cream cheeses richness
Instructions
- Preheat your oven:
- Set it to 350°F and prepare two 9-inch round pans with grease and flour
- Mix the dry ingredients:
- Sift flour, sugar, baking soda, salt, and cocoa powder in a medium bowl until combined
- Whisk the wet ingredients:
- Combine oil, buttermilk, eggs, food coloring, vanilla, and vinegar until smooth
- Combine everything:
- Gradually fold the dry ingredients into the wet mixture just until smooth
- Bake the layers:
- Divide batter evenly between pans and bake 28 to 30 minutes until a toothpick comes out clean
- Cool completely:
- Let cakes rest in pans 10 minutes, then move to a wire rack
- Make the frosting:
- Beat cream cheese and butter until smooth, then gradually add powdered sugar, vanilla, and salt
- Assemble the cake:
- Stack the layers with frosting between and coat the top and sides
- Chill before serving:
- Refrigerate 30 minutes for the cleanest slices
 Pin this
 That first perfect cake went to my nieces birthday party, and I watched seven kids stand around the serving table with red frosting mustaches, completely silent while eating. The birthday girl told me it tasted like a hug.
Getting The Perfect Red Color
I have learned that gel food coloring produces a deeper red than liquid without adding extra moisture to your batter. Start with less and add more gradually until you reach that classic velvety shade.
Making The Frosting Silky Smooth
Cold cream cheese creates tiny lumps that no amount of beating can fix. Leave both blocks out for at least an hour, and when in doubt, microwave the cream cheese for 10 seconds to take the chill off.
Storage And Serving Tips
This cake actually tastes better the next day as the flavors meld together. Keep it refrigerated but bring slices to room temperature 20 minutes before serving.
- Use a hot knife for perfectly smooth frosting surfaces
- Place cake pops under the serving plate to catch crumbs while frosting
- The unfrosted cake layers freeze beautifully for up to a month
 Pin this
 Every time I pull a red velvet cake from the oven now, I remember that midnight call and the week of experimental baking that followed. Some recipes are just worth the trouble.
Recipe Questions & Answers
- → What makes red velvet cake different from regular chocolate cake?
-
Red velvet cake has a much milder cocoa flavor than traditional chocolate cake, with a distinctive velvety texture from the buttermilk and oil combination. The reaction between buttermilk and vinegar, along with the classic cream cheese frosting, creates its signature tangy-sweet flavor profile that sets it apart.
- → Can I make red velvet cake ahead of time?
-
Yes, the unfrosted cake layers can be wrapped tightly and stored at room temperature for up to 2 days or frozen for up to 3 months. Thaw frozen layers overnight before frosting. The completed cake also keeps well refrigerated for 3-4 days, and actually tastes better after chilling as the flavors meld together.
- → Why is my red velvet cake not red enough?
-
The color intensity depends on the quality and brand of food coloring used. Gel-based colors typically produce more vibrant results than liquid versions. For deeper red hues, you can add up to 3 tablespoons of coloring, though excessive amounts may affect the texture. Natural alternatives like beet juice exist but produce more subtle results.
- → How do I prevent my cream cheese frosting from becoming too soft?
-
Ensure both cream cheese and butter are completely softened to room temperature before beating, but avoid over-mixing which can thin the frosting. Chill the frosted cake for 30 minutes before serving. If your kitchen is particularly warm, refrigerate the frosting until slightly stiffened before applying it to the cake.
- → Can I substitute the buttermilk in this cake?
-
You can create a buttermilk substitute by mixing 1 cup of whole milk with 1 tablespoon of lemon juice or white vinegar. Let the mixture sit for 5-10 minutes until it thickens and curdles slightly. This homemade version provides the necessary acidity for the chemical reaction that creates the cake's tender crumb.
