 Pin this
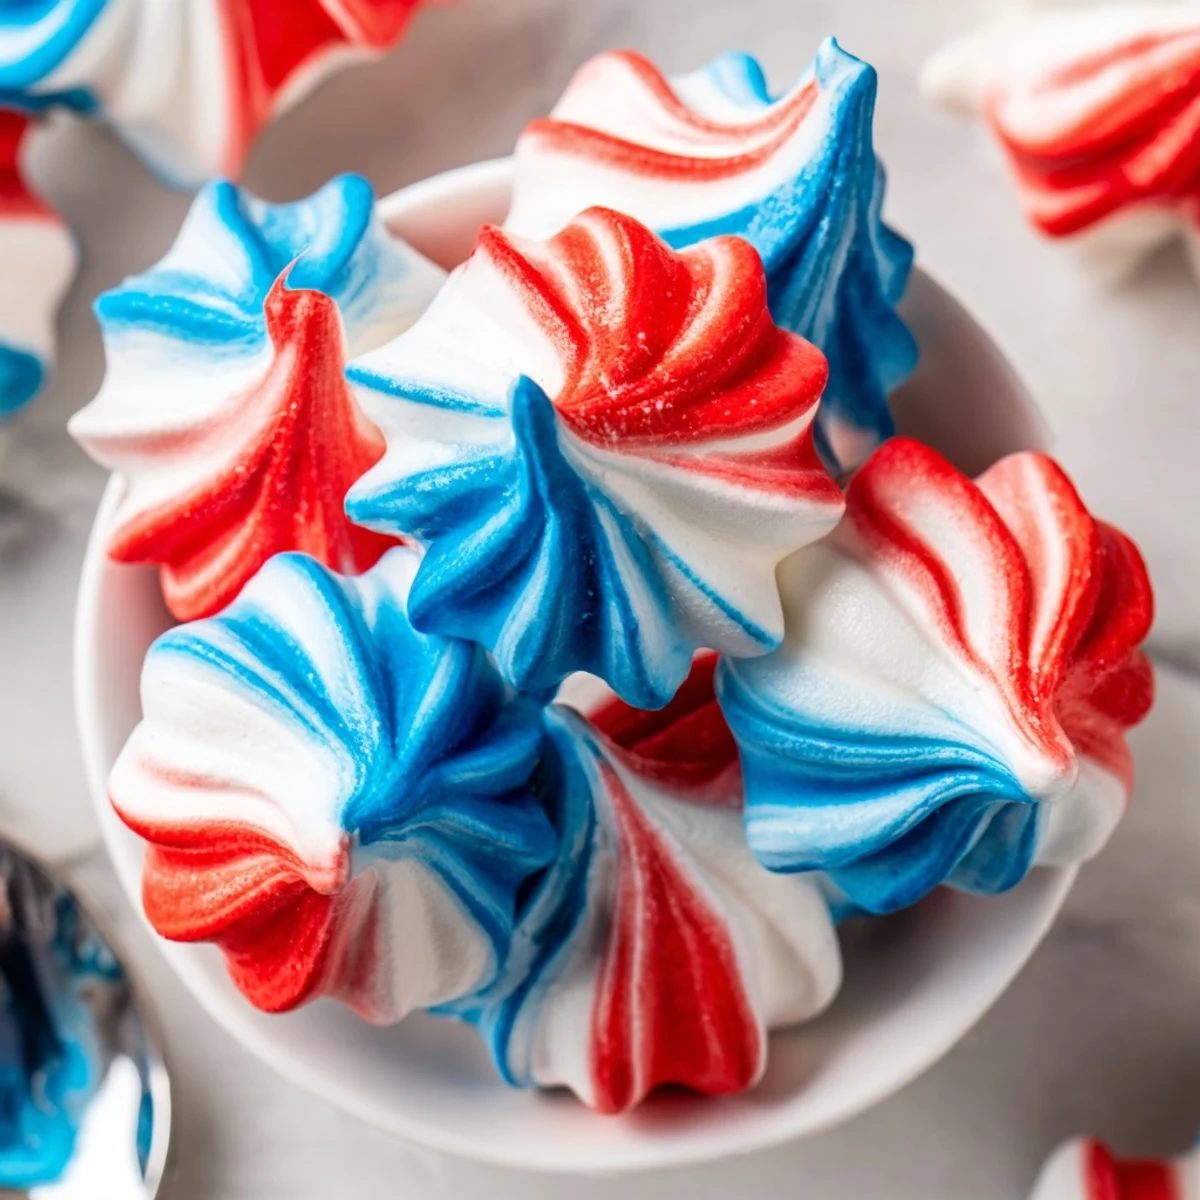
 Light, crisp meringue kisses are created by whipping room-temperature egg whites with cream of tartar, then adding sugar gradually until glossy, stiff peaks form. Pipe 1–1.5 inch mounds from a bag lined with red and blue gel stripes to achieve the tri-color effect. Bake low at 200°F (90°C) for 1 hour 15 minutes, then cool in the turned-off oven for an hour to dry fully. Store airtight at room temperature for up to five days.
The first time I made these meringue kisses, the late afternoon sun was pouring into my kitchen and the promise of a barbecue hung in the air. I could hear kids running outside, laughter echoing through open windows as I cracked eggs with slightly sticky fingers. The idea came from a wild streak of patriotism (and a love for tiny desserts that fit perfectly between your fingers). Swirling the red and blue stripes felt like a playful experiment in edible art more than following a strict recipe.
One year I brought a plate to our neighborhood Fourth of July potluck. Watching friends marvel over the glossy little swirls, I admitted it took three piping bags before I got the colors just right—it cracked everyone up and the leftovers vanished before I could blink. I swear it's the candy-like crunch that keeps people reaching for one more. The biggest surprise? Even my friend who 'doesn't like meringue' couldn't help but grab a second.
Ingredients
- Egg Whites: Letting them reach room temperature means fluffier meringue; any hint of yolk will flatten your peaks.
- Granulated Sugar: Add slowly for that glossy, stable texture; rush it, and you risk graininess.
- Cream of Tartar: This little ingredient makes everything more reliable and keeps the meringue from deflating.
- Salt: Just a pinch sharpens the sweetness and balances the flavor.
- Vanilla Extract: Minimal but mighty—adds warmth to every bite without overpowering.
- Red & Blue Gel Food Coloring: Gel works best for vibrant stripes without thinning the batter.
Instructions
- Prep and Line:
- Preheat your oven to 200°F and line two baking sheets with parchment; I always triple check for any grease on the parchment, just in case.
- Whip the Egg Whites:
- Crack egg whites into a squeaky-clean bowl with cream of tartar and whip on medium until billowy, soft peaks whisper across the beaters.
- Build the Gloss:
- Sprinkle in the sugar one spoon at a time, letting the mixer work its magic until stiff, shiny peaks stand tall and proud (about 5 to 7 minutes).
- Flavor and Finish:
- Add salt and vanilla, giving a final quick whip just until blended—pause and admire the silky texture before moving on.
- Stripe and Fill:
- With a food-safe brush, paint three bold stripes—red, blue, and one left plain—inside your piping bag; gently spoon in the meringue, being careful not to smudge your stripes.
- Pipe with Precision:
- Pipe out little mounds an inch apart, each with a cheerful flourish; don’t worry if a few look quirky, every batch has its outliers.
- Bake and Cool:
- Bake for 75 minutes until crisp and dry, then turn off the oven, leaving the kisses inside to cool for an hour—old trick for melt-in-your-mouth crunch.
- Peel and Store:
- Gently peel kisses from the parchment and store airtight at room temperature; if any break, snack on them immediately—that’s the rule.
 Pin this
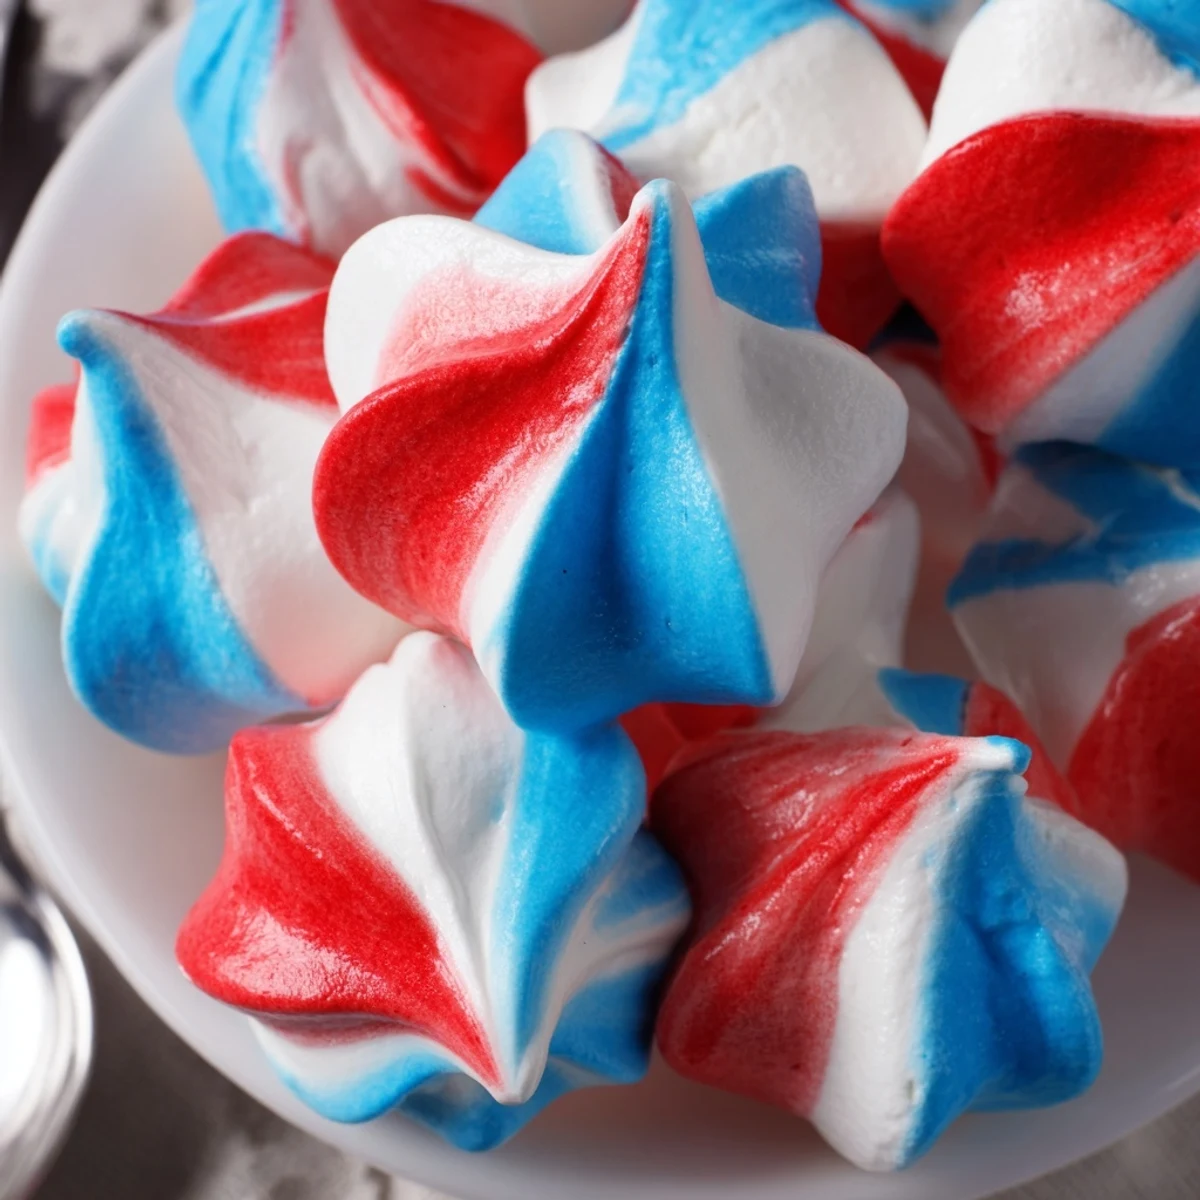
 I will never forget the evening my neighbor’s youngest asked if she could help paint the piping bag—both of us giggling as she painted wildly uneven stripes across the inside. It didn’t matter that half the kisses came out jazzy and mismatched, because everyone said they looked like ‘fireworks in dessert form.’ Those imperfect kisses actually vanished first. Sometimes, kitchen chaos makes the memories that stick.
Getting That Flawless Stripe
No need to stress over perfect lines—wipe your brush between colors and go bold with thick stripes for the best visual result. If the bag feels crowded or colors bleed after your first squeeze, reload gently and try again. The first few meringues might come out with muddled color but soon you'll hit your stripe stride. My best batches always happen when I stop overthinking and just have fun with it.
Keeping Meringues Crisp
Humidity is the enemy here—on sticky days, let the finished meringues cool completely in the oven with the door barely cracked open. Store the kisses in a truly airtight container and they'll stay snappy for several days. If they soften, a quick ten-minute low oven session brings them right back. Just don’t refrigerate or they’ll melt into sadness.
Creative Serving Ideas
I sometimes arrange these kisses like a star on a big platter or tuck a handful into little paper bags as party favors. Their lightness makes them perfect as toppers for ice cream sundaes or alongside cold berries. Kids love swirling different colors for birthdays or themed parties—let them pick the palette once and watch their faces light up.
- Try gold or silver edible dust for a surprise shimmer effect.
- Pipe mini versions for festive cupcake toppers.
- If your meringue gets droopy, wipe everything down and start with fresh, spotless tools.
 Pin this
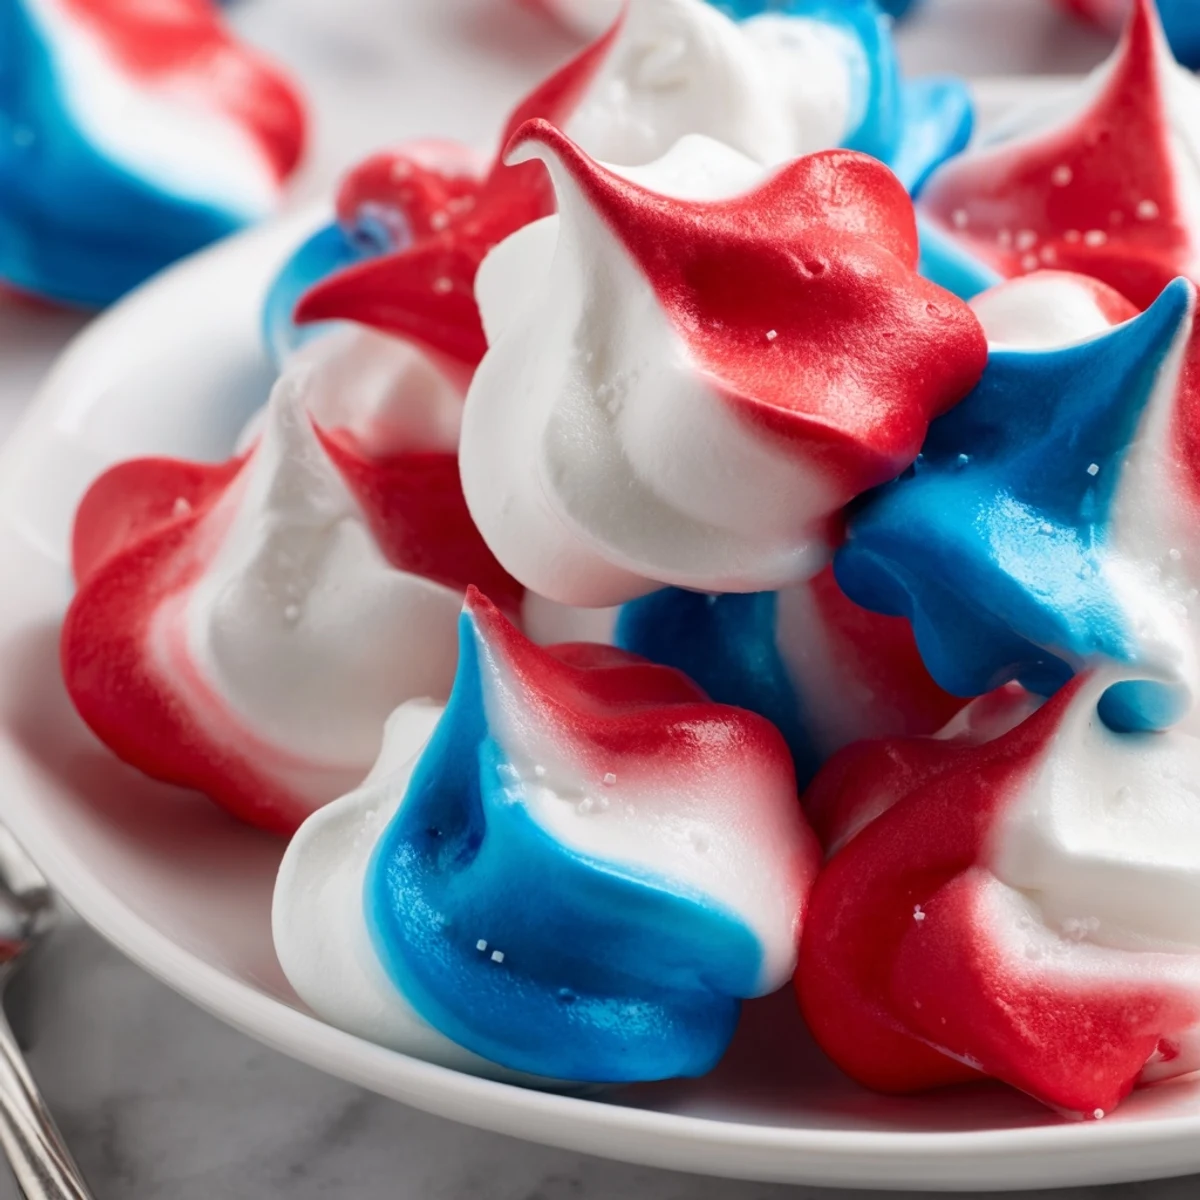
 Every batch of these meringue kisses brings a little extra celebration to the table. Share, gift, or sneak a few for yourself—they’re pure, crisp delight in every swirl.
Recipe Questions & Answers
- → How do I achieve glossy, stiff peaks?
-
Use room-temperature egg whites and a clean, grease-free bowl. Start beating at medium speed until soft peaks, then add sugar gradually while increasing to high speed until the meringue is glossy and holds stiff peaks.
- → Why bake at a low temperature for so long?
-
Low, slow baking dries the meringues without browning, producing a crisp exterior and dry interior. It removes moisture steadily, preventing cracking or color loss from overheating.
- → What’s the best way to paint stripes inside the piping bag?
-
Use a small food-safe brush to paint narrow stripes of gel coloring down the sides of the bag before adding meringue. Keep the brush strokes thin for defined ribbons of color when piping.
- → How should I store finished meringue kisses?
-
Once fully cooled and dry, store in an airtight container at room temperature in a single layer or separated with parchment. Keep away from humidity; they stay crisp up to five days.
- → Can I use different sugars for a smoother texture?
-
Superfine or caster sugar dissolves faster and can yield a smoother meringue, but regular granulated sugar works if added slowly and beaten until fully dissolved and glossy.
- → How can I intensify the colors without affecting texture?
-
Use concentrated gel or paste food coloring sparingly; a little goes a long way. Avoid liquid colorings that add moisture, which can soften the meringue.
