 Pin this
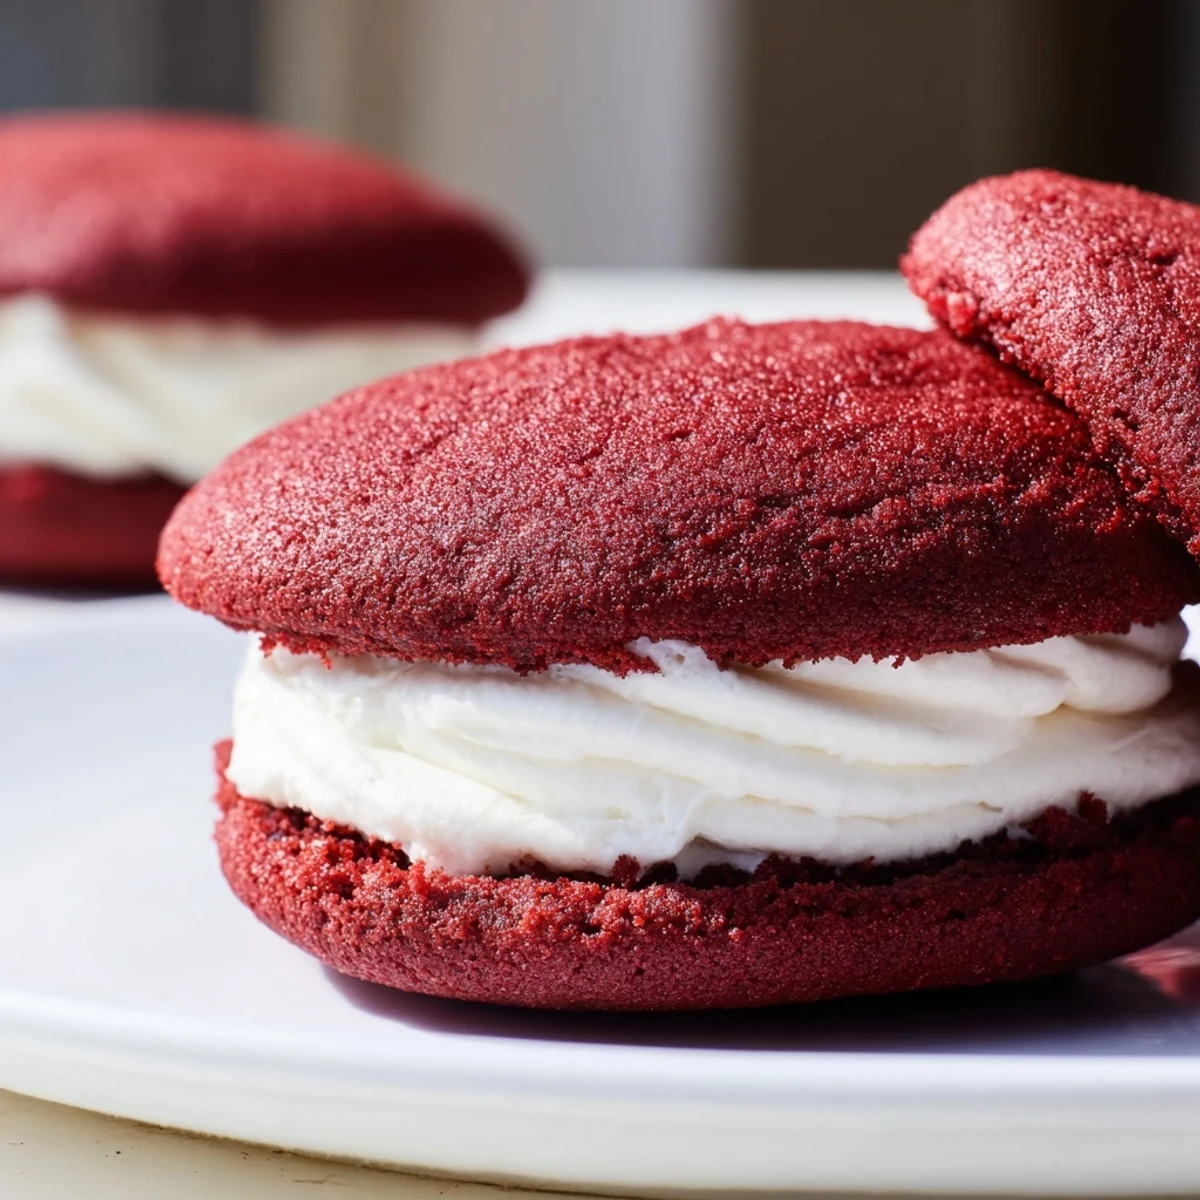
 These whoopie pies feature soft, tender red velvet cookies made with cocoa and buttermilk. The cookies are baked to a perfect cake-like texture, then paired with a fluffy marshmallow cream filling flavored with vanilla and a hint of salt. Together, they create a moist, sweet sandwich ideal for dessert or any special occasion. The process involves mixing dry and wet ingredients separately, combining them gently, and carefully baking the batter portions. After cooling, the creamy filling is spread between the cookies to form delicious, handheld treats.
The first time I made red velvet whoopie pies, I accidentally dyed my kitchen counter pink. My roommate walked in, took one look at the scene, and asked if we'd been hosting a toddler's birthday party. But one bite of those marshmallow-filled sandwich cookies, and she stopped laughing entirely.
I brought a batch to my niece's birthday party last spring, and her dad asked if I'd married a pastry chef in secret. The truth is much less impressive, just a Saturday afternoon with too much red food coloring and a very patient stand mixer doing most of the work.
Ingredients
- 2 cups all-purpose flour: The foundation for that cake-like texture, don't pack it down when measuring
- 2 tbsp unsweetened cocoa powder: Just enough to give red velvet its signature chocolate undertone without overpowering
- 1/2 tsp baking soda: Helps these puff up into perfect little sandwich halves
- 1/4 tsp salt: Balances the sweetness and wakes up all the flavors
- 1/2 cup unsalted butter, softened: Room temperature is non-negotiable here for proper creaming
- 1 cup granulated sugar: Creates tenderness and helps with that perfect crackly top
- 1 large egg: Bring it to room temperature too, everything emulsifies better that way
- 1 tsp vanilla extract: Pure extract makes a difference you can actually taste
- 1/2 cup buttermilk: The secret to red velvet's signature tang and softness
- 1 tbsp red food coloring: Gel coloring gives deeper color with less liquid, but liquid works fine too
- 1/2 cup unsalted butter, softened: For the filling, again room temperature makes everything easier
- 1 1/2 cups powdered sugar, sifted: Sifting prevents lumps in your silky smooth filling
- 1 cup marshmallow creme: The star of the show, jarred fluff works perfectly
- 1 tsp vanilla extract: A second dose because vanilla makes everything better
- Pinch of salt: Keeps the marshmallow filling from being cloyingly sweet
Instructions
- Get your oven ready:
- Preheat to 350°F and line two baking sheets with parchment paper, this prevents sticking and makes cleanup infinitely easier
- Whisk the dry team:
- In a medium bowl, combine flour, cocoa powder, baking soda, and salt until evenly distributed
- Cream the butter and sugar:
- Beat them together until the mixture turns pale and fluffy, about 3 minutes, this creates the tender texture
- Add the wet ingredients:
- Mix in the egg and vanilla until fully incorporated, then blend in buttermilk and food coloring until the batter turns that signature red
- Combine everything:
- Gradually stir in the dry ingredients just until no streaks remain, overmixing makes tough cookies
- Scoop and space:
- Drop rounded tablespoons of batter onto prepared sheets, leaving 2 inches between each for spreading
- Bake to perfection:
- Cook for 10 to 12 minutes until the tops are set and spring back when gently touched
- Cool completely:
- Let them rest on the baking sheets for 5 minutes, then move to a wire rack, warm cookies melt the filling
- Make the marshmallow filling:
- Beat butter until smooth, add powdered sugar until fluffy, then mix in marshmallow creme, vanilla, and salt until silky
- Assemble your pies:
- Spread filling on the flat side of half the cookies and top with remaining halves, pressing gently
 Pin this
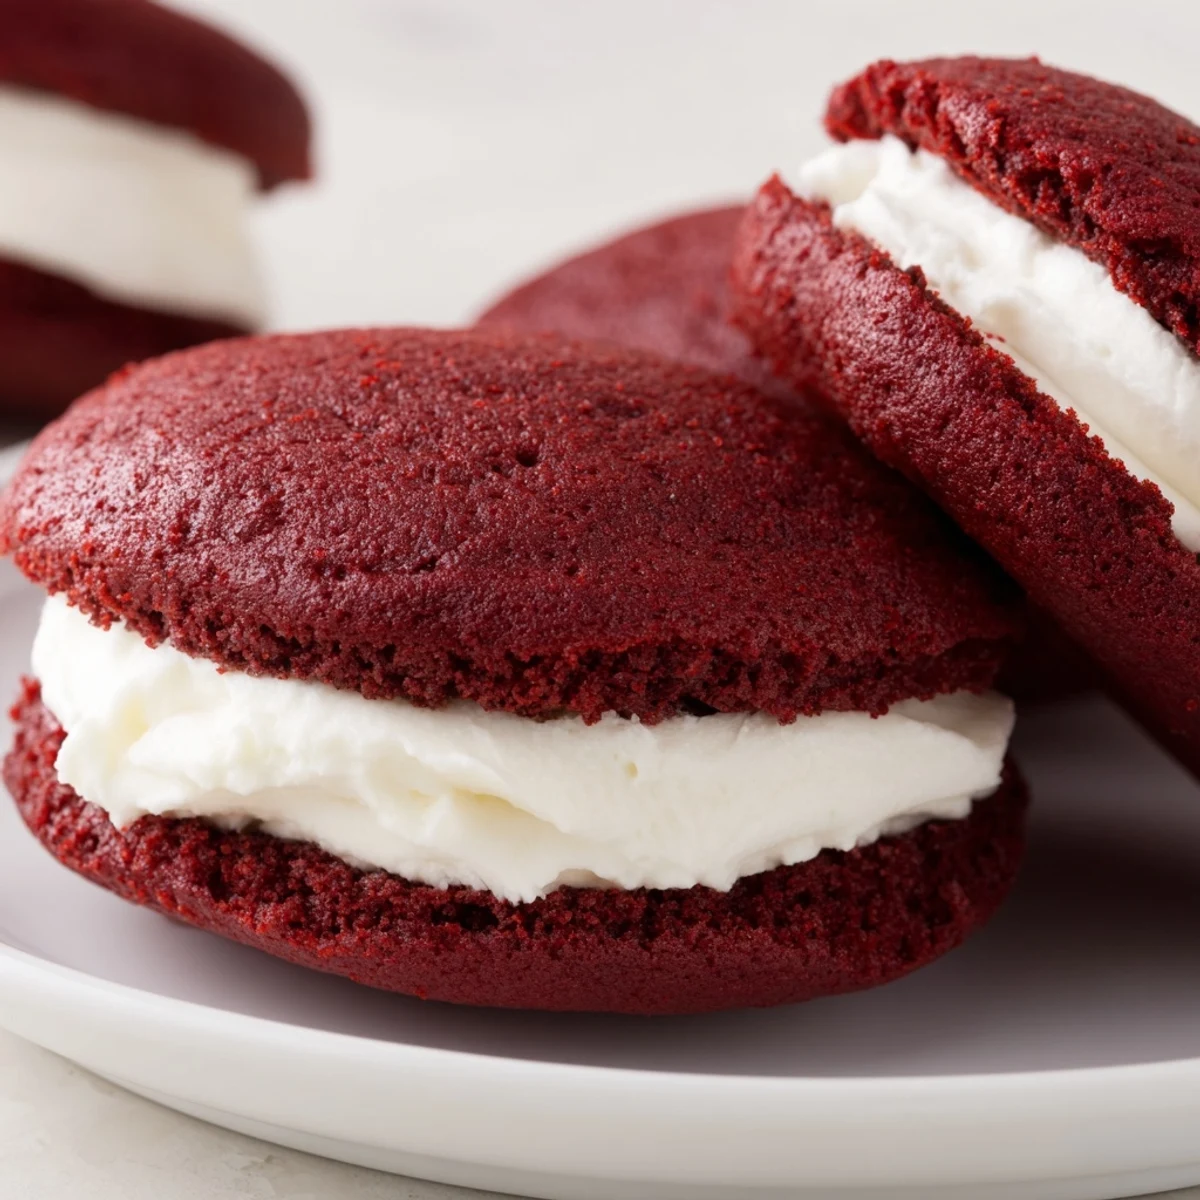
 My grandmother tried one and declared them better than her famous whoopie pies, which is saying something considering she's been making the same recipe for forty years. I think it was the marshmallow filling that won her over, lighter and fluffier than the traditional buttercream she grew up with.
Making Them Your Own
Sometimes I add a tablespoon of cream cheese to the filling for that classic red velvet tang. It's completely optional but creates something reminiscent of a cheesecake-marshmallow hybrid that people go absolutely crazy for.
The Rolling Trick
Rolling the edges in mini chocolate chips or sprinkles after filling makes them look like they came from a bakery. The filling acts as glue, and it hides any imperfections in your piping or spreading technique.
Storage Secrets
These actually taste better on day two when the flavors have had time to mingle and the cookies soften slightly from the marshmallow filling. Store them at room temperature in an airtight container for up to two days, or refrigerate if you prefer them a bit firmer.
- Layer them between wax paper if you need to stack them
- Bring refrigerated pies to room temperature 20 minutes before serving
- The filling firms up nicely when chilled, making them portable for picnics or lunchboxes
 Pin this
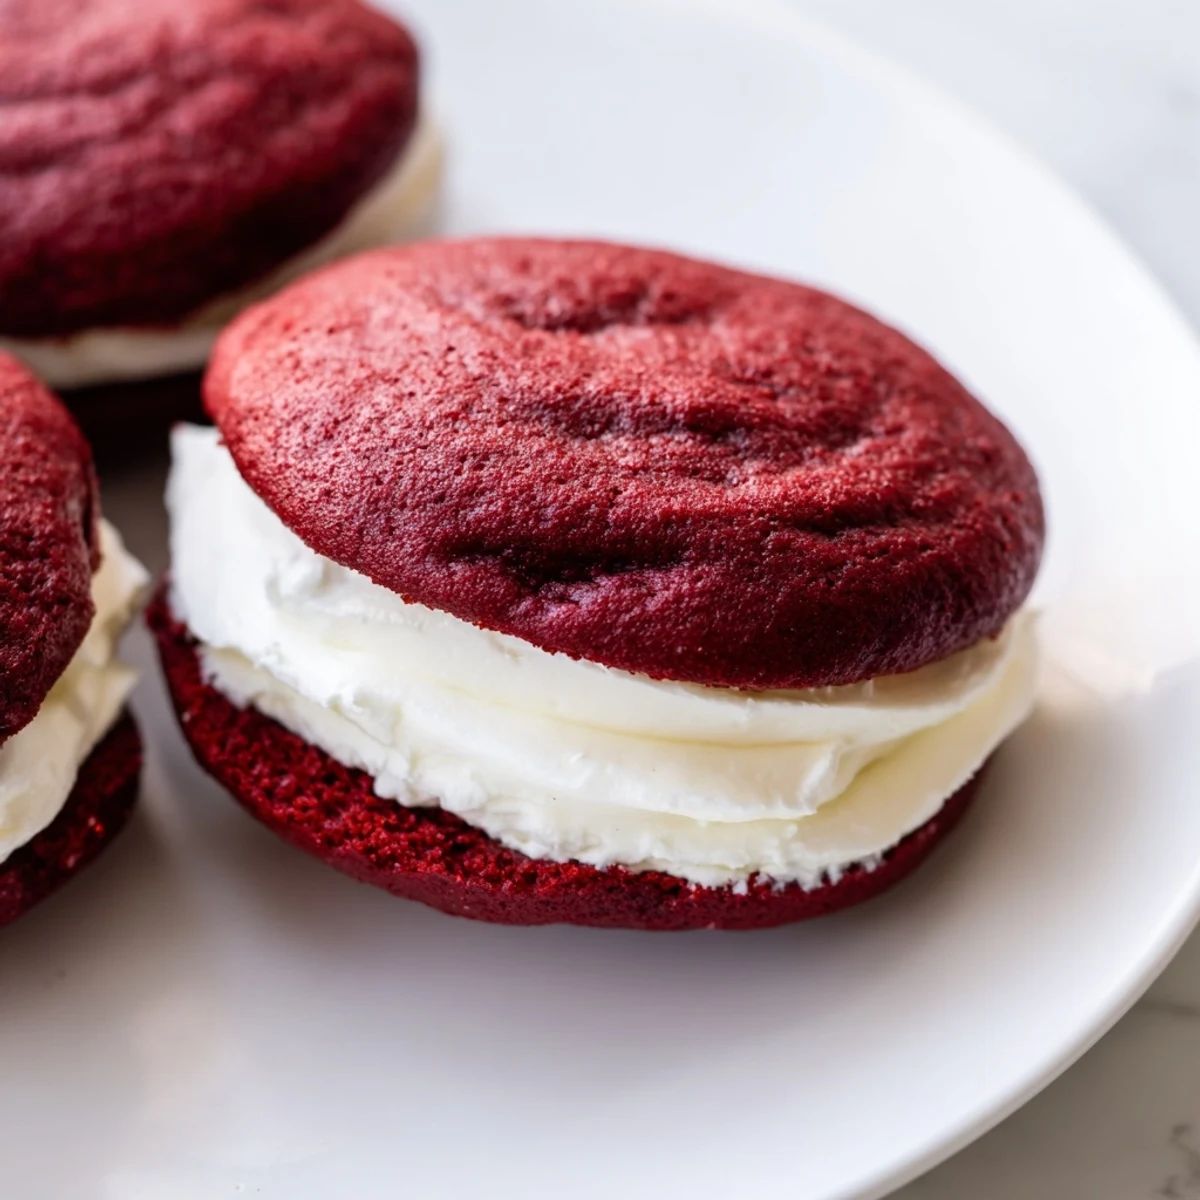
 There's something genuinely joyful about biting into a sandwich cookie, the contrast of soft cake and fluffy cream making even ordinary Tuesdays feel like a celebration.
Recipe Questions & Answers
- → What makes the cookies soft and tender?
-
The combination of buttermilk, baking soda, and gentle mixing helps create a soft, cake-like texture in the cookies.
- → Can I use a different filling instead of marshmallow cream?
-
Yes, cream cheese frosting or buttercream variations work well as alternatives for the filling.
- → How should I store these whoopie pies for freshness?
-
Store them in an airtight container at room temperature for up to 2 days or refrigerate to keep them fresh longer.
- → Are there any tips for decorating the edges?
-
Rolling the edges in mini chocolate chips or sprinkles adds extra texture and visual appeal.
- → Can these be made ahead of time?
-
Yes, bake and assemble the pies, then store them chilled for up to a few days before serving.
