 Pin this
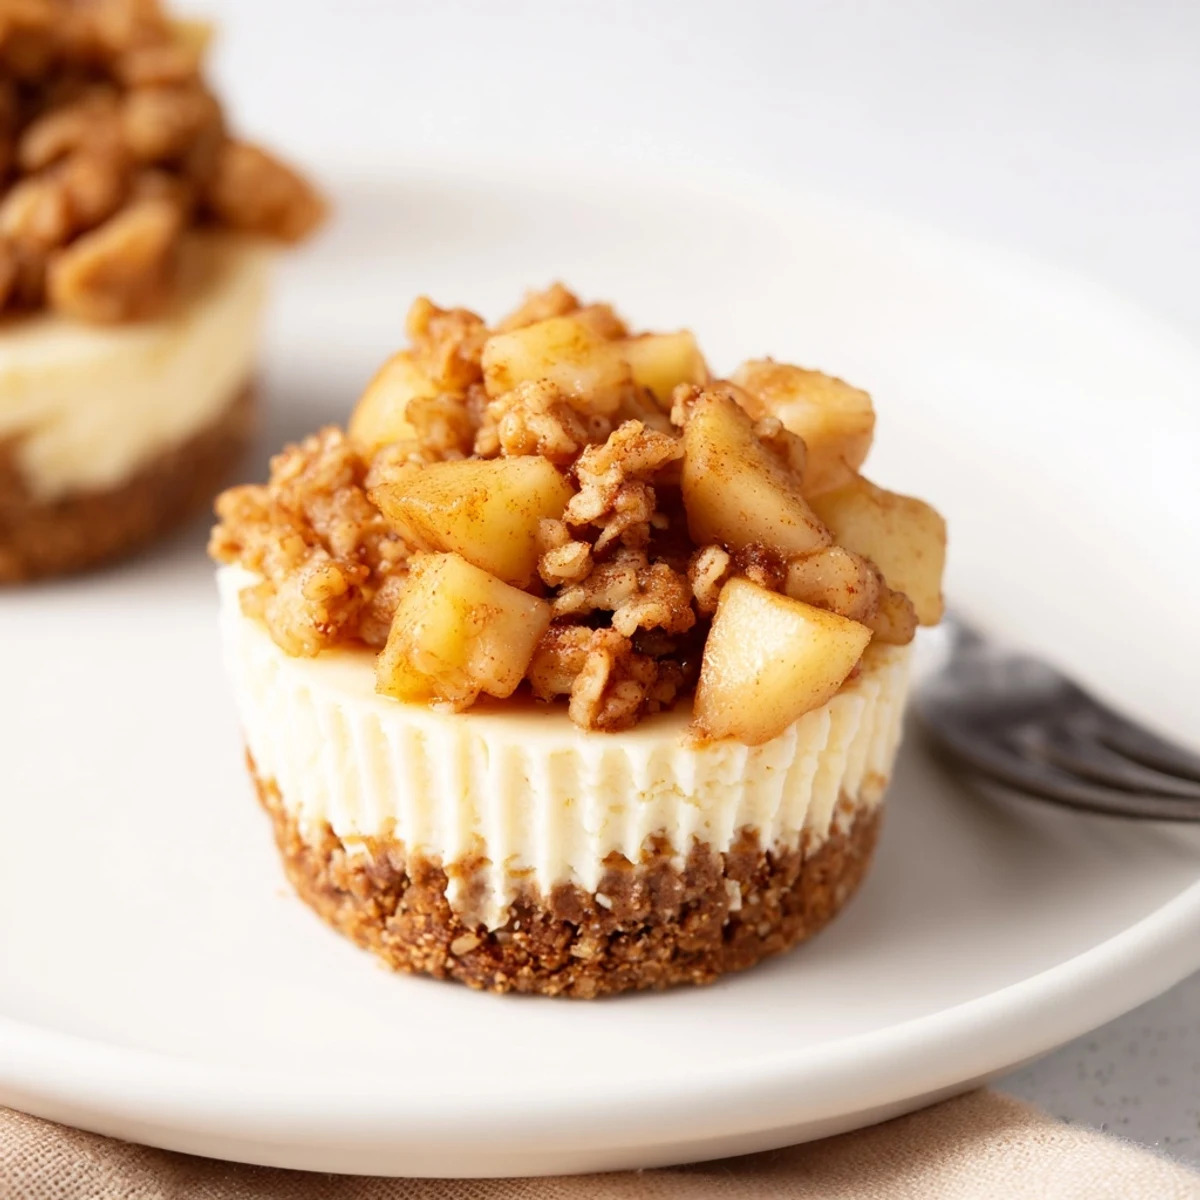
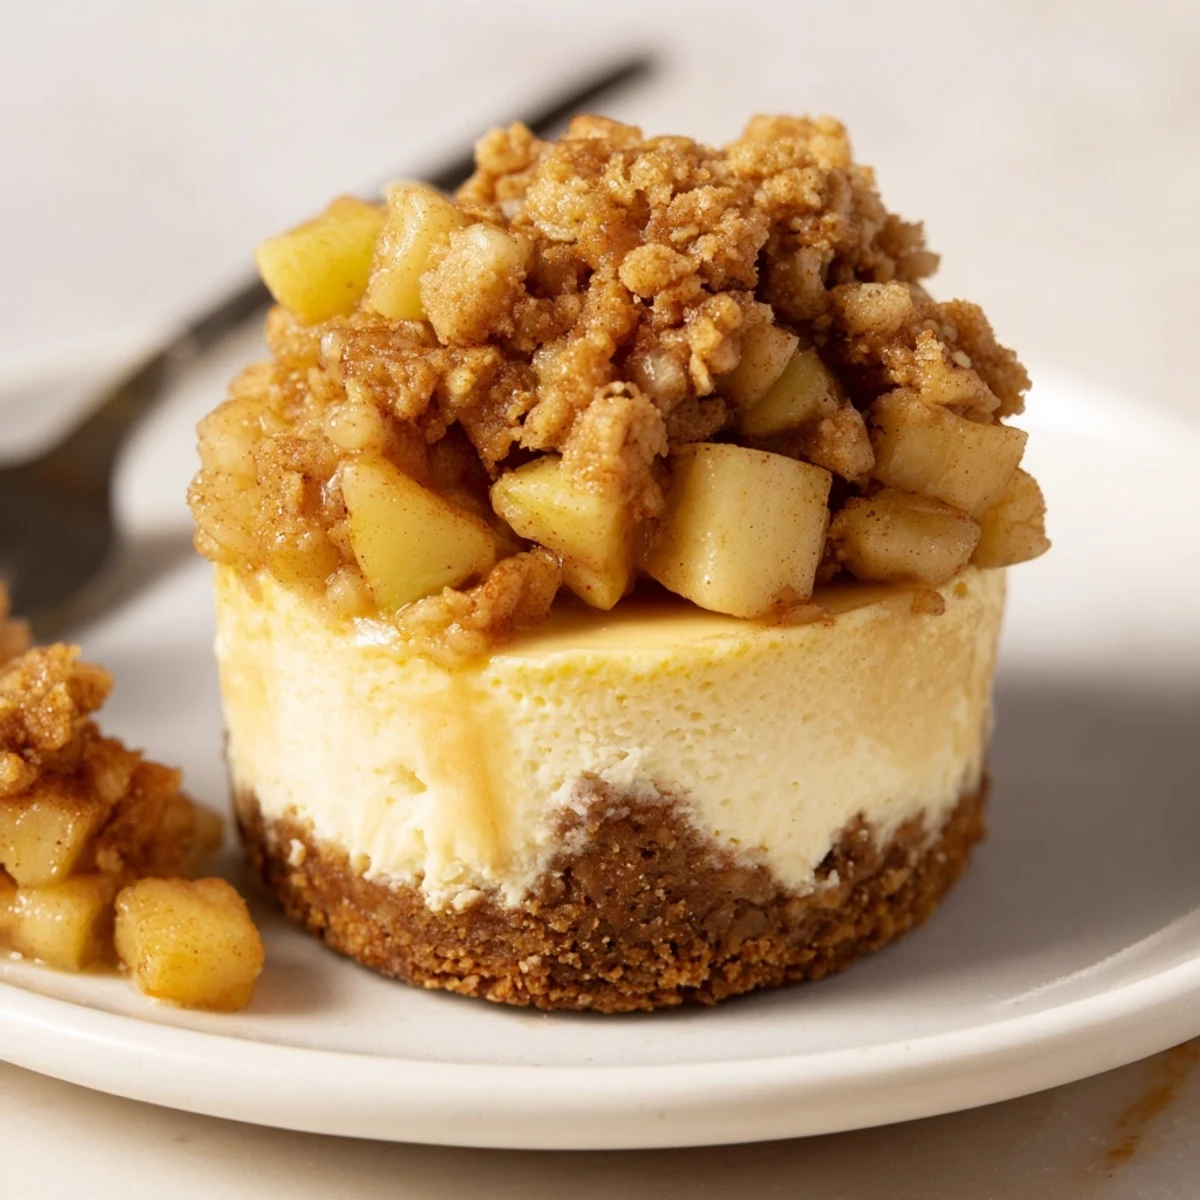
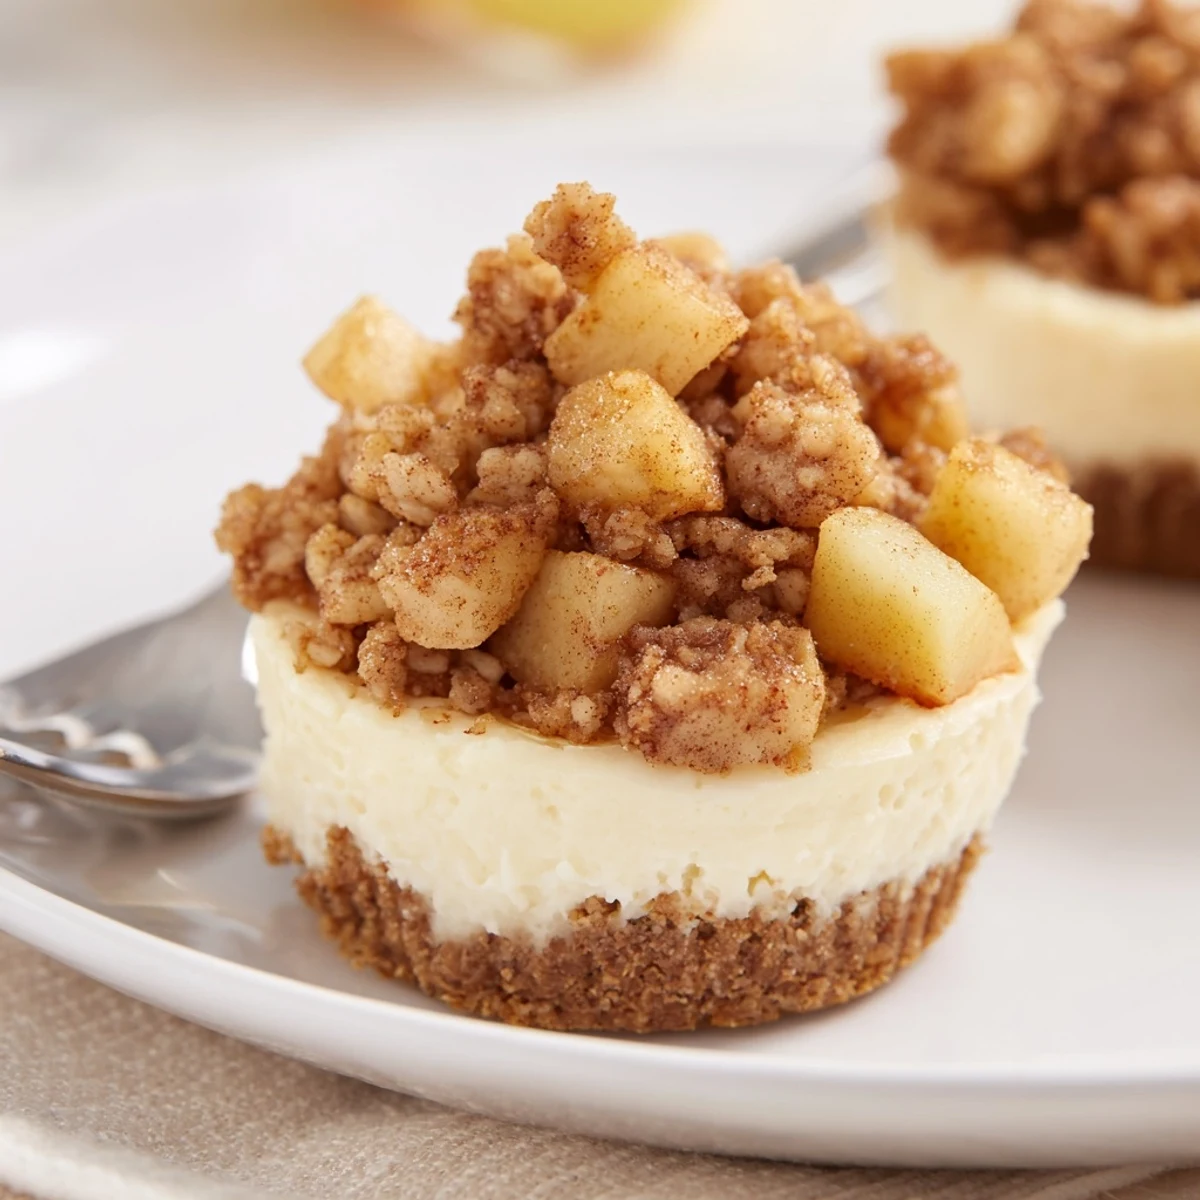
 These delightful mini cheesecakes feature a buttery graham cracker crust filled with velvety cream cheese filling. Each portion is crowned with a warm, cinnamon-spiced apple crisp topping that brings together the best of two beloved desserts. The individual portions make them perfect for gatherings, and they can be prepared ahead for convenient serving.
The combination of tender, spiced apples and crumbly oat topping creates a wonderful texture contrast against the smooth cheesecake. Ready in about an hour plus chilling time, these treats deliver restaurant-quality results in a home kitchen.
Last autumn my sister called asking if I could recreate that apple cheesecake we had at the bakery downtown, but in miniature form for her dinner party. I spent the afternoon experimenting, covered in flour and cinnamon, until these little beauties emerged from the oven. The way the warm apple topping meets the cool creamy cheesecake is something special.
I made these for a Friendsgiving potluck and watched them disappear within minutes. My friend Sarah actually asked if I would pack her two to go for breakfast the next day, which I consider the highest compliment. Now they are my go to when I need something that feels fancy but does not require an entire day in the kitchen.
Ingredients
- Graham cracker crumbs: The foundation of any good cheesecake crust, creating that buttery sandy texture we all love
- Cream cheese: Use full fat and let it come to room temperature completely for the silkiest smooth filling
- Sour cream: The secret ingredient that adds tang and keeps the cheesecake from becoming too dense
- Firm apples: Granny Smith or Honeycrisp hold their shape better during cooking and provide a nice tart balance
- Rolled oats: These give the apple crisp topping its signature texture and hearty crunch
Instructions
- Preheat and prepare your muffin tin:
- Line each cup with paper liners so you can easily remove the cheesecakes later without damaging those delicate crusts.
- Build the buttery crust foundation:
- Mix the graham cracker crumbs with sugar and melted butter until it feels like wet sand, then press firmly into each liner using the back of a spoon.
- Give the crusts a head start:
- Bake just five minutes to set the crust before adding the creamy filling, which prevents that soggy bottom we have all experienced.
- Create the silky cheesecake batter:
- Beat the room temperature cream cheese until completely smooth, then add sugar followed by eggs one at a time, mixing just until combined.
- Bake until barely set:
- The centers should still have a slight wobble when you gently shake the pan, as they will continue cooking while cooling.
- Cook the spiced apple topping:
- Sauté diced apples with butter and spices until tender, then stir in oats and flour to create that irresistible crumble texture.
- Assemble and serve:
- Spoon the cooled apple mixture generously over each chilled cheesecake right before serving for that perfect warm cool contrast.
 Pin this
 These have become such a staple in my dessert rotation that I keep muffin liners in the pantry just in case. There is something about individual servings that makes people feel special, like you went the extra mile just for them.
Making Them Ahead
The cheesecakes themselves can be prepared up to two days in advance and stored tightly covered in the refrigerator. I always make the apple crisp topping the same day I plan to serve them, since that texture is best when fresh. Just reheat the topping gently for about 30 seconds before spooning it on.
Getting The Perfect Texture
The key is knowing when to pull them from the oven. If they jiggle like water when you shake the pan, they need more time. You want that gentle wobble like set pudding. I also recommend running a thin knife around the edge of each cheesecake while they are still warm in the pan, which helps prevent any sticking as they cool.
Serving Suggestions
A drizzle of warm caramel sauce over the top takes these from delicious to absolutely irresistible. I also love serving them with a small scoop of vanilla ice cream on the side for the ultimate dessert experience.
- Try swapping the apples for pears in fall for a lovely variation
- A sprinkle of chopped pecans in the topping adds wonderful crunch
- These freeze beautifully without the topping for up to a month
 Pin this
 These mini cheesecakes have a way of making any occasion feel special without the stress of a complicated dessert. Hope they become a favorite in your home too.
Recipe Questions & Answers
- → How long should I chill the mini cheesecakes before topping?
-
Refrigerate the cheesecakes for at least 2 hours until completely set and chilled. This ensures the filling is firm enough to hold the apple crisp topping without sinking.
- → Can I make these ahead of time?
-
Yes! Prepare the cheesecakes up to 2 days in advance. Store them refrigerated, then add the apple crisp topping just before serving for the best texture and freshness.
- → What apple varieties work best for the topping?
-
Firm apples like Granny Smith, Honeycrisp, or Braeburn hold their shape well during cooking. They provide a nice tart balance to the sweet cheesecake filling.
- → How do I know when the cheesecakes are done baking?
-
The centers should be just set with a slight wiggle, similar to custard. They will continue to firm as they cool. Overbaking can cause cracking.
- → Can I freeze these mini cheesecakes?
-
The plain cheesecakes freeze beautifully for up to 1 month. Thaw overnight in the refrigerator, then top with fresh apple crisp mixture before serving.
