 Pin this
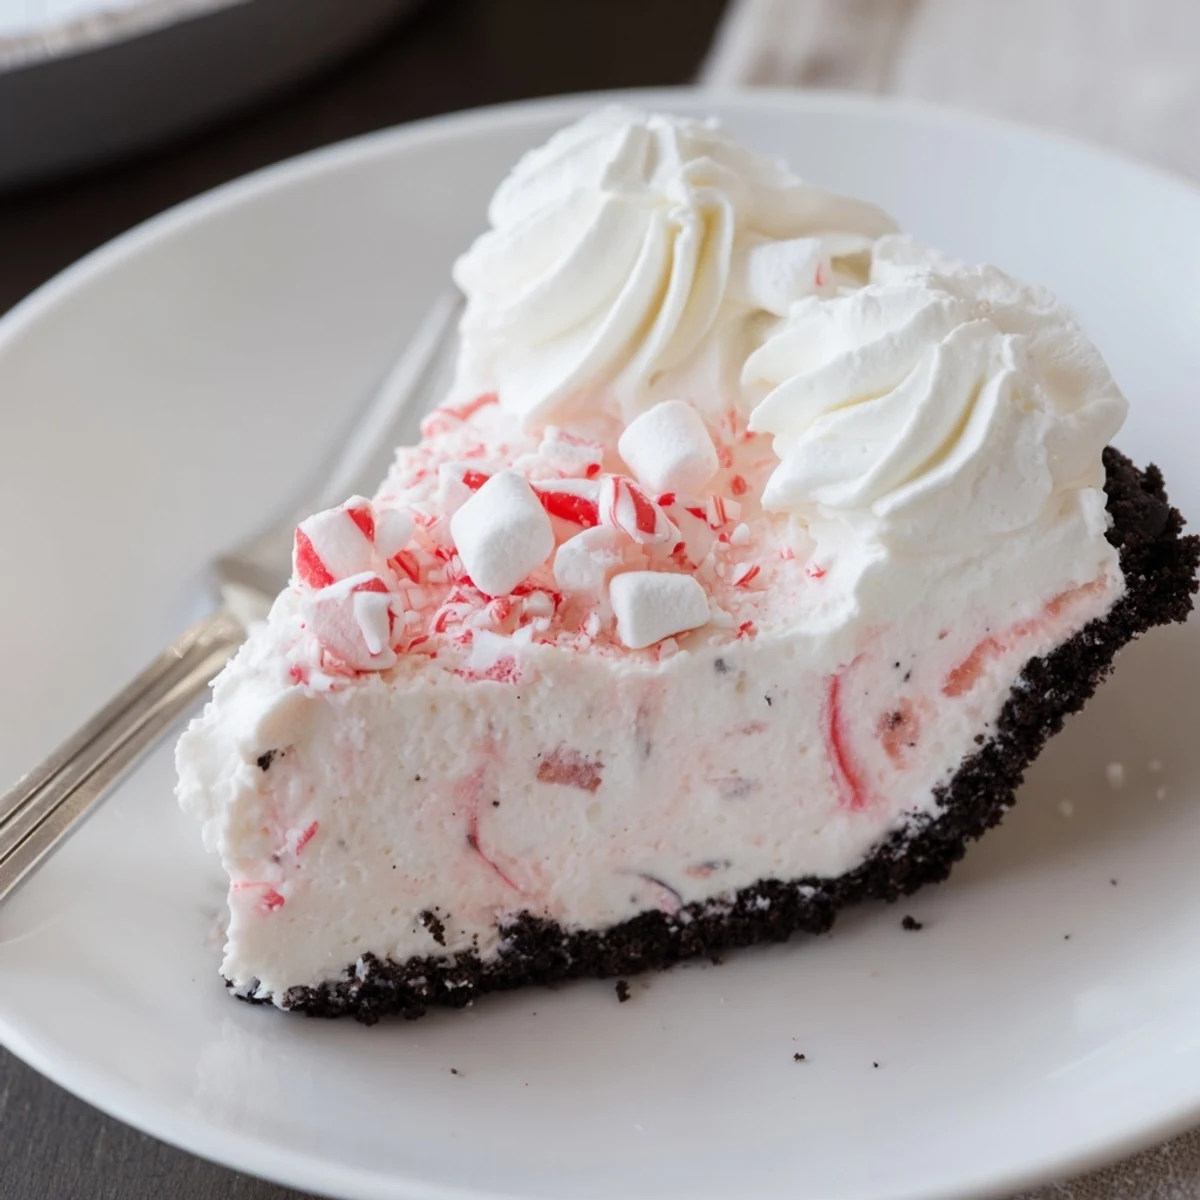
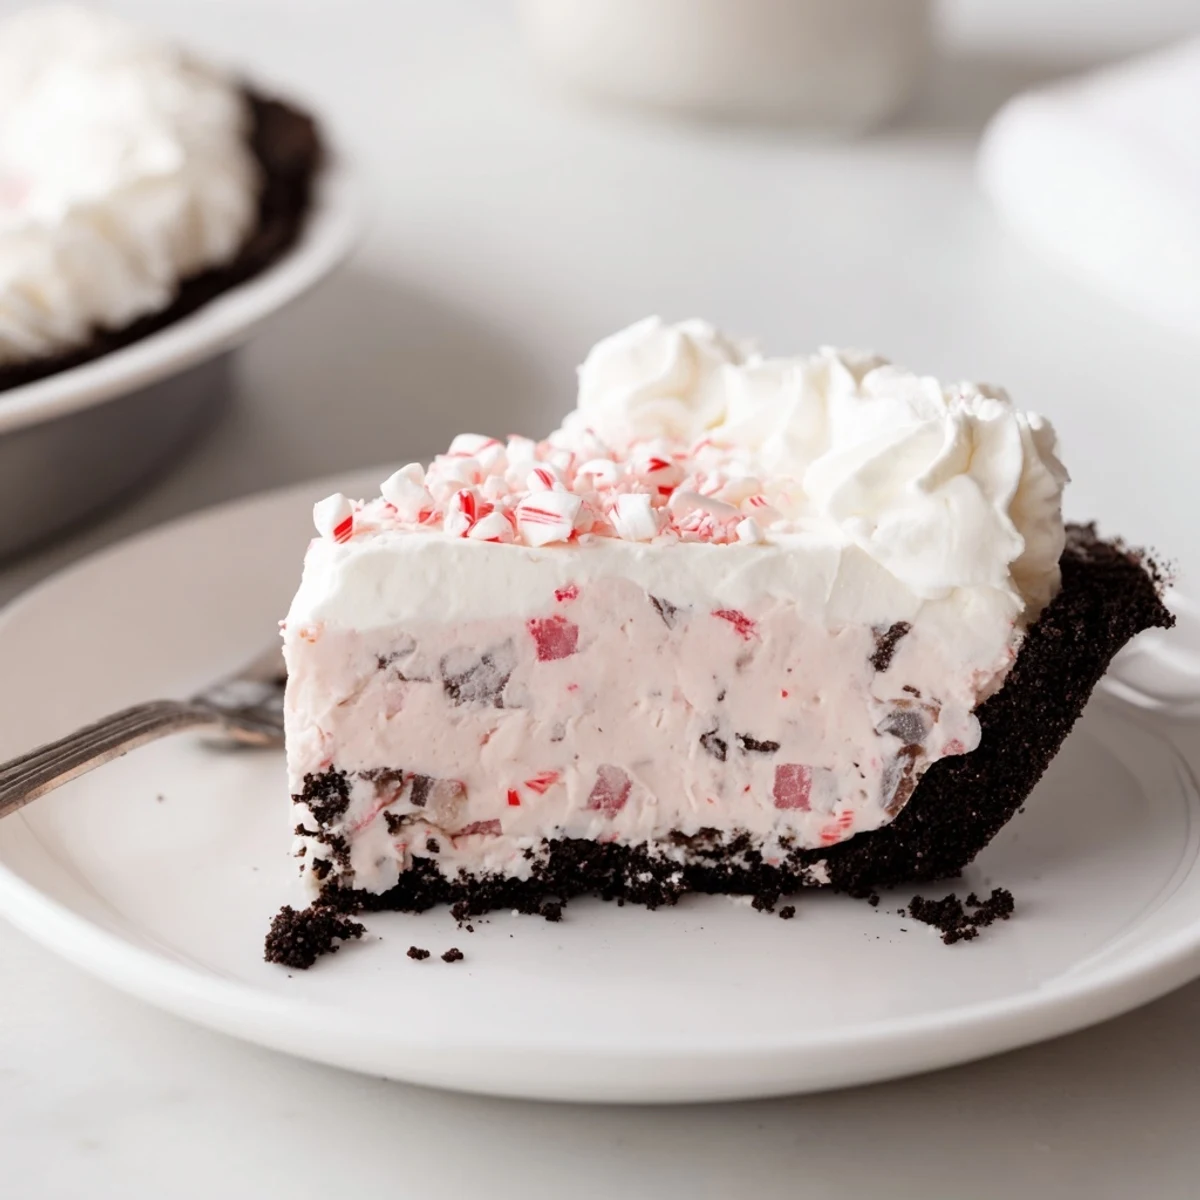
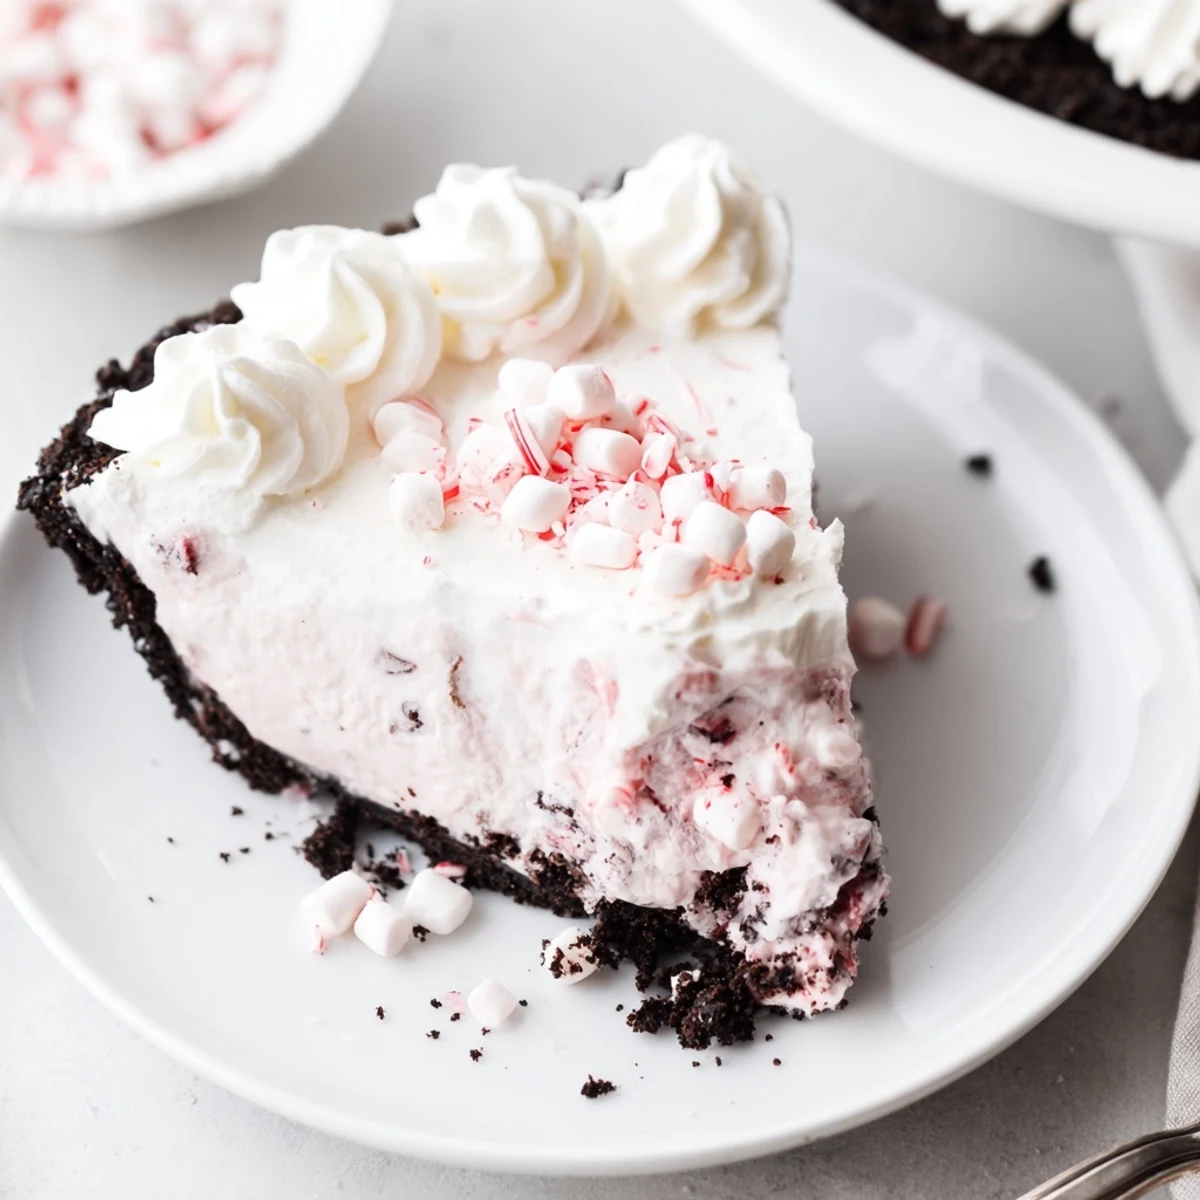
 This no-bake Candy Cane Pie layers a chocolate cookie crumb crust with a light peppermint cream cheese filling studded with mini marshmallows and crushed candy cane. Whipped cream is folded into softened cream cheese and sweetened, then chilled until firm. Top with extra whipped cream and crushed candy canes for crunch; refrigerate at least 4 hours before serving.
The first time I gathered ingredients for Candy Cane Pie, I was humming along to holiday music as snow brushed gently against the kitchen window. There was something about the scent of peppermint wafting from the crushed candy canes that made even the earliest step feel festive. Mixing the familiar chocolate cookie crumbs with melted butter was oddly satisfying—almost meditative—as I pressed them into the pie dish. It was the kind of easy dessert I found myself craving on chilly evenings, even before December arrived.
Last year, I showed up at a neighborhood potluck balancing this pie and a very wobbly tray of mulled cider. Friends gathered around the table, each taking a slice and crunching into the cool, pretty filling—one even asked how I got the color so perfectly pink. There were plenty of laughs as we compared favorite winter desserts, but every fork kept drifting back for one more bite. It felt like a little celebration cut into wedges.
Ingredients
- Chocolate cookie crumbs: Choose something deep and chocolatey—Oreos always work, and crushing them fine creates a compact, sturdy crust.
- Unsalted butter: Melted butter is the secret to holding the crust together—they’ll smell rich and toasty as you mix.
- Heavy whipping cream: Cold cream whips into dreamy, stable peaks and keeps the filling light instead of dense.
- Cream cheese: Soften it ahead of time for silky, lump-free filling—nothing beats that creamy tang beneath the peppermint.
- Powdered sugar: It melts right in for perfect smoothness—granulated would leave grainy bits behind.
- Vanilla extract: Rounds out the mint and makes the filling taste like candy cane ice cream.
- Peppermint extract: Use a light hand and taste as you go; it’s powerful, and a little transforms the dessert.
- Mini marshmallows: Their pillowy texture gives pockets of sweetness—let them nestle throughout the creamy base.
- Crushed candy canes: Go for bright, crunchy bits—mix some in and reserve extra for a pretty topping just before serving.
- Red food coloring (optional): Just a drop or two gives the filling a festive pink swirl, but you can skip it if you want it snow-white.
- Whipped cream: Soft, luscious peaks make a beautiful and classic finish on top.
Instructions
- Build the crust:
- Tumble your cookie crumbs into a bowl and drizzle in melted butter, then mix until it looks like damp sand. Press the mixture firmly into every corner of your pie dish—a measuring cup helps get the sides even.
- Whip the cream:
- Pour cold whipping cream into a chilled bowl and beat until stiff peaks form that hold their shape—the mixer makes short work of it. Peek at the soft billows and stop before you go too far to avoid over-whipping.
- Blend the base:
- Beat the softened cream cheese, powdered sugar, vanilla, and peppermint extract until the batter is velvety and smooth. The aroma at this step is pure holiday magic—don’t rush it.
- Fold together:
- Gently fold your whipped cream into the cream cheese base with a spatula, then scatter in marshmallows and crushed candy canes. If you like, swirl in a touch of red food coloring for an extra festive look, being careful not to overmix.
- Fill and chill:
- Spoon the filling into your prepared crust, smoothing it out so it’s even and pretty. Cover and let it rest in the fridge for at least four hours, until it’s softly set and sliceable.
- Decorate and serve:
- Just before serving, dollop whipped cream on top and sprinkle with plenty of candy cane bits for the finishing touch. Listen for the little crackle as your knife slices through the first wedge.
 Pin this
 When my niece helped crush candy canes for this recipe, she insisted on sprinkling “extra magic” on top—later, she declared this her official favorite dessert. Sharing that sparkle across the table made the kitchen feel alive, as if every swirl of peppermint and cream was part of the celebration.
Making Ahead for Holiday Parties
This pie loves a long chill, so prepping it a day ahead lets both the flavors and texture improve. Covered well, it keeps its perfect creamy fluff in the fridge, meaning one less thing to worry about on the big day.
Finding the Right Peppermint Balance
I’ve learned that a tiny extra dash of peppermint extract can tip the flavor from refreshing to overpowering in a blink. Always start with less and taste after mixing—add more if you want a strong minty hit, but remember the candy will bring plenty, too.
The Joy of Casual Presentation
Some of my prettiest pies came from uneven swirls of color, or a mess of candy cane crumbs that didn’t follow any rules. The pie invites creativity—don’t worry if it’s not picture perfect, just pile on the toppings for fun and flavor.
- Let the pie sit at room temperature for about five minutes before slicing to get cleaner cuts.
- Use a hot, wiped knife between slices so each piece comes out neat.
- Only add the finishing candy canes just before serving—they’ll stay crisp, not sticky.
 Pin this
 I hope this candy cane pie brings your table a little extra sparkle and a cool, creamy burst of holiday flavor. Happy mixing, and don’t forget to sneak a spoonful along the way.
Recipe Questions & Answers
- → Can I make the crust gluten-free?
-
Yes — swap regular chocolate sandwich cookies for certified gluten-free chocolate cookies and process into fine crumbs. Combine with melted butter and press into the dish as usual to set the base.
- → How do I prevent the filling from deflating?
-
Fold the whipped cream into the cream cheese mixture gently using a spatula to preserve volume. Avoid overmixing and chill the pie promptly so the structure firms up as it cools.
- → How long should the pie chill?
-
Refrigerate for at least 4 hours to allow the filling to set fully; overnight chilling yields the best texture and easier slicing.
- → Can I adjust the peppermint intensity?
-
Yes — start with half the recommended peppermint extract and taste as you go. Extracts are potent; add more gradually to reach the desired cooling mint level.
- → What’s the best way to crush candy canes without powdering them?
-
Place candy canes in a resealable bag and gently tap with a rolling pin for coarse pieces. Work slowly to avoid turning them into dust and reserve some larger shards for topping.
- → How should leftovers be stored and for how long?
-
Cover and refrigerate leftovers for up to 3 days. Add any crunchy toppings just before serving to maintain texture, and keep the pie chilled between servings.
