 Pin this
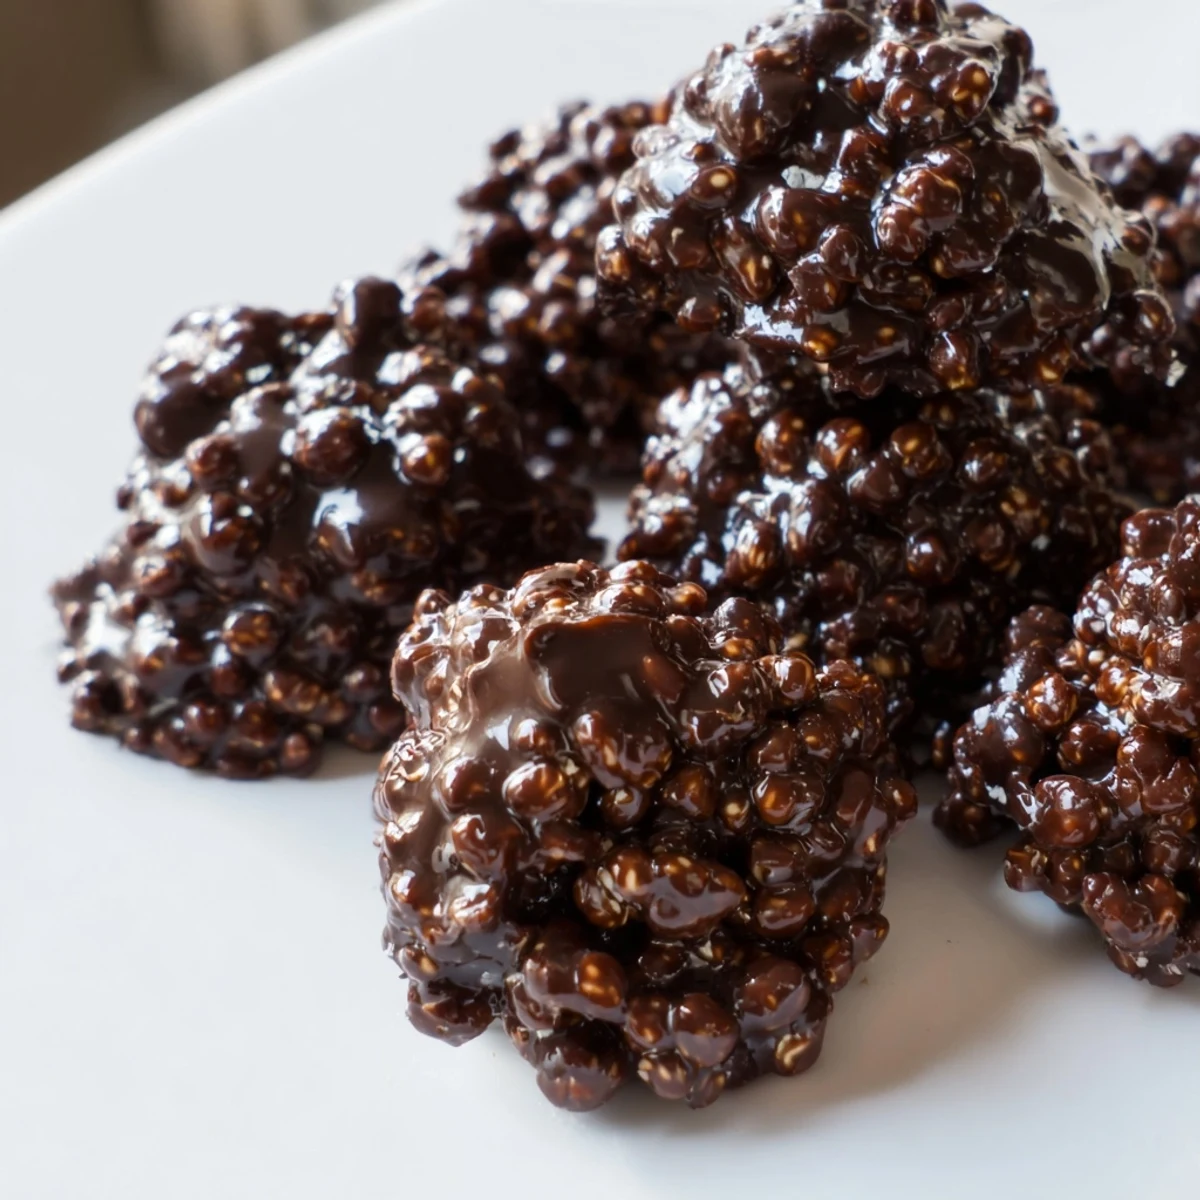
 These delightful crisps combine the satisfying crunch of toasted quinoa with the intense richness of dark chocolate. Each bite-sized piece delivers a perfect balance of textures — the crispy quinoa adds nutty depth while the 70% dark chocolate provides smooth, bittersweet indulgence. Sea salt enhances the chocolate's complexity, making these impossible to resist.
The process is straightforward: toast dried cooked quinoa until golden and crisp, melt quality dark chocolate, then combine with a pinch of salt. Drop onto parchment, chill until set, and enjoy. The result is roughly two dozen elegant treats perfect for afternoon snacking, dessert platters, or homemade gifts.
Customize with toasted nuts, shredded coconut, or freeze-dried berries. These stay fresh for a week when stored properly — though they rarely last that long!
The first time I made these, my roommate walked in and asked if I was making birdseed. Then she tried one and promptly ate half the batch. The contrast between the earthy, toasted quinoa and the bittersweet chocolate creates something utterly addictive that nobody expects.
I first started making these when I needed something impressive for a dinner party but had zero energy for actual baking. My friend Sarah still texts me every few months asking for the recipe, and honestly its become my go-to whenever I need to show up with something homemade but dont want to turn on the oven for anything complicated.
Ingredients
- Cooked quinoa: Make sure its completely cooled and dried before toasting, otherwise youll end up with chewy instead of crispy bits
- Dark chocolate: 70% cocoa or higher gives that sophisticated bitterness that balances the slightly nutty quinoa beautifully
- Sea salt: Just a tiny pinch transforms these from good to absolutely unforgettable
Instructions
- Toast your quinoa until golden:
- Spread that cooled, cooked quinoa on a parchment-lined baking sheet and let it get golden and fragrant in a 340°F oven, stirring halfway through so nothing burns. The kitchen will start smelling nutty and amazing
- Melt the chocolate patiently:
- Either use a double boiler or microwave in 30-second bursts, stirring each time until completely smooth. Rushing this step is where chocolate starts to seize and get grainy, so take your time
- Combine everything together:
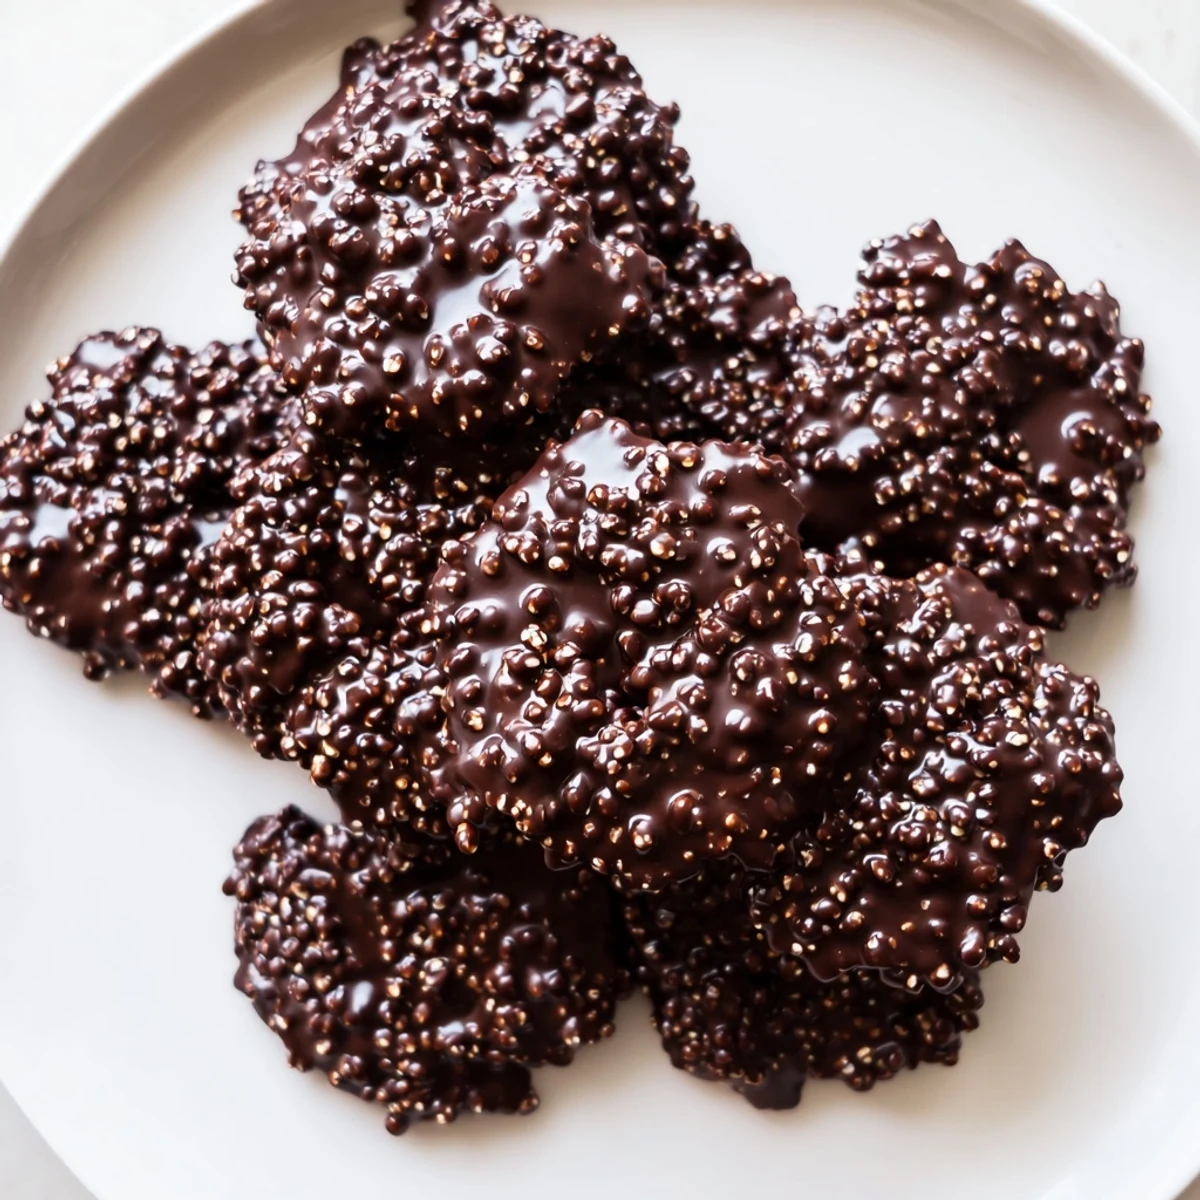
- Pour that cooled, toasted quinoa right into the melted chocolate along with the sea salt and any additions youre feeling. Fold until every single quinoa pearl is coated in glossy chocolate
- Shape into little rounds:
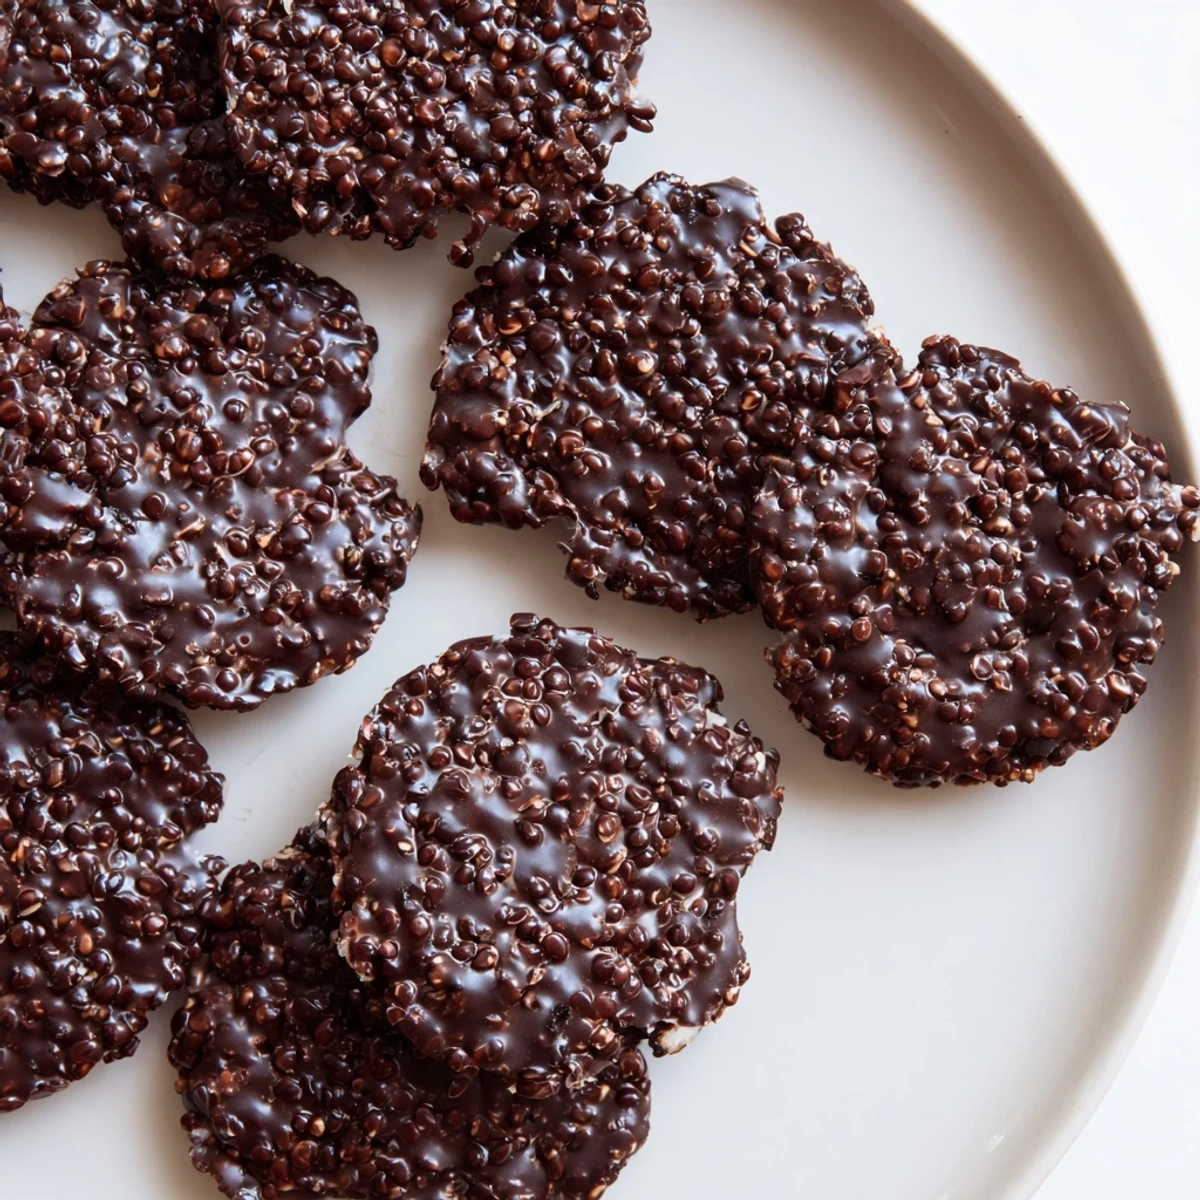
- Drop heaping teaspoons onto fresh parchment, gently nudging them into rough rounds. They dont need to be perfect, but try to keep them somewhat uniform so they set evenly
- Let them set completely:
- Popped into the fridge for 30 minutes or until firm. The waiting is the hardest part, especially when you can smell them every time you open the refrigerator
 Pin this
 Last Christmas I made dozens of these, packed them in little tin containers, and handed them out to neighbors. The next week, three different people knocked on my door asking if Id sell them, which honestly feels like the highest compliment a recipe can get.
Making Them Your Own
Sometimes I add toasted hazelnuts or almonds for extra crunch, and during summer I love adding dried tart cherries. The base recipe is perfect on its own, but its also incredibly forgiving about additions.
Gift Giving Tips
These ship beautifully if layered between parchment paper in a sturdy tin. Theyve become my default contribution to cookie exchanges because theyre gluten-free but nobody misses the flour.
Storage Secrets
I keep mine in a glass container on the counter and they stay perfectly crisp for a week. If your kitchen runs warm or humid, the fridge is safer to prevent the chocolate from blooming or getting soft.
- Hide them in the back of the pantry if you actually want them to last more than 24 hours
- A piece of parchment between layers keeps them from sticking together
- Room temperature is best for the truest chocolate flavor and crunch
 Pin this
 These little crisps have saved me more times than I can count when I need something impressive but simple. Hope they become your secret weapon too.
Recipe Questions & Answers
- → Why must the quinoa be completely dry before using?
-
Moisture prevents the quinoa from becoming crispy and can cause the chocolate to seize, creating a grainy texture instead of smooth coating. Thoroughly dried and cooled quinoa ensures maximum crunch and proper chocolate adherence.
- → Can I use milk or white chocolate instead?
-
Absolutely! Milk chocolate yields a sweeter, creamier result while white chocolate creates a beautiful contrast with the golden toasted quinoa. Adjust the sea salt accordingly — milk and white chocolate benefit from slightly less salt.
- → How do I prevent the chocolate from burning when melting?
-
Use gentle heat — either a double-boiler with barely simmering water or microwave in short 30-second bursts, stirring between each. Dark chocolate scorches easily, so low and slow is key. Remove from heat while small chunks remain and stir to finish melting.
- → Can I make these ahead for a party or gifts?
-
These store beautifully for up to one week in an airtight container at cool room temperature. Layer between parchment paper to prevent sticking. They're perfect for making 2-3 days ahead — the flavors develop and the texture remains delightfully crisp.
- → What's the best way to get uniform-sized crisps?
-
Use a small cookie scoop or measuring teaspoon for consistent portions. Work quickly once quinoa is mixed into chocolate, as the mixture begins to set. If it becomes too firm, gently reheat for 10-15 seconds to continue scooping.
- → Are these suitable for people with dietary restrictions?
-
Naturally gluten-free and vegetarian, these crisps accommodate many diets. Use certified gluten-free quinoa and chocolate. For vegan versions, choose dairy-free dark chocolate. Those with nut allergies should omit the optional nuts and check chocolate labels for cross-contamination warnings.
