 Pin this
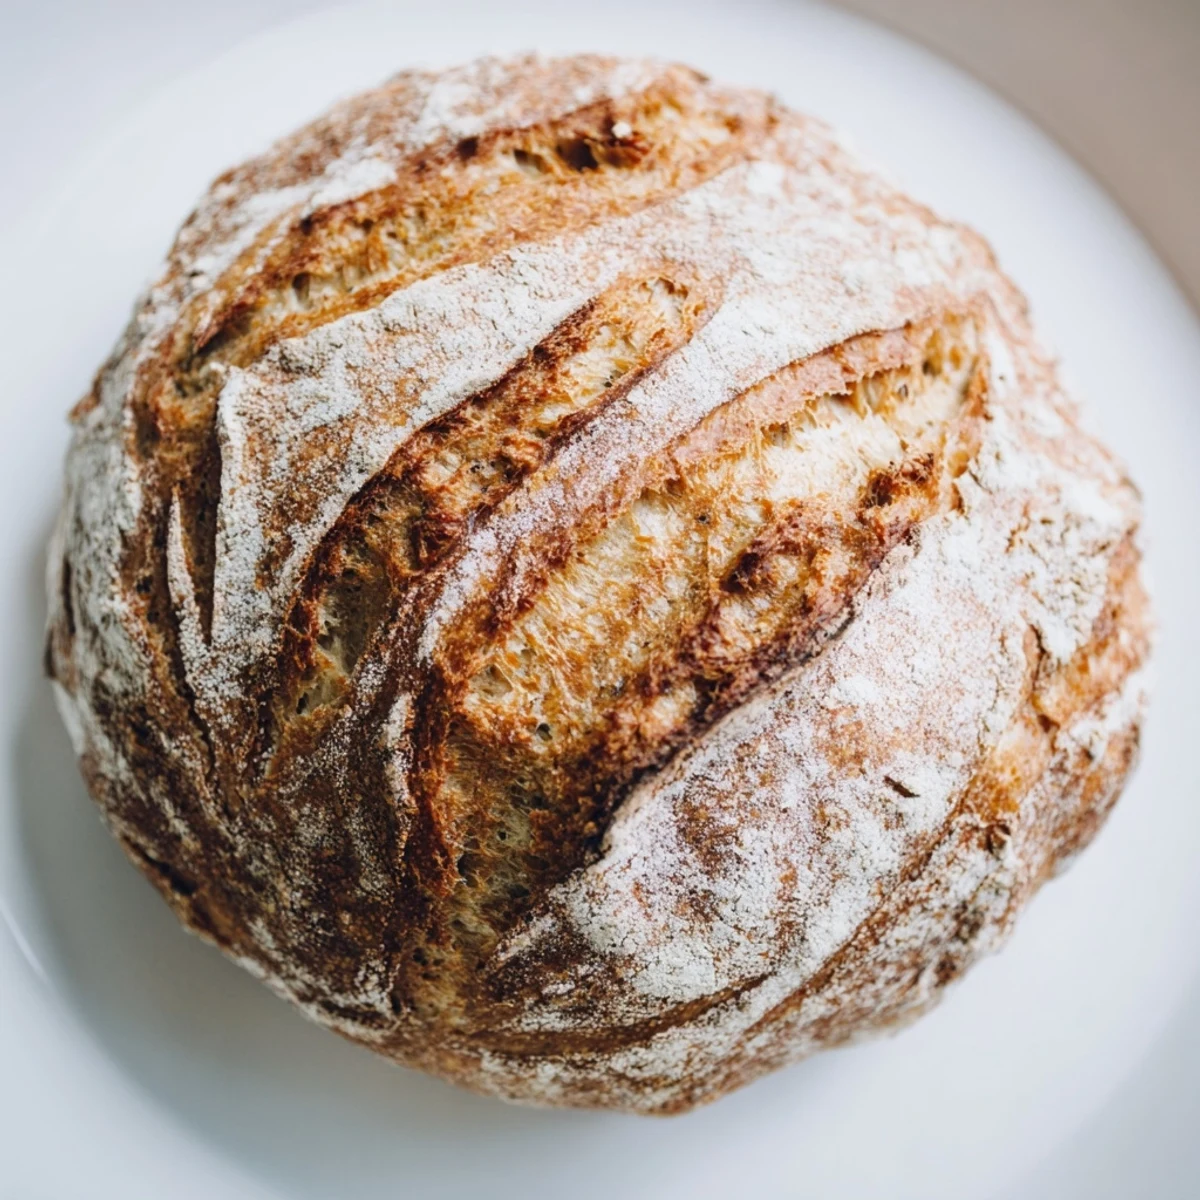
 This rustic European-style bread delivers bakery-quality results with minimal effort. The dough requires only flour, water, salt, and yeast, needing just 15 minutes of hands-on preparation before a slow rise develops deep flavor and perfect texture.
Baking in a preheated Dutch oven creates professional steam, resulting in an irresistibly crispy crust and tender, airy interior. The no-knead method makes this ideal for first-time bakers, while the shaggy dough technique ensures consistent structure every time.
My tiny apartment kitchen smelled like a proper bakery for the first time ever, and I couldnt believe Id actually made that happen. The yeast was alive, bubbling away in my ceramic bowl, and something about watching dough rise felt like the most therapeutic thing Id done in months.
My roommate walked in while the bread was cooling on the rack and genuinely asked which bakery Id visited. Watching her face when I told her Id baked it myself was the moment I realized homemade bread is basically magic.
Ingredients
- Bread flour: Higher protein content than all-purpose gives you that chewy, professional-bakery texture we all crave
- Instant yeast: Skip the proofing step and mix it directly with your flour
- Lukewarm water: Think bathwater temperature—too hot kills the yeast, too cold puts it to sleep
- Salt: Dont skip this, it actually strengthens your gluten structure while seasoning the bread
Instructions
- Mix your base:
- Whisk flour, salt, and yeast in a large bowl until combined
- Add water:
- Pour in lukewarm water and stir until a shaggy, sticky dough forms
- Let it rise:
- Cover with plastic or a damp towel and walk away for 1-2 hours until doubled
- Shape gently:
- Turn onto floured surface and fold edges underneath to form a rough ball
- Rest again:
- Place on parchment paper and let relax for 30 minutes while oven heats
- Get it hot:
- Preheat oven to 450°F with Dutch oven inside if using one
- Score the top:
- Slash with a sharp knife before baking so it can expand properly
- Bake covered:
- 25 minutes with lid on creates steam for that crackly crust
- Finish uncovered:
- 15 more minutes until deep golden and hollow when tapped
- Cool completely:
- Resist slicing until fully cool or youll lose that perfect texture
 Pin this
 My dad called me the week after I mastered this recipe, admitting hed tried three times to replicate the loaf Id brought home. Now we compare photos of our bread like proud parents showing off baby pictures.
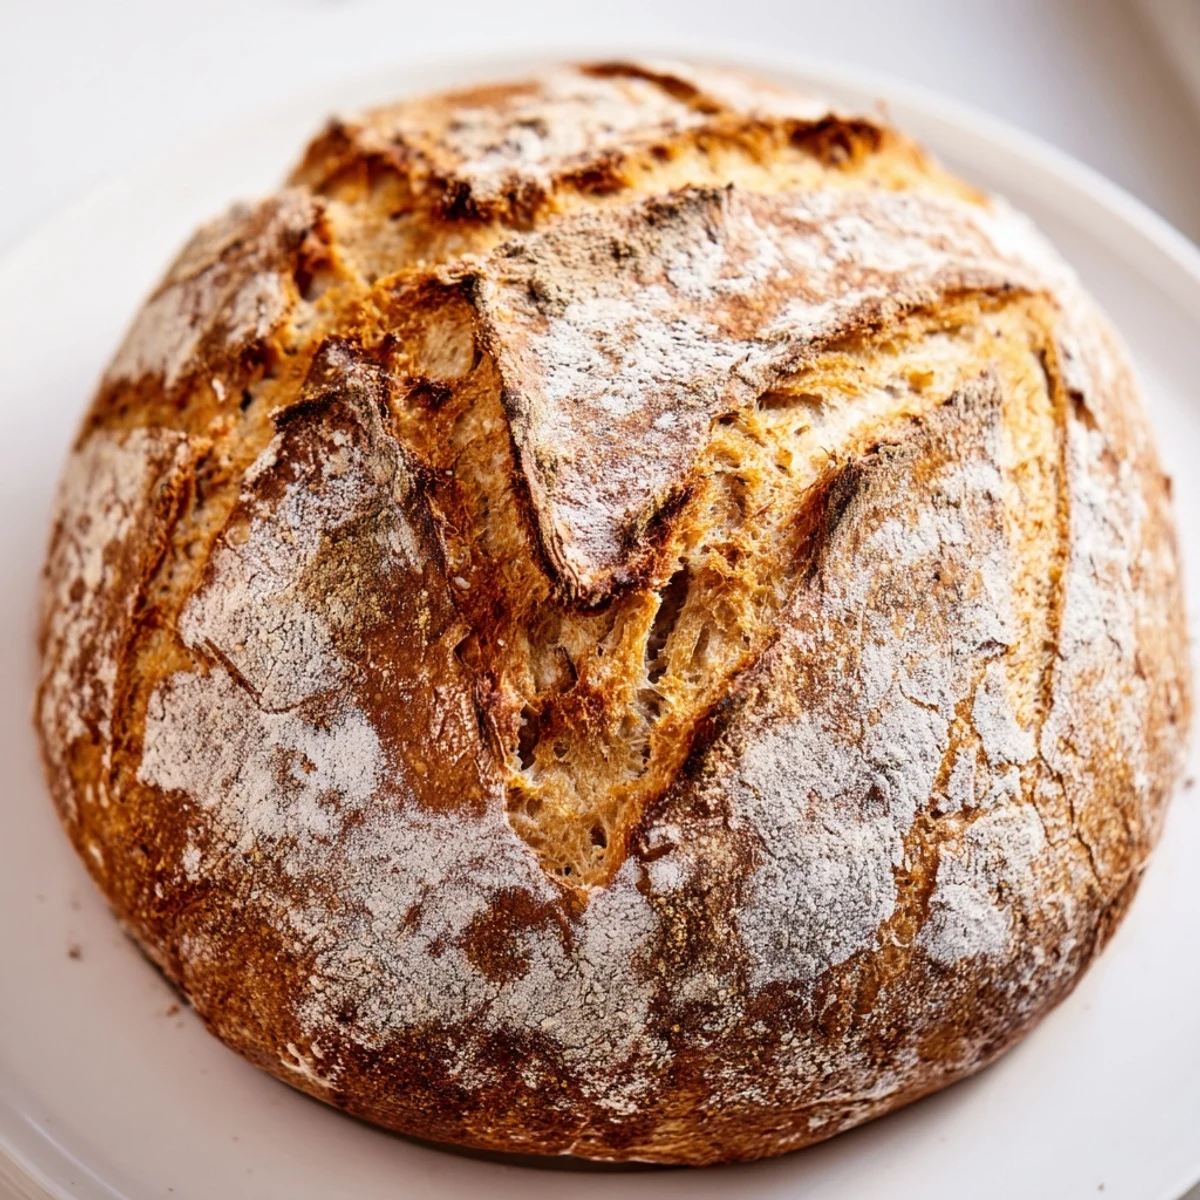
Getting That Perfect Crust
The secret is steam, which is why a Dutch oven works so well. Trapped moisture keeps the crust soft initially, allowing the bread to expand fully before that final blast of heat creates the crackly exterior.
When Your Dough Is Too Sticky
Wet hands are your friend here. Dampen your palms before shaping and the dough wont stick to everything. I learned this after practically cementing my fingers together on my first attempt.
Making It Your Own
Once youve got the basic method down, start experimenting. Mix in rosemary, chopped olives, or roasted garlic during the initial mixing step.
- Add herbs directly to the flour so they distribute evenly
- Try replacing some water with beer for extra depth
- Wrap cooled loaves in cloth—they actually improve overnight
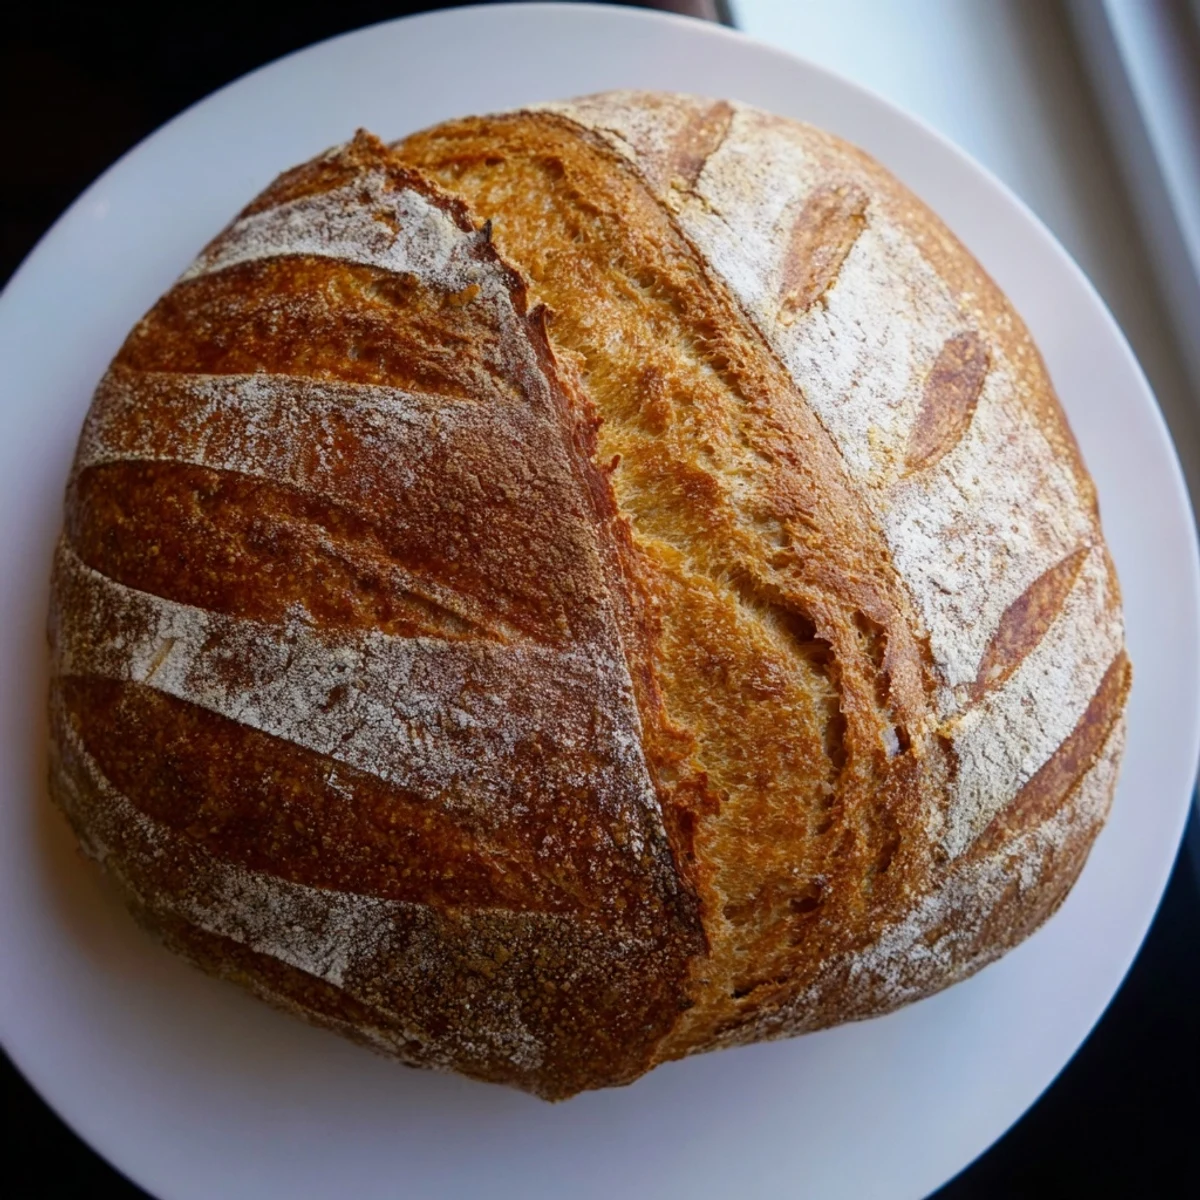 Pin this
 Theres something profoundly satisfying about turning flour and water into something this beautiful. Your kitchen is about to smell amazing.
Recipe Questions & Answers
- → Do I need a Dutch oven for this bread?
-
While a Dutch oven creates the best steam for a crispy crust, you can use a heavy baking sheet or pizza stone instead. Just place a metal bowl of water in the oven while preheating to generate steam.
- → Can I use all-purpose flour instead of bread flour?
-
Bread flour provides higher protein content for better structure and chew. All-purpose flour will work but may yield a slightly softer, less chewy loaf. For best results, stick with bread flour.
- → How do I know when the bread is done baking?
-
The loaf should have a deep golden brown crust. When tapped on the bottom, it should sound hollow. An instant thermometer inserted into the center should read 190-200°F (88-93°C).
- → Can I add herbs or other flavors to the dough?
-
Absolutely! Mix in 1-2 tablespoons of fresh or dried herbs like rosemary, thyme, or oregano. You can also add roasted garlic, olives, or sun-dried tomatoes for variations.
- → How should I store this bread?
-
Store at room temperature in a paper bag or wrapped in a clean kitchen towel for up to 2 days. For longer storage, freeze sliced portions in an airtight bag and reheat in the oven.
- → Why is my dough too sticky to handle?
-
Rustic dough is naturally sticky. Lightly flour your hands and work surface. Use a bench scraper or quick, gentle movements. Avoid adding too much flour, which makes the bread dense.
