 Pin this
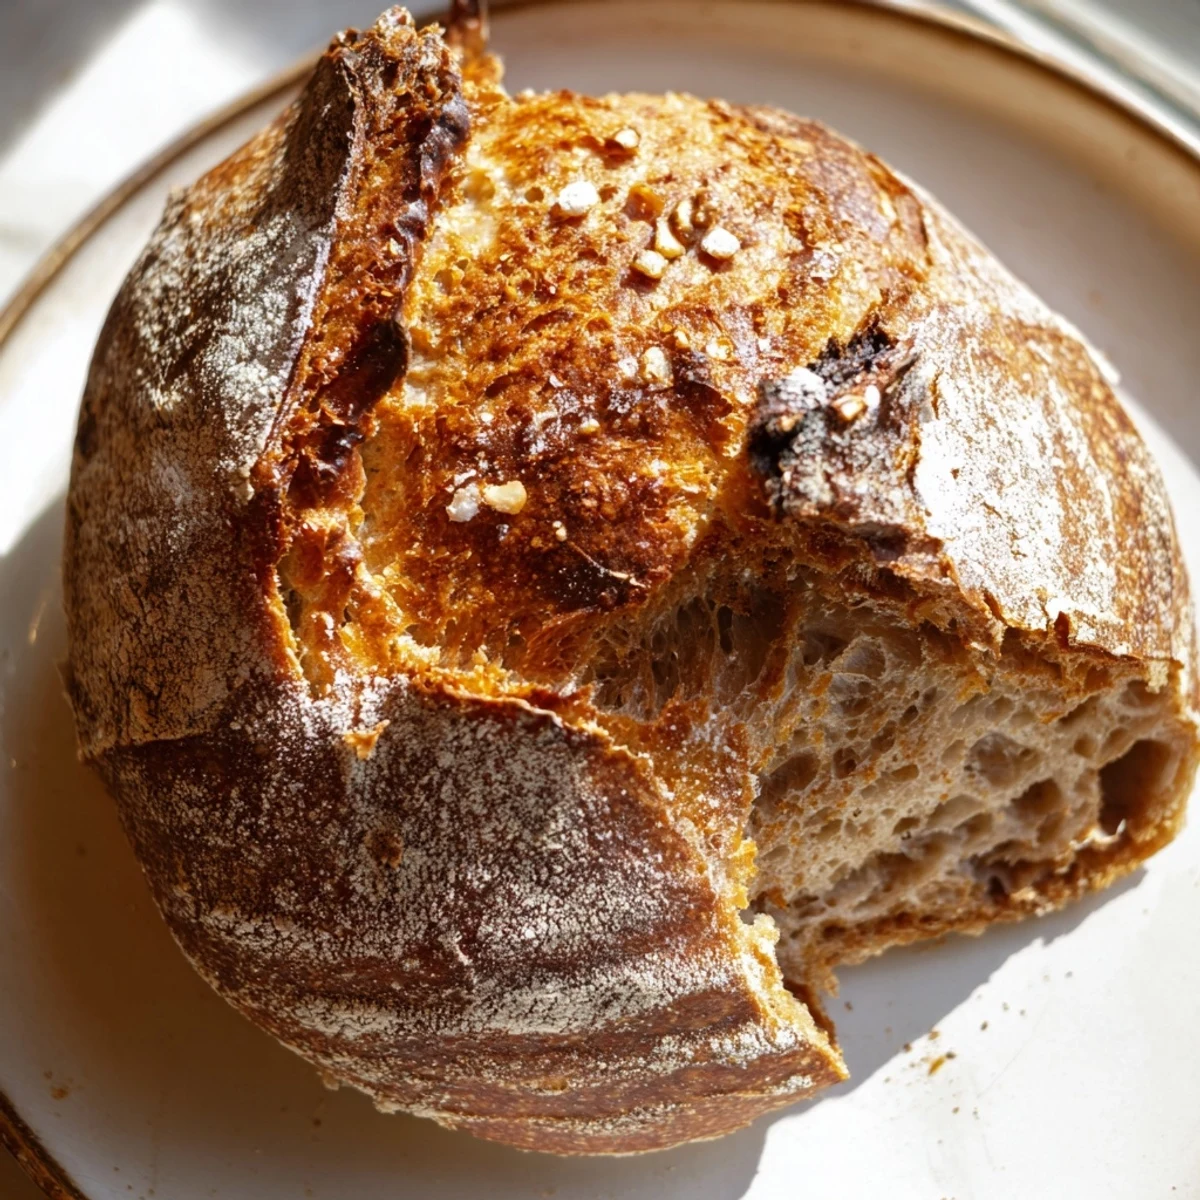
 Craft professional-quality artisan bread in your home kitchen with this remarkably simple approach. The dough develops flavor and structure during an extended fermentation period, eliminating the need for kneading while creating that signature open crumb and crispy exterior.
After mixing flour, salt, yeast, and water, let the dough rest overnight. The long rise allows natural enzymes to work, creating complex flavors and a bubbly texture. A quick shape in the morning, followed by baking in a preheated Dutch oven, creates steam for that coveted crackling crust.
The technique yields one impressive loaf with minimal active effort—just 10 minutes of actual work. The resulting bread features a deep golden crust, substantial chew, and hollow sound when tapped—the hallmarks of true artisan baking. Ideal for sandwiches, toast, or simply torn and dipped in olive oil.
The smell of fresh bread has pulled me into the kitchen more times than I can count, but this recipe changed everything for me. I discovered it during a particularly chaotic week when I wanted something homemade but had zero energy for kneading dough.
My first attempt was on a rainy Sunday, and honestly, I was skeptical. But when that golden loaf emerged from my Dutch oven, crackling and singing as it cooled, I was completely converted. Now I keep a stash in the freezer always.
Ingredients
- Bread flour: Higher protein content gives better structure, but all purpose works perfectly fine
- Salt: Do not reduce this or your bread will taste flat and uninspiring
- Instant yeast: No proofing needed, just mix it directly with the flour
- Lukewarm water: Think bath temperature, about 100 degrees Fahrenheit
- Extra flour: For dusting your work surface and preventing sticking
Instructions
- Mix your dough:
- Whisk flour, salt, and yeast in a large bowl, then stir in water until you get a sticky, shaggy mass that looks completely wrong
- Let it work its magic:
- Cover the bowl and walk away for 12 to 18 hours while bubbles form across the surface and it doubles in size
- Shape with confidence:
- Scrape the dough onto a floured surface and gently fold it over itself a few times until it resembles a rough ball
- Preheat properly:
- Place your Dutch oven in the oven and heat to 450 degrees for at least 30 minutes so the pot gets screaming hot
- Transfer carefully:
- Lift the dough on its parchment paper directly into the hot pot, cover immediately, and bake 30 minutes before removing the lid
- Finish with a crunch:
- Bake another 12 to 15 minutes uncovered until deep golden brown, then cool completely on a wire rack
 Pin this
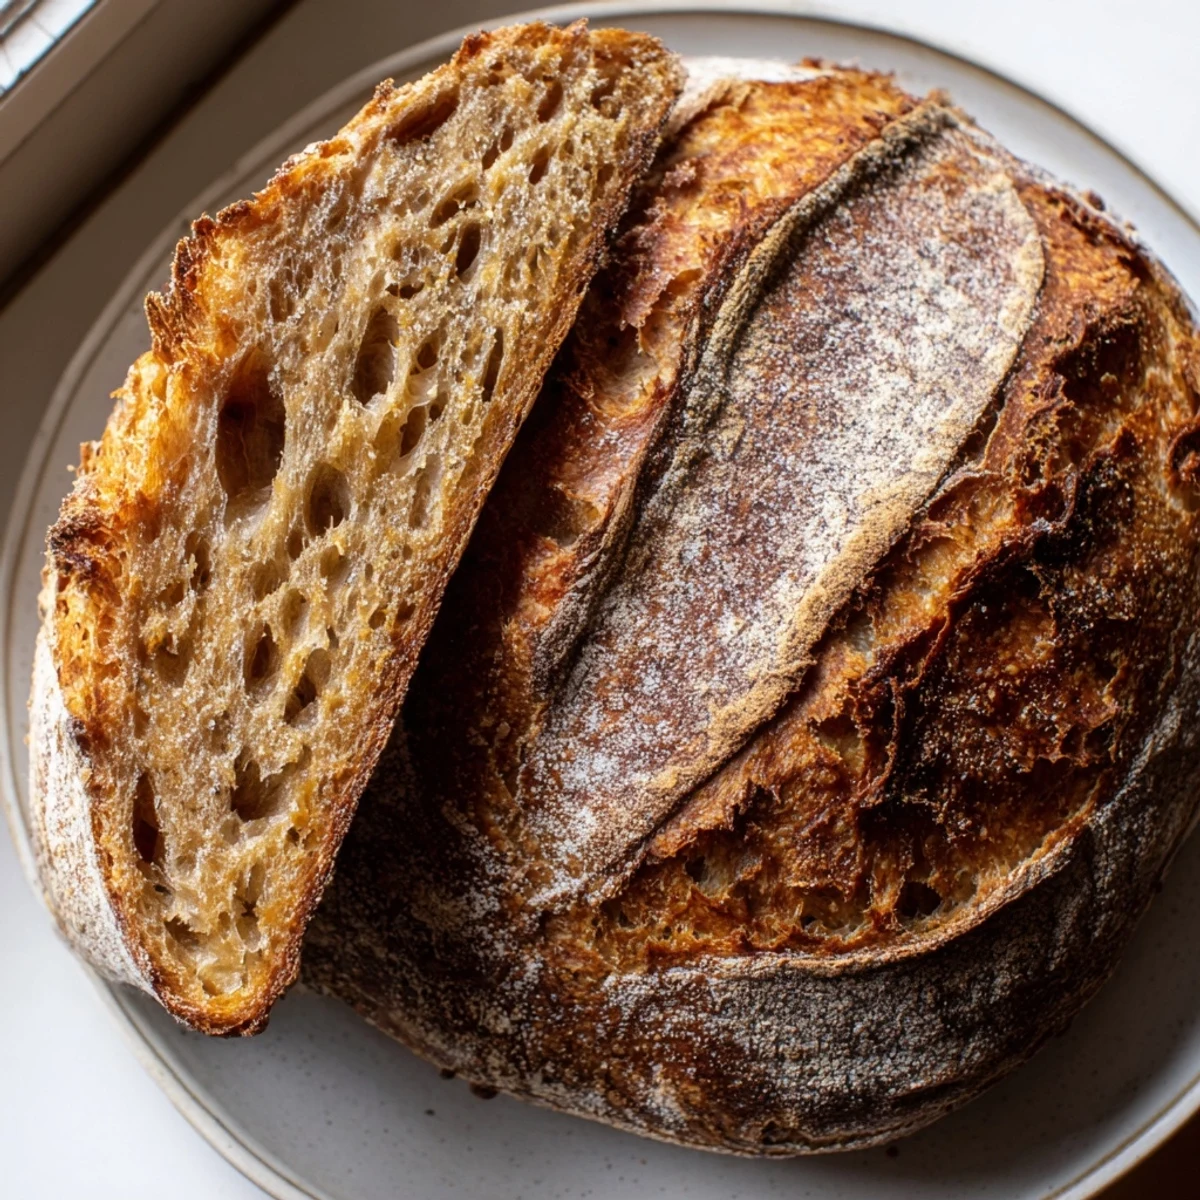
 This bread has become my go to gift for new neighbors and housewarming presents. People cannot believe something this impressive came from my tiny kitchen with almost no effort.
Timing Your Bake
I have learned to start the dough in the evening so it is ready to bake first thing in the morning. There is something magical about having hot bread with breakfast, especially on weekends.
Getting Creative
Once you master the basic recipe, try mixing in chopped rosemary and garlic, or swapping some flour for whole wheat. I love adding handfuls of walnuts and dried cranberries during autumn months.
Storage Secrets
Homemade bread has no preservatives so it molds faster than store bought, but freezing is absolutely the best solution. Slice it first, then wrap portions tightly and thaw as needed.
- Never cut into hot bread or the steam escapes and ruins the texture
- Store cut side down on a cutting board for the first day
- Freeze within 24 hours for the best quality and flavor
 Pin this
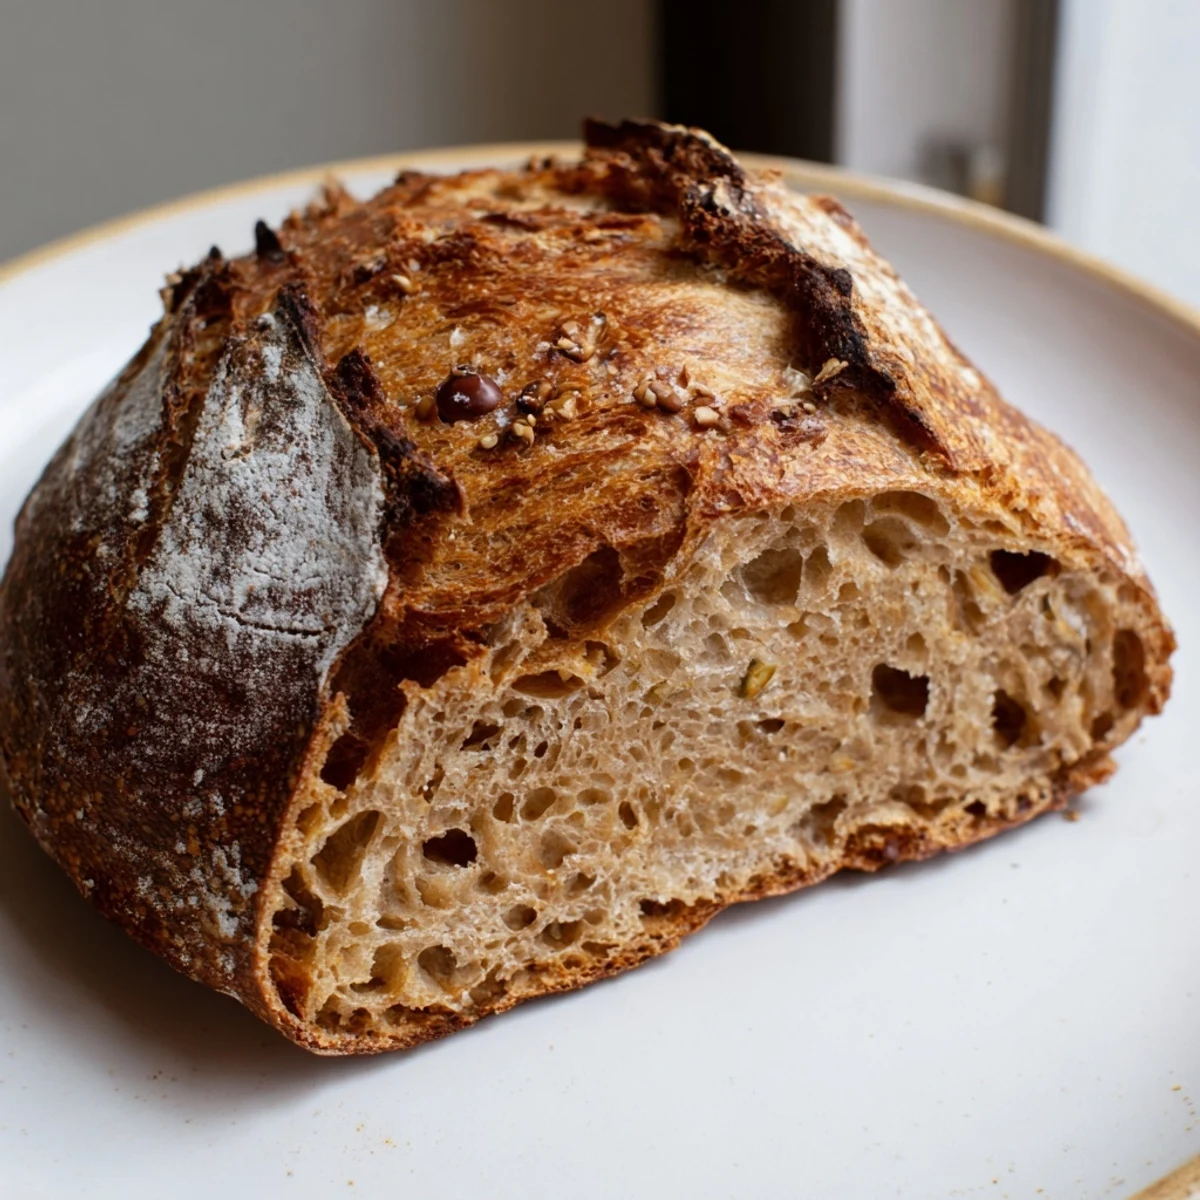
 There is nothing quite like tearing into a warm slice, slathering it with butter, and knowing you made this masterpiece yourself.
Recipe Questions & Answers
- → Why does this dough not need kneading?
-
The extended 12–18 hour fermentation allows gluten strands to develop naturally without physical manipulation. Time does the work that kneading typically would, creating strong structure while keeping the process incredibly simple.
- → Can I shorten the rising time?
-
Reducing the rise below 12 hours will compromise flavor development and texture. The long fermentation is essential for achieving the characteristic open crumb and complex taste of artisan bread. Plan ahead for best results.
- → What if I don't have a Dutch oven?
-
A heavy cast iron pot with tight-fitting lid, or even a stainless steel bowl covered with aluminum foil can work. The key is creating a sealed environment that traps steam during the initial baking phase.
- → How do I know when the bread is done baking?
-
The finished loaf should sound hollow when tapped on the bottom, have a deep golden-brown crust, and register 200°F internally. The crust should be firm and crackle slightly as it cools.
- → Can I add mix-ins like herbs or cheese?
-
Absolutely. Fold in dried herbs, grated cheese, roasted garlic, or chopped olives after mixing the dough. Keep additions to ½ cup or less to maintain proper dough structure and rise.
- → Why must the Dutch oven be preheated?
-
Preheating creates immediate, intense heat that quickly sets the crust. The hot surface also promotes oven spring—that dramatic rise in the first minutes of baking. Starting with a cold pot would result in dense, flat loaves.
