 Pin this
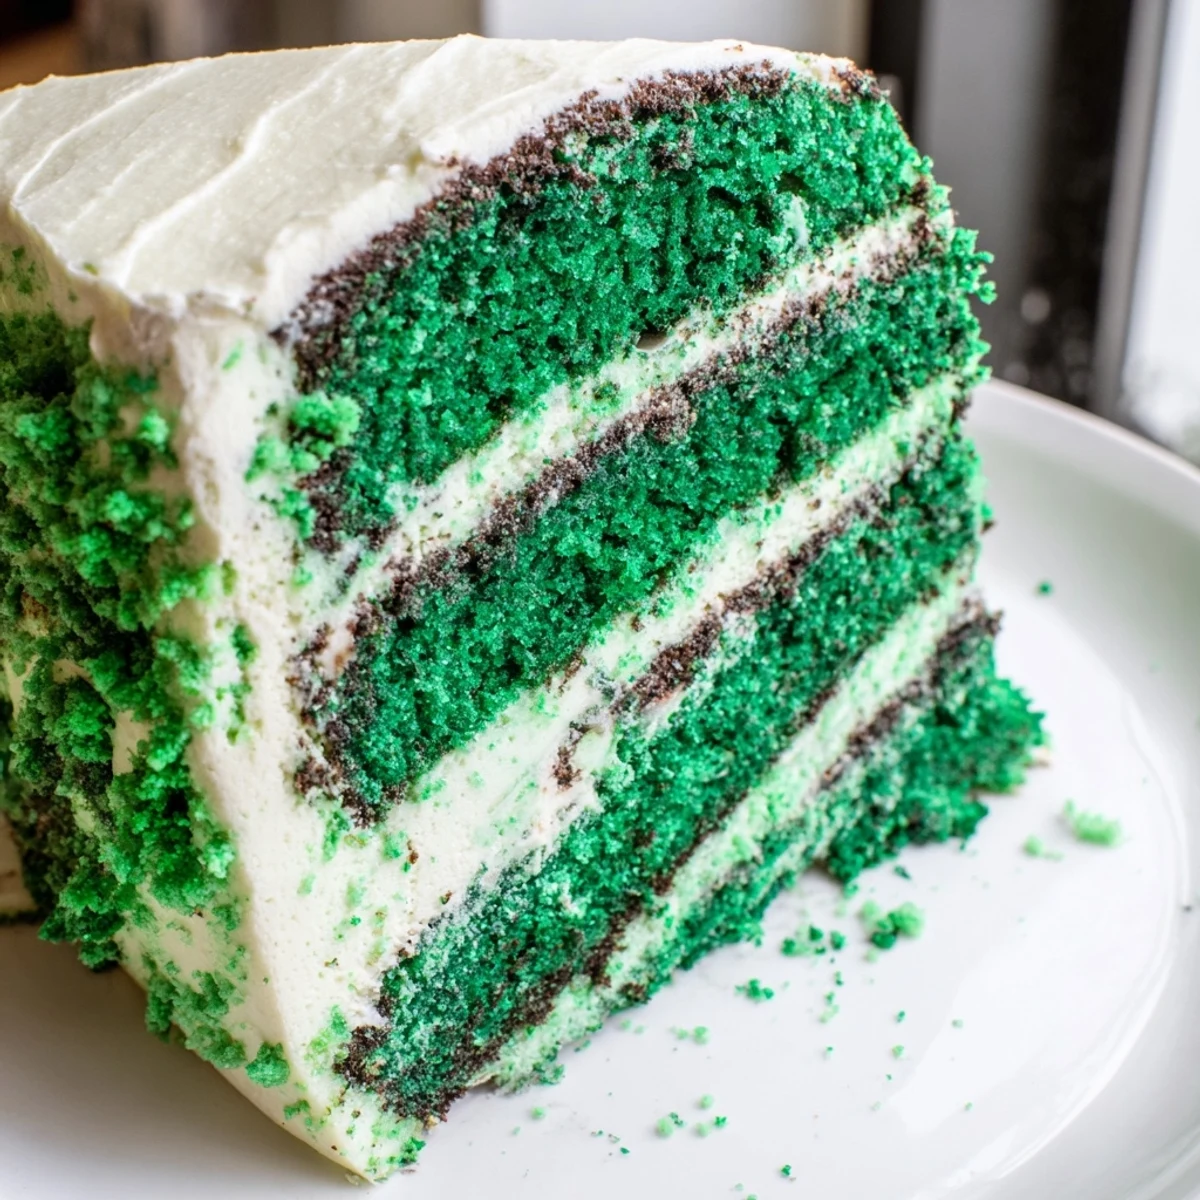
 This stunning emerald dessert brings a festive twist to the classic red velvet, featuring a vibrant green crumb with subtle cocoa notes. The tender, moist layers are complemented by a tangy cream cheese frosting that balances the sweetness perfectly. While ideal for St. Patrick's Day celebrations, this showstopping cake works beautifully for any spring or summer gathering. The gel food coloring creates that signature deep green hue, while buttermilk ensures an incredibly soft texture. You can easily adjust the intensity of the color and even create your own buttermilk substitute if needed.
The first time I made this cake for a St. Patrick's Day party, my sister walked into the kitchen and literally gasped. That emerald color stops people in their tracks, and the way it catches the light makes you feel like you've baked something magical. But what really surprised everyone was how incredibly moist and tender each bite turned out to be.
Last spring I brought two layers to a potluck and watched three different people ask for the recipe before dessert was even served. Something about that unexpected green color makes people lean in closer, like you've shared a wonderful secret they can't wait to try themselves.
Ingredients
- 2½ cups all purpose flour: The foundation that gives this cake its structure and tender crumb without any toughness
- 2 tbsp unsweetened cocoa powder: Just enough to add depth and that classic velvet cake background flavor without overpowering the delicate profile
- 1 tsp baking soda: Essential for the lift and rise that creates those perfectly even cake layers
- ½ tsp salt: Balances sweetness and enhances all the other flavors in the batter
- 1½ cups granulated sugar: Sweetens while keeping the texture tender and the crumb fine
- 1 cup vegetable oil: The secret to staying incredibly moist for days unlike butter based cakes
- 2 large eggs room temperature: Room temperature eggs incorporate better and create a more uniform texture
- 1 cup buttermilk room temperature: Provides tanginess and tenderness while activating the baking soda for proper rise
- 2 tsp pure vanilla extract: Rounds out the flavor profile with warm floral notes
- 1 tsp white vinegar: Works with buttermilk to enhance the velvet texture and subtle tang
- 1 to 1½ tbsp green gel food coloring: Gel coloring provides that vibrant emerald hue without watering down the batter like liquid dyes
- 8 oz cream cheese softened: The backbone of the frosting providing signature tang and luxurious spreadability
- ½ cup unsalted butter softened: Adds richness and structure to the frosting while helping it hold its shape
- 3½ cups powdered sugar sifted: Sweetens and thickens the frosting to perfectly spreadable consistency
- 2 tsp vanilla extract: Echoes the vanilla in the cake while cutting through the rich cream cheese
- Pinch of salt: Wakes up all the flavors in the frosting and prevents it from tasting cloyingly sweet
Instructions
- Preheat your oven to 350°F and prepare the cake pans:
- Grease two 9 inch round pans thoroughly and line the bottoms with parchment paper for easy release
- Whisk the dry ingredients together:
- Combine flour cocoa powder baking soda and salt in a medium bowl until evenly distributed
- Beat sugar and oil until combined:
- Mix in a large bowl then add eggs one at a time beating well after each addition
- Add the wet ingredients:
- Stir in buttermilk vanilla vinegar and green food coloring whisking until the batter is uniformly colored throughout
- Combine wet and dry ingredients:
- Add flour mixture in two batches mixing just until no dry streaks remain to avoid developing gluten
- Divide and bake the layers:
- Split batter evenly between prepared pans and bake for 28 to 32 minutes until a toothpick comes out clean
- Cool the cakes completely:
- Let rest in pans 10 minutes then turn onto wire racks to cool entirely before frosting
- Make the cream cheese frosting:
- Beat cream cheese and butter until smooth then add powdered sugar vanilla and salt beating until light and creamy
- Assemble and frost the cake:
- Place one layer on a serving plate frost the top add the second layer and coat the entire cake with remaining frosting
 Pin this
 My neighbor mentioned she'd never had a green cake before and now it's become her go to birthday request. There's something joyful about cutting into that vibrant slice and seeing everyone's faces light up with surprise.
Making It Ahead
I've learned through trial and error that the wrapped cake layers actually freeze beautifully for up to a month. Thaw them overnight in the refrigerator then bring to room temperature before frosting for the freshest taste.
Getting The Perfect Color
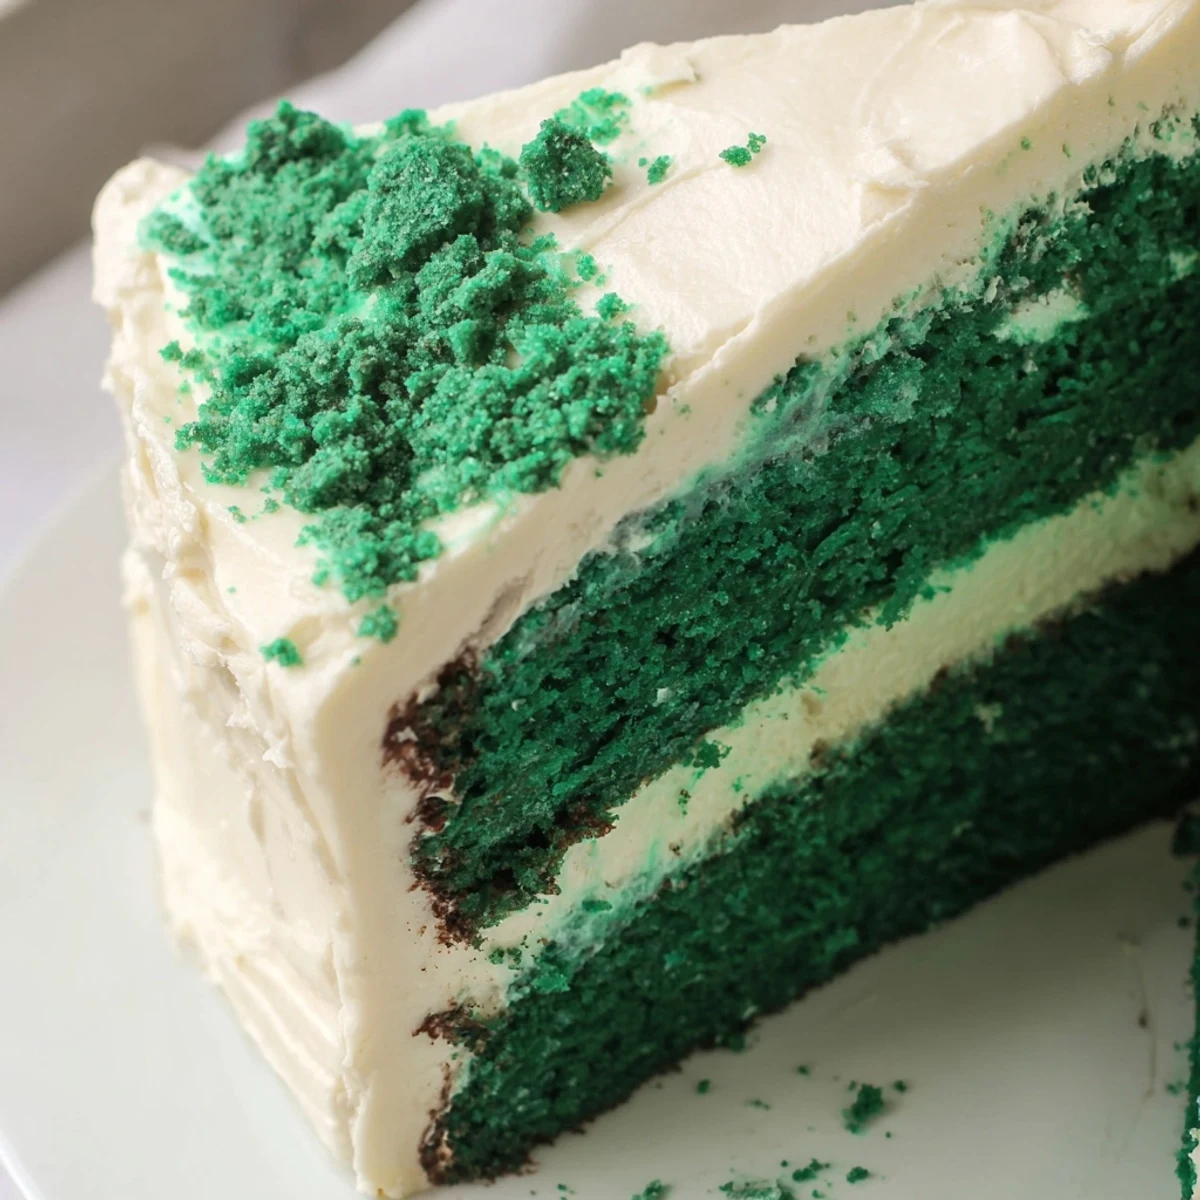
Start with one tablespoon of gel coloring and add more gradually until you reach your desired shade. Remember that the color will deepen slightly as the cakes bake so aim a shade lighter than your target emerald.
Serving Suggestions
This cake truly shines when served slightly chilled which firms up the frosting and creates lovely clean slices. The cool temperature also highlights that beautiful tangy cream cheese contrast against the tender crumb.
- Pair with a cup of green tea or chilled Moscato to complement the flavors
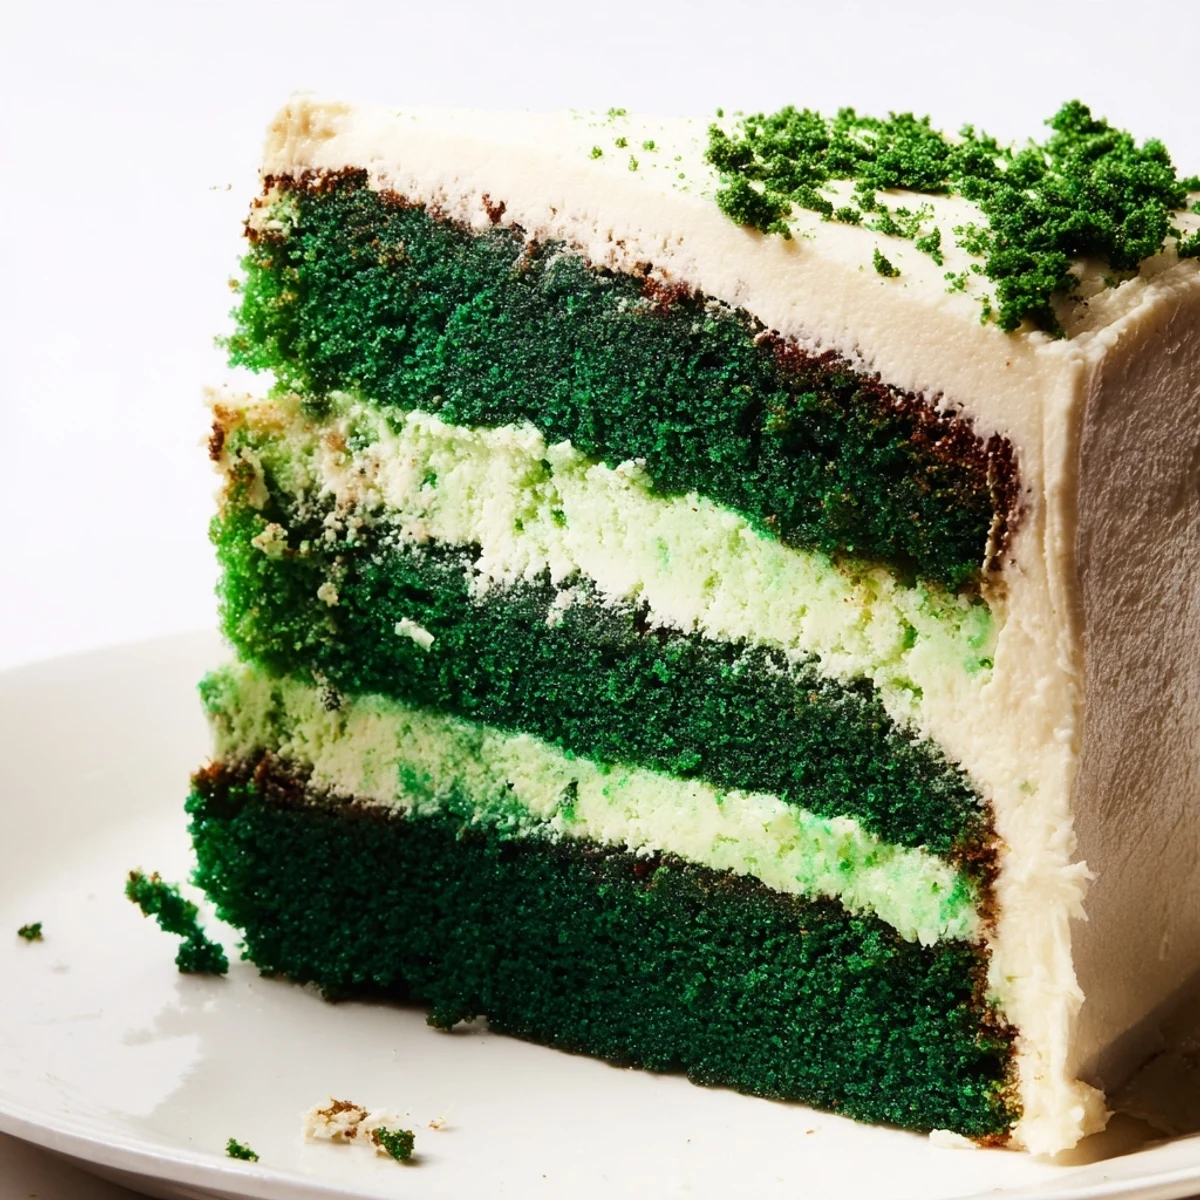
- Garnish with green sprinkles or reserved cake crumbs for extra festivity
- Store any leftovers in the refrigerator where the texture actually improves overnight
 Pin this
 Every time I serve this cake someone inevitably asks if it's difficult to make, which makes me smile because the most stunning desserts are often the simplest to prepare.
Recipe Questions & Answers
- → What makes green velvet different from red velvet?
-
The primary difference is the food coloring—green gel replaces the traditional red. The base batter remains the same with cocoa powder, buttermilk, and vinegar creating that signature velvety texture. The flavor profile stays consistent with subtle cocoa notes and tangy cream cheese frosting.
- → Can I use liquid food coloring instead of gel?
-
Gel coloring is highly recommended because it provides intense color without adding excess liquid to your batter. Liquid food coloring would require significantly more volume, which could throw off the moisture balance and affect the cake's texture.
- → How should I store this cake?
-
Store in an airtight container in the refrigerator for up to 5 days. The cream cheese frosting requires refrigeration due to its dairy content. Bring slices to room temperature for about 30 minutes before serving for the best texture and flavor.
- → Can I make this cake ahead of time?
-
Absolutely! The cake layers can be baked and frozen, well-wrapped, for up to 3 months before thawing and frosting. You can also frost the entire cake 1-2 days in advance—the flavors actually develop and improve after sitting overnight.
- → What can I substitute for buttermilk?
-
Simply mix 1 cup of regular milk with 1 tablespoon of white vinegar and let it sit for 5 minutes until slightly thickened. This creates the acidity needed to react with baking soda for proper lift and tenderness.
- → How do I achieve a deeper green color?
-
Start with 1 tablespoon of green gel coloring and add more in ¼ teaspoon increments until you reach your desired shade. Remember that the color may deepen slightly during baking, so it's best to aim for a slightly lighter shade than your target.
