 Pin this
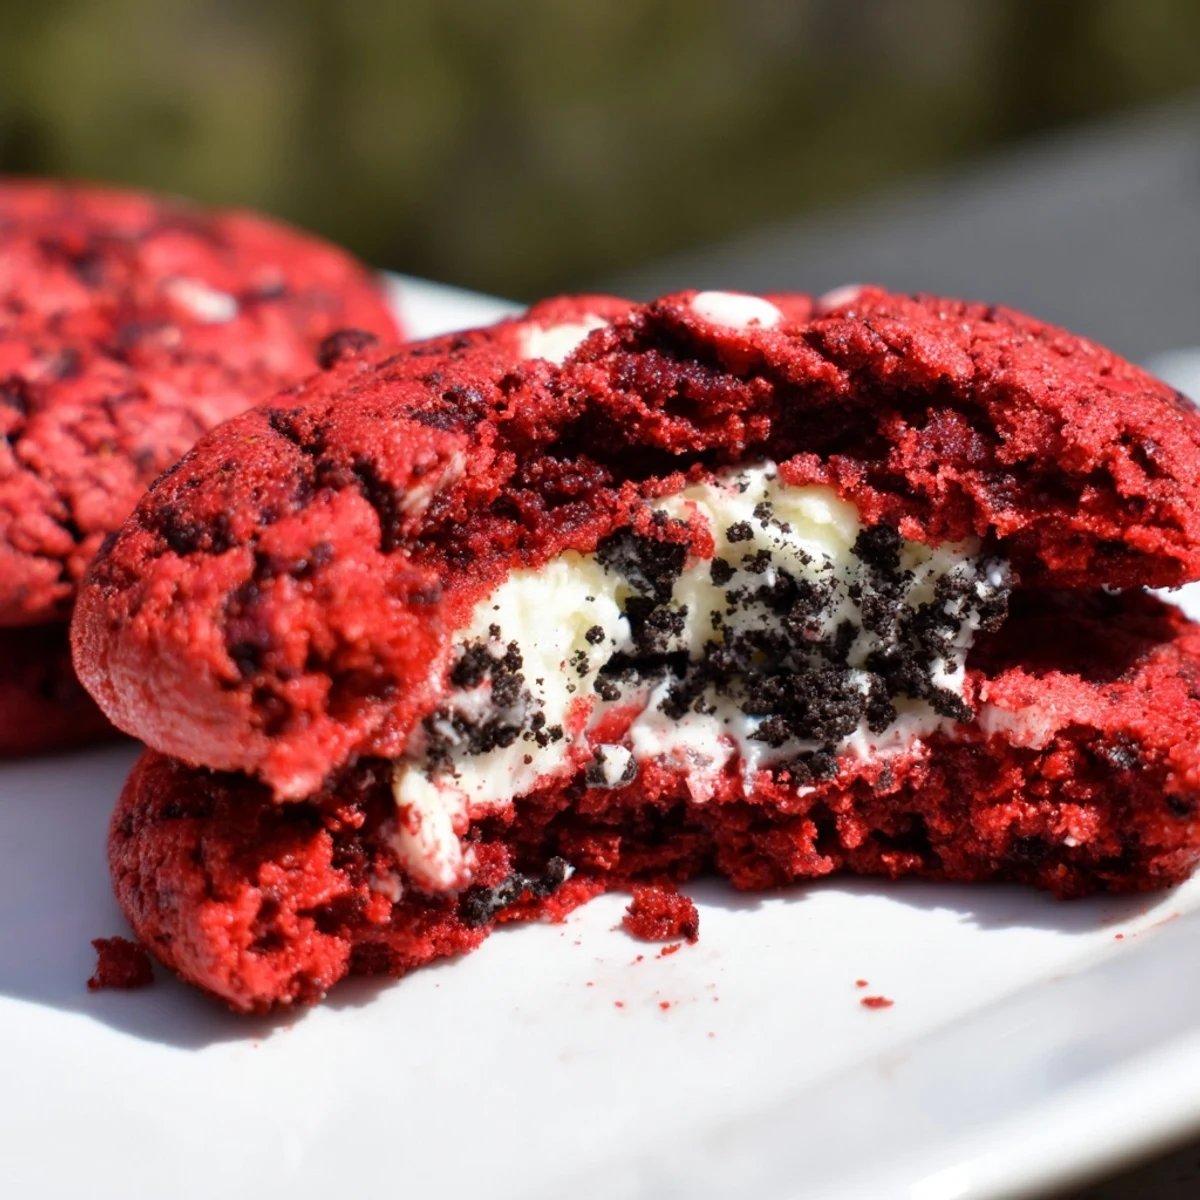
 These stuffed red velvet cookies feature a soft, chewy cocoa-infused dough enriched with white chocolate chips. The surprise center holds a creamy Oreo filling made with cream cheese, butter, and crushed cookies. Ready in just 37 minutes, these treats deliver restaurant-quality results at home with minimal effort.
The first time I made these, my kitchen looked like a crime scene with bright red streaks everywhere, but one bite of that surprise Oreo center made all the cleanup worth it.
My sister actually gasped when she bit into one during our holiday baking marathon, not expecting the creamy surprise inside the soft, chewy cookie.
Ingredients
- All-purpose flour: The foundation that gives these cookies their structure while staying tender
- Unsweetened cocoa powder: Essential for that classic red velvet depth without overwhelming chocolate flavor
- Baking soda: Helps the cookies puff slightly while maintaining that signature chewy texture
- Salt: A pinch that balances all the sweetness and enhances the cocoa notes
- Unsalted butter: Room temperature butter creates the perfect creamed base for fluffy cookies
- Granulated sugar: Creates crisp edges while the centers stay soft and gooey
- Light brown sugar: Adds moisture and subtle caramel undertones to the dough
- Large egg: Binds everything together while contributing to richness
- Milk: Just enough to hydrate the dough and activate the red food coloring
- Vanilla extract: Pure extract makes a noticeable difference in the overall flavor profile
- Red food coloring: Gel coloring gives the most vibrant red without thinning the batter
- White chocolate chips: Creamy sweetness that complements rather than competes with the Oreo filling
- Cream cheese: The base of our Oreo filling needs to be fully softened for smooth results
- Powdered sugar: Sifting prevents lumps and ensures silky smooth filling
- Oreo cookies: Finely crushed adds texture and that familiar cookies and cream flavor
Instructions
- Preheat your oven:
- Set it to 350°F with racks in the center position and line your baking sheets with parchment paper
- Whisk the dry ingredients:
- Combine flour, cocoa powder, baking soda, and salt in a medium bowl until well blended
- Cream the butter and sugars:
- Beat them together until light and fluffy, then add the egg, milk, vanilla, and red food coloring until combined
- Combine the mixtures:
- Gradually add the dry ingredients to the wet mixture, mixing just until combined, then fold in the white chocolate chips
- Make the Oreo filling:
- Beat cream cheese and butter until smooth, add powdered sugar and vanilla until creamy, then fold in crushed Oreos and refrigerate for 10 minutes
- Stuff the cookies:
- Flatten dough portions, place filling in the center, and carefully fold the dough around it to seal completely
- Bake to perfection:
- Place dough balls two inches apart on the prepared sheets and bake for 11 to 12 minutes until edges are set
- Cool completely:
- Let them rest on the baking sheet for 5 minutes before transferring to a wire rack to finish cooling
 Pin this
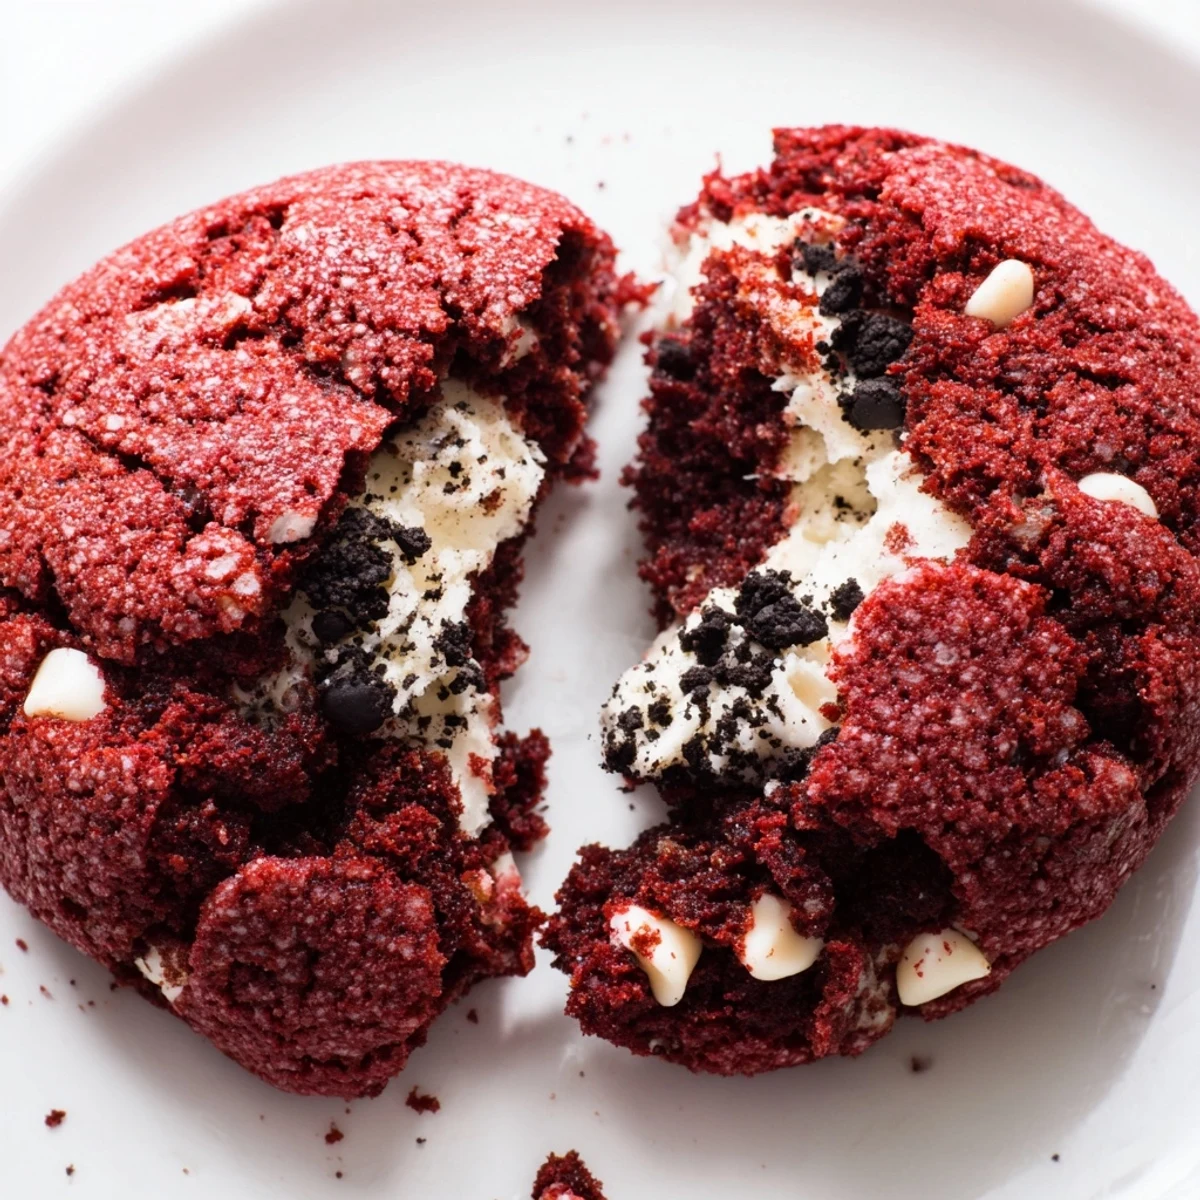
 These have become my go-to for impressing guests because they look like ordinary red velvet cookies until someone takes that first surprised bite.
Making The Filling Ahead
I learned that preparing the Oreo filling the night before makes the whole assembly process so much more manageable and less messy.
Getting The Perfect Red Color
Gel food coloring delivers that stunning red hue without adding extra liquid, which keeps the cookie texture exactly right.
Storage And Serving Suggestions
These cookies actually develop deeper flavor on day two as the Oreo filling melds with the red velvet dough.
- Store in an airtight container at room temperature for up to three days
- Warm slightly in the microwave for that fresh baked experience
- Freeze unbaked stuffed cookies for fresh treats anytime
 Pin this
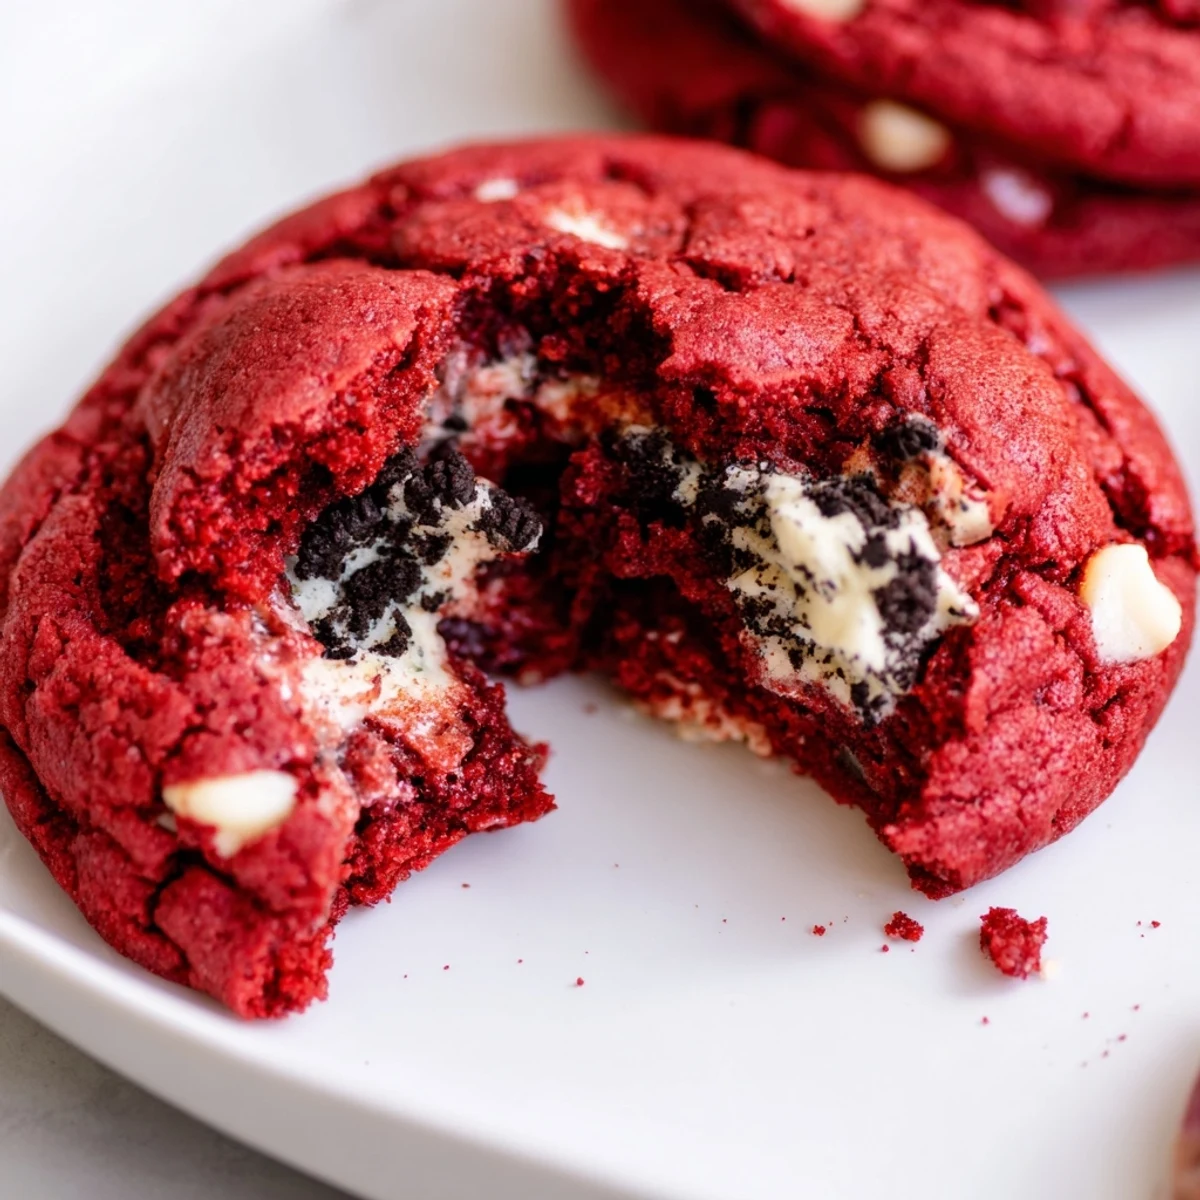
 Watch them disappear from the plate faster than any other cookie you will ever bake.
Recipe Questions & Answers
- → Can I make the dough ahead of time?
-
Yes, prepare the cookie dough and filling separately. Refrigerate both for up to 24 hours before assembling and baking. Let dough soften slightly at room temperature for easier handling.
- → How do I prevent the filling from leaking during baking?
-
Chill the Oreo filling for at least 10 minutes before using. Seal the dough edges completely around the filling, ensuring no gaps. Space cookies 2 inches apart on the baking sheet to allow proper spreading.
- → Can I freeze these stuffed cookies?
-
Freeze assembled, unbaked dough balls on a baking sheet until firm, then transfer to a freezer bag for up to 3 months. Bake from frozen, adding 1-2 minutes to the baking time. Baked cookies also freeze well for up to 2 months.
- → What's the best way to crush Oreos for the filling?
-
Place Oreos in a ziplock bag and crush with a rolling pin for uniform crumbs, or pulse briefly in a food processor. Aim for fine crumbs rather than large chunks for the smoothest filling texture.
- → Can I use natural food coloring instead of red dye?
-
Beet juice or pomegranate juice can tint the dough naturally, though the color will be more subtle than gel or liquid food coloring. Start with 1 tablespoon and add more as needed to reach your desired shade.
- → Why did my cookies turn out cakey instead of chewy?
-
Overmixing the dough develops too much gluten, creating a cakey texture. Mix wet and dry ingredients until just combined. Also, avoid overbaking—remove from the oven when edges are set but centers still look slightly soft.
