 Pin this
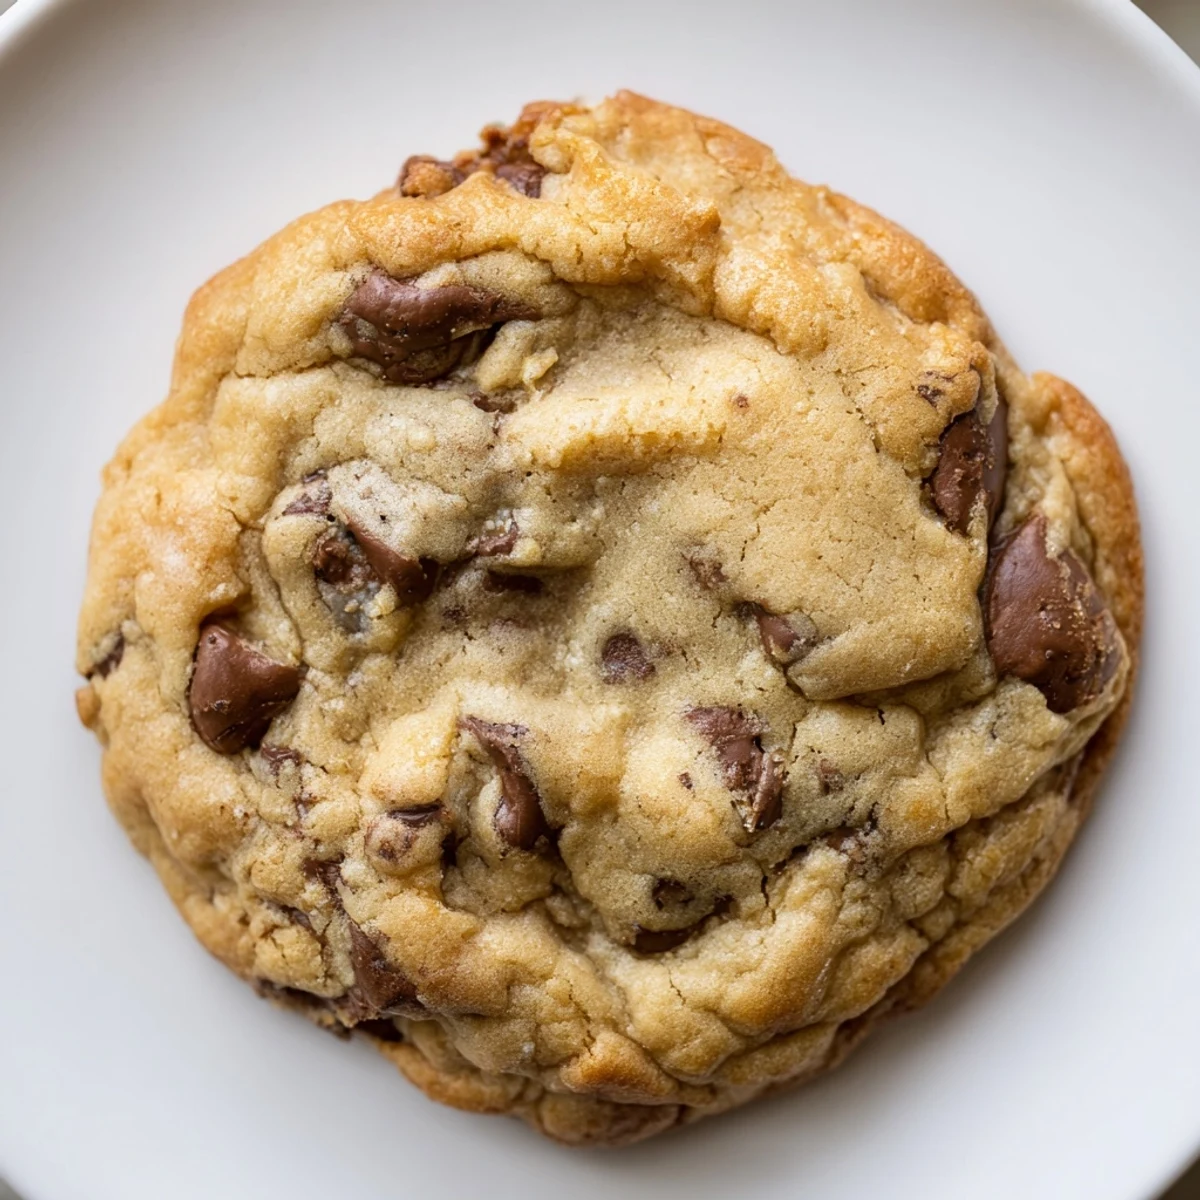
 These soft and chewy chocolate chip cookies deliver all the classic comfort you expect, completely nut-free for safe allergy-friendly snacking. The dough comes together in just 15 minutes with simple pantry staples, yielding 24 perfectly golden cookies with crisp edges and tender centers. Chilling the dough beforehand enhances the chewy texture, while the combination of granulated and brown sugars creates that irresistible caramelized flavor. Each batch bakes in under 11 minutes for fresh, warm treats anytime.
My niece Sarah can't be around nuts, so when she comes over, I'm extra careful about everything in the kitchen. Last summer she asked if we could make chocolate chip cookies together, and I realized most of my recipes needed serious rethinking. We spent the afternoon experimenting and she actually taught me a thing or two about reading labels properly. Those cookies turned out so incredible that now I make them this way every single time.
Sarah's face when she took that first warm cookie off the rack is something I won't forget. She said it tasted like what cookies were supposed to taste like, not like the allergy-safe ones she usually had to settle for. Now she asks for them every time she visits, and honestly, so do the neighbors.
Ingredients
- All-purpose flour: I've found that measuring by weight instead of volume makes these consistently chewy every single batch
- Baking soda: This small amount gives the perfect lift without making them cakey or puffy
- Salt: Don't skip this because it makes all that chocolate really sing
- Unsalted butter: Room temperature butter is non-negotiable for that creamy texture we're after
- Granulated sugar: Creates those crispy edges that everyone fights over
- Light brown sugar: Packed tight for moisture and that gorgeous caramel flavor
- Large eggs: Bring these to room temperature so they incorporate smoothly
- Pure vanilla extract: Use the good stuff because you can really taste the difference here
- Nut-free semi-sweet chocolate chips: Always double-check the label because cross-contamination warnings matter
Instructions
- Get your oven ready:
- Preheat to 350°F (175°C) and line two baking sheets with parchment paper so nothing sticks
- Mix the dry ingredients:
- Whisk together the flour, baking soda, and salt in a medium bowl until everything is evenly distributed
- Cream the butter and sugars:
- Beat the softened butter with both sugars for about 2-3 minutes until the mixture looks pale and fluffy
- Add the eggs and vanilla:
- Beat in eggs one at a time, then mix in the vanilla until everything's smooth and combined
- Combine it all:
- Gradually add the dry ingredients to the wet mixture, mixing just until you don't see streaks of flour anymore
- Fold in the chocolate:
- Stir in those chocolate chips with a spatula until they're evenly distributed throughout the dough
- Scoop and space:
- Drop rounded tablespoons onto your prepared sheets, leaving about 2 inches between each scoop
- Bake to golden perfection:
- Bake for 9-11 minutes until edges are golden brown but centers still look slightly soft and underbaked
- Patience is key:
- Let them cool on the baking sheets for 5 minutes before moving them to a wire rack to finish cooling
 Pin this
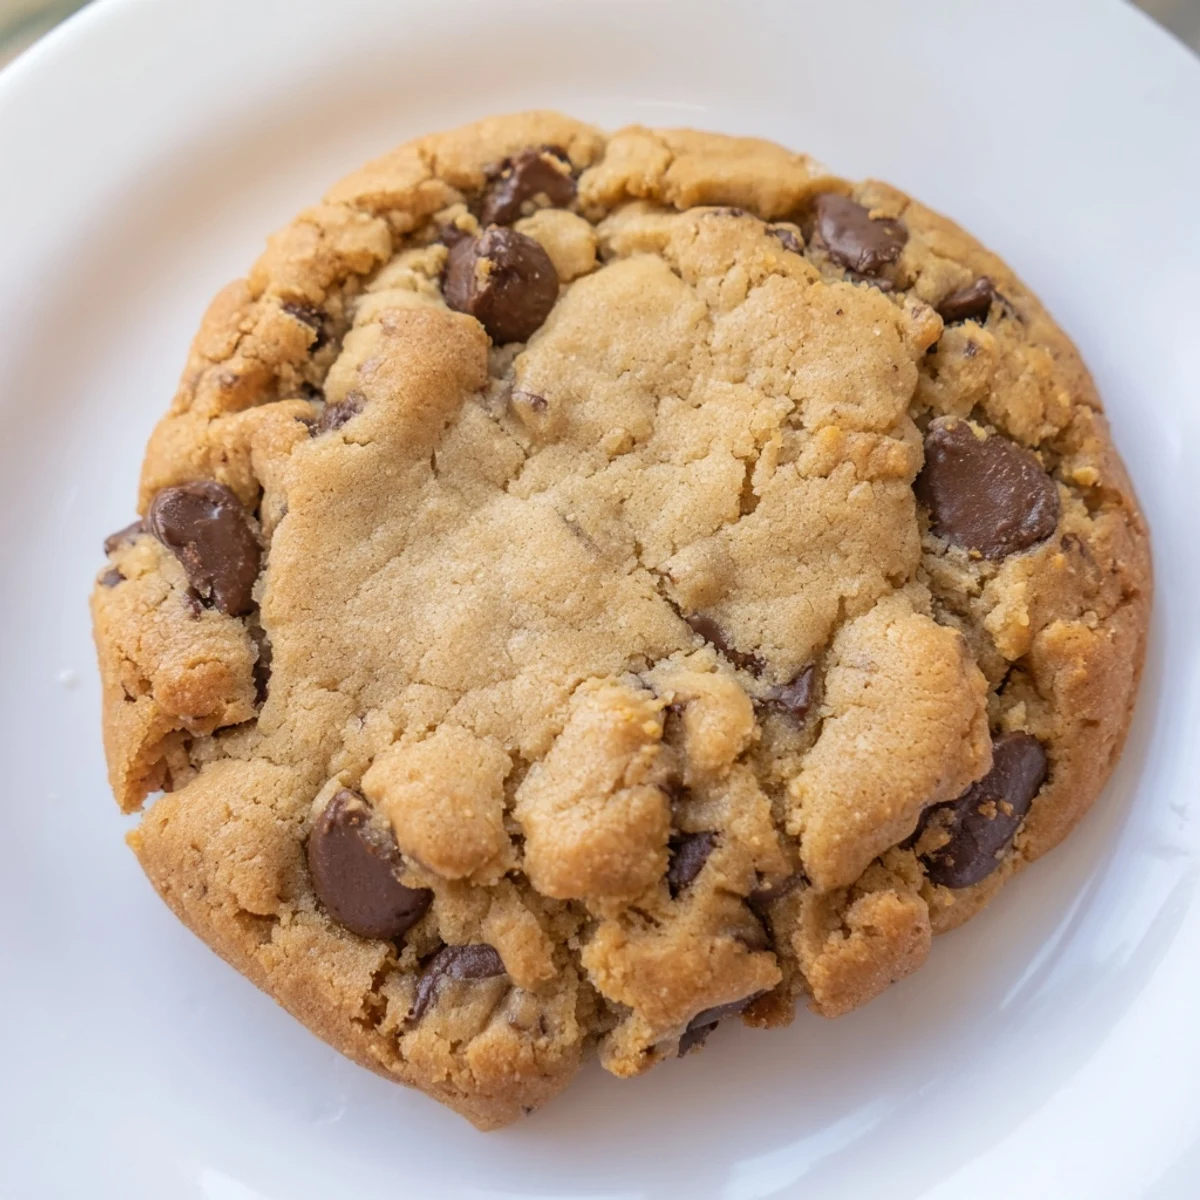
 My friend Megan came over during one of our baking sessions and couldn't believe these were allergy-friendly. She kept grabbing them off the cooling rack, saying she'd never tasted such perfect texture in a nut-free cookie. Now she requests them for every birthday and office party.
Making Them Your Own
Sometimes I swap half the chocolate chips for white chocolate pieces when I want something different. The creaminess pairs beautifully with the semi-sweet chocolate. You could also try dried cherries or chopped dried cranberries for a fruity twist.
Storage Secrets
I've found that keeping these in an airtight container with a slice of bread keeps them soft for almost a week. The bread transfers moisture to the cookies without making them soggy. Just don't store them while they're still warm or you'll end up with condensation problems.
Freezing For Later
You can scoop the dough onto a baking sheet, freeze the balls until firm, then transfer them to a freezer bag for fresh-baked cookies anytime. Bake them straight from frozen, just add 1-2 minutes to the baking time.
- Scoop extra dough now so you're always ready for unexpected guests
- Label your freezer bags with the date so you use them within 3 months
- Let frozen cookie dough thaw for 10 minutes before baking for even better results
 Pin this
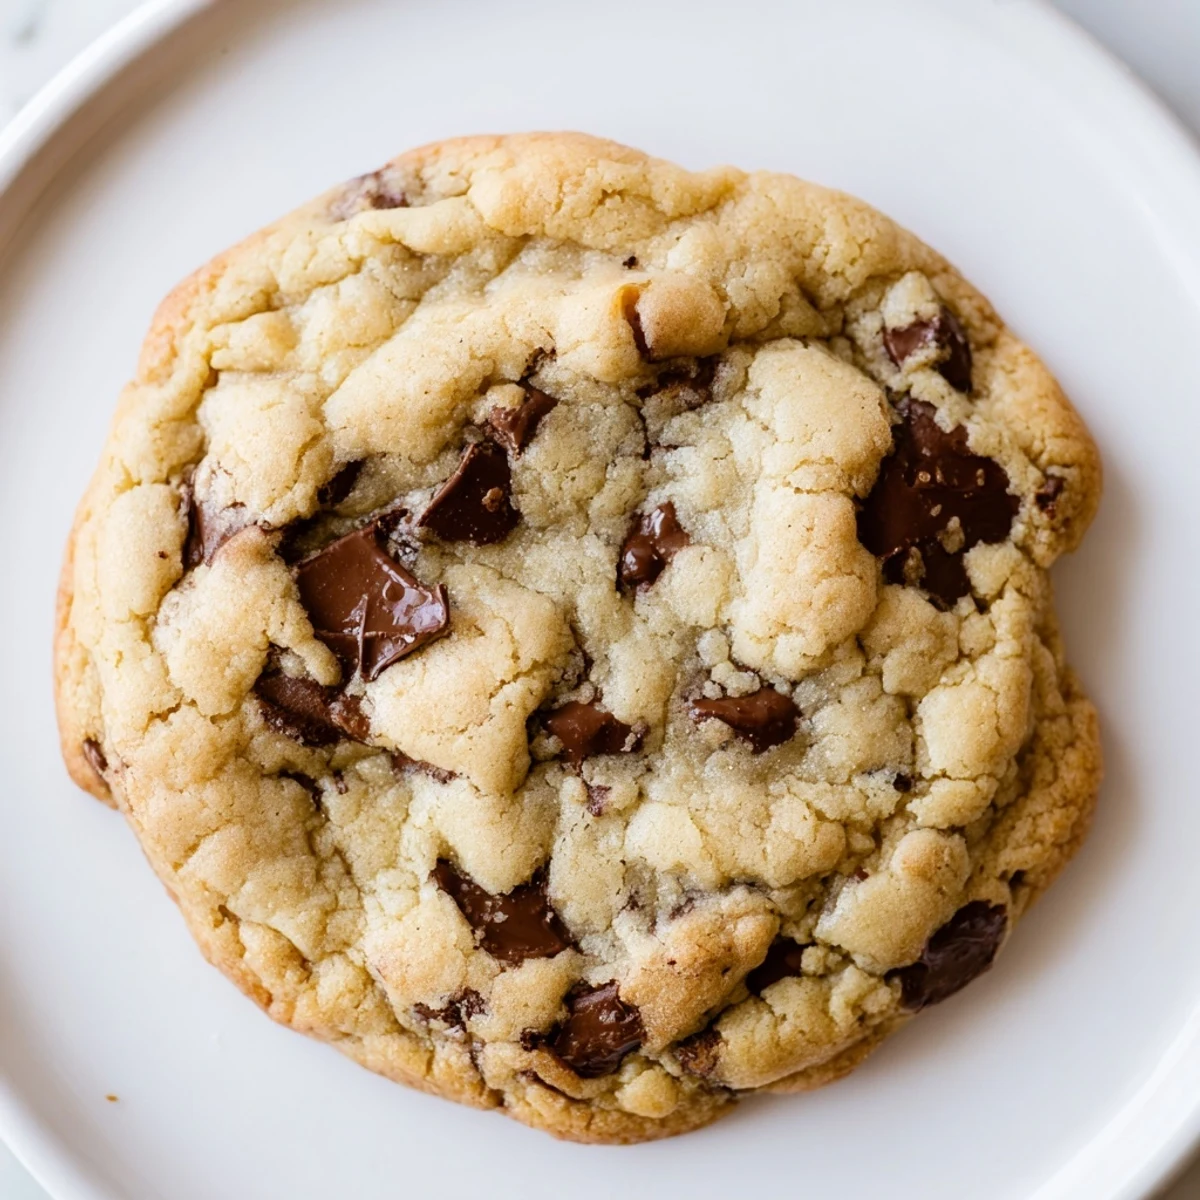
 There's something so satisfying about pulling a tray of these out of the oven and seeing that perfect mix of golden edges and soft centers. Hope your kitchen smells as wonderful as mine does.
Recipe Questions & Answers
- → Are these cookies completely safe for nut allergies?
-
Yes, these cookies contain no nuts or nut-derived ingredients. However, always verify that your chocolate chips and other ingredients are certified nut-free to avoid potential cross-contamination during manufacturing.
- → Can I chill the dough ahead of time?
-
Absolutely! Chilling the dough for 30 minutes or overnight enhances chewiness and prevents excessive spreading during baking. Store covered in the refrigerator.
- → What makes these cookies soft and chewy?
-
The combination of softened butter, brown sugar, and proper baking time creates that perfect texture. Removing them from the oven when centers still look slightly soft ensures chewiness.
- → Can I substitute the chocolate chips?
-
Yes! Try nut-free white chocolate chips, dried cranberries, or raisins. Just ensure any substitutes are certified nut-free for allergy safety.
- → How should I store these cookies?
-
Store in an airtight container at room temperature for up to 5 days. For longer freshness, freeze baked cookies for up to 3 months or freeze dough balls to bake fresh.
