 Pin this
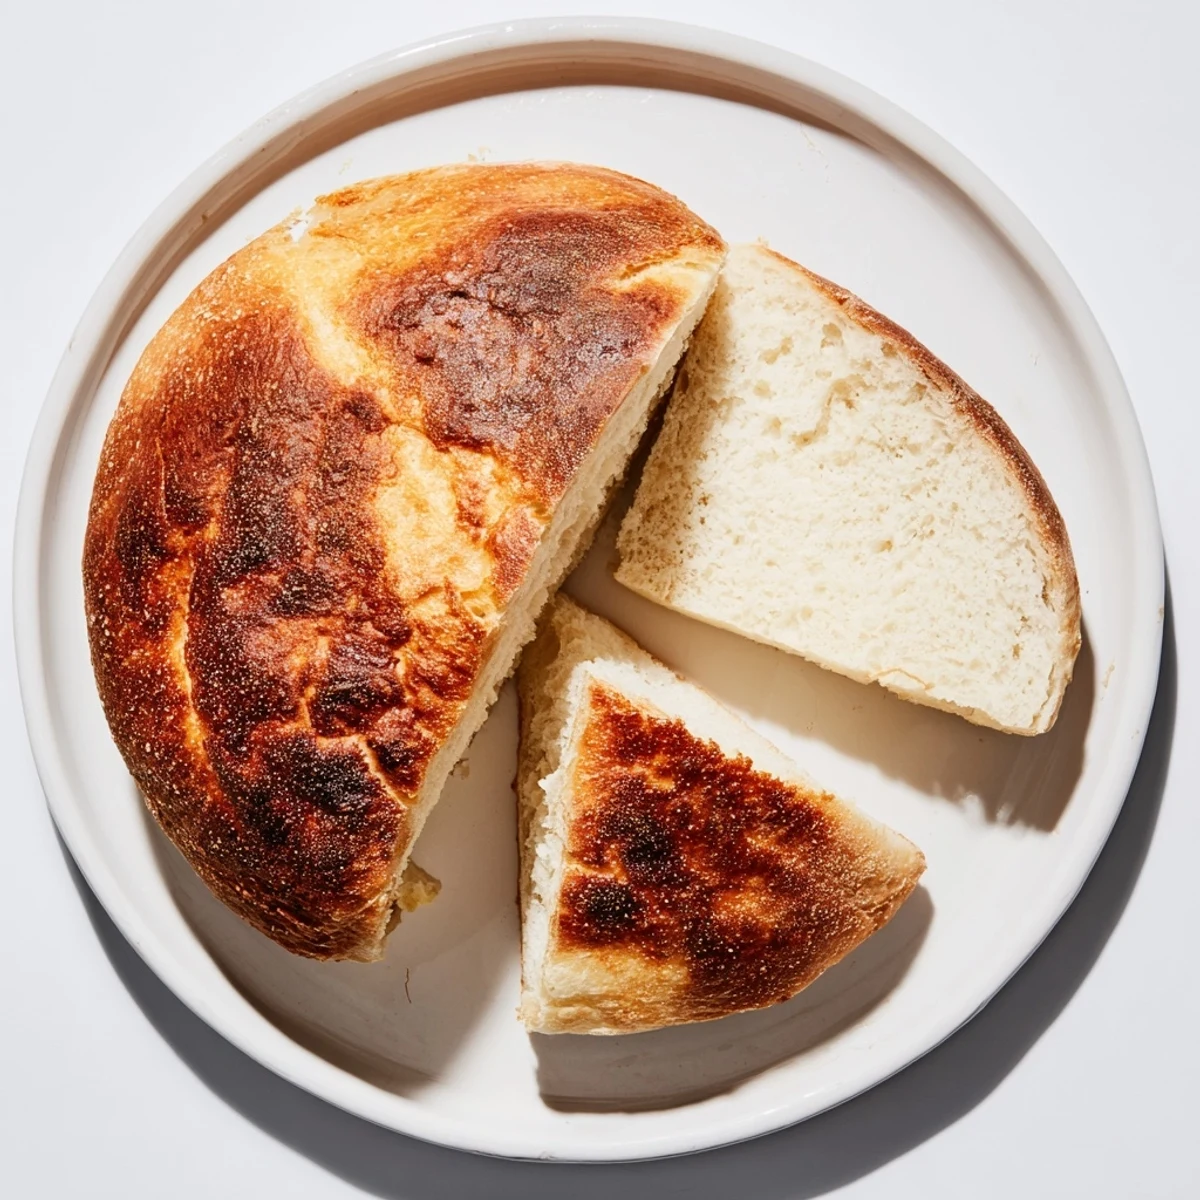
 This stovetop method delivers bakery-style bread using just a heavy skillet and low heat. The dough comes together with flour, yeast, sugar, salt, olive oil, and warm water. After kneading for 8-10 minutes and rising for an hour, the round loaf cooks covered on the stovetop's lowest setting. Flip once during cooking to achieve golden crust on both sides. The result is a tender interior with a lightly crisped exterior perfect for slicing and serving warm with butter or olive oil.
The first time I made bread without an oven was during a kitchen renovation that left us with nothing but a hot plate. I was skeptical that anything good could come from a skillet, but when that golden crust crackled under my knife and steam billowed out, I was converted. Now even with a fully functional oven, I still find myself reaching for the cast iron on busy weeknights. The immediacy of stovetop bread has this way of making you feel like you can always have something fresh and homemade, no matter what life throws at your kitchen setup.
Last winter during a power outage, our electric oven was useless but the gas stovetop still worked. I whipped up this dough by candlelight with my roommate, taking turns kneading and checking the rise. We ended up eating the whole loaf warm from the pan, standing around the kitchen counter in our coats, dipping slices into olive oil and feeling incredibly cozy despite the circumstances. That night cemented stovetop bread as our go-to comfort food whenever life gets a little chaotic.
Ingredients
- All-purpose flour: The protein structure here creates that perfect bounce and chew. I keep measuring my water by feel after a few tries with this recipe.
- Instant yeast: No proofing needed which saves precious time. Make sure it's fresh by checking the expiration date.
- Sugar: Just enough to feed the yeast without making the bread sweet. A teaspoon hits that perfect balance.
- Salt: Do not skip or reduce this. It's what makes the bread taste like bread instead of sad cardboard.
- Olive oil: Keeps the dough tender and helps create that beautiful golden crust. Extra virgin gives the best flavor.
- Warm water: Think bathwater temperature, not hot. If it feels comfortable on your wrist, the yeast will be happy too.
Instructions
- Mix your foundation:
- Whisk together the flour, yeast, sugar, and salt until everything is evenly distributed. This small step prevents salty or yeasty spots in your final loaf.
- Bring it together:
- Pour in the warm water and olive oil, then stir with your wooden spoon until you see shaggy dough forming. It will look messy at first, which is exactly right.
- Knead until smooth:
- Turn onto a floured surface and fold, push, and turn the dough for 8 to 10 minutes. You will feel it transform from sticky to smooth and springy under your hands.
- Let it rise:
- Place in a greased bowl, cover with a damp cloth, and find the warmest corner of your kitchen. Walk away for an hour and let time do its work.
- Shape your loaf:
- Punch down gently to release air, then form into a round ball. Tuck the edges underneath to create surface tension.
- Prep your pan:
- Generously grease your skillet with olive oil, including the sides. This prevents sticking and adds flavor.
- The first cook:
- Place dough in the center, cover tightly with that lid, and cook on the lowest possible heat for 15 minutes. Keep an eye on it, every stove runs differently.
- Flip and finish:
- Carefully turn the bread over, cover again, and cook another 12 to 15 minutes. Tap the bottom and listen for that hollow sound that tells you it is done.
- Rest before slicing:
- Let it cool on a wire rack for at least 15 minutes. Cutting too soon will release all the steam and make the bread gummy inside.
 Pin this
 My daughter now asks for skillet bread by name, crowding the stove and watching through the glass lid like it is television. She has learned to recognize the hollow tap sound better than I do, and has started suggesting herbs and additions based on what we are having for dinner. Something about making bread this accessible has given her this confidence that she can cook anything.
Getting The Heat Right
Every stove is different, and the lowest setting on a gas burner might be hotter than the lowest on an electric coil. I have learned to start with the dial at its absolute minimum and adjust slightly after the first five minutes if nothing seems to be happening. The bottom should develop a deep golden color gradually, not quickly. Think slow toast, not fast frying.
When To Flip
The flip takes courage because you are turning over something partially cooked and hoping it holds together. I use a thin metal spatula and work quickly but gently. The first side should be firm enough to maintain its shape, and the raw top will settle into the hot oil immediately. If you are nervous, practice the motion before the bread hits the pan.
Storing And Reheating
This bread really does shine brightest the same day it is made, when the crust is at its most dramatic and the interior still feels alive. That said, I have successfully revived day old slices with a quick trip back to a buttered skillet over medium heat. The crust regains its crunch and the interior softens beautifully, almost like the first time around.
- Store in a paper bag if you have one to maintain the crust
- Avoid plastic bags which make the exterior soft and sad
- Day old bread makes excellent croutons or breadcrumbs for another meal
 Pin this
 There is something profoundly satisfying about making something so essential with such basic equipment. Start to finish in under two hours, and you have transformed five ingredients into something that makes your house smell like home.
Recipe Questions & Answers
- → Can I make this without a skillet?
-
Any heavy-bottomed pan with a tight-fitting lid works well. Cast iron, Dutch oven, or thick stainless steel pans distribute heat evenly for consistent results.
- → How do I know when the bread is done cooking?
-
The bread should sound hollow when tapped on both sides, and the surface should be golden brown. If unsure, insert a toothpick into the center—it should come out clean without dough sticking.
- → Why does my bread burn on the bottom?
-
The heat might be too high. Use the lowest flame setting and check periodically. If using an electric stove, consider using a heat diffuser or place the pan on a smaller burner to reduce direct heat intensity.
- → Can I add other ingredients like cheese or garlic?
-
Absolutely. Mix shredded cheese, minced garlic, or dried herbs into the dough during the initial mixing phase. Just keep additions to about ¼-½ cup total to maintain proper dough structure.
- → How should I store leftover bread?
-
Wrap tightly in plastic or place in an airtight bag at room temperature for up to 2 days. For longer storage, slice and freeze for up to 3 months. Reheat in a warm skillet or toaster to restore freshness.
- → Can I use whole wheat flour instead of all-purpose?
-
You can substitute up to half the all-purpose flour with whole wheat. Keep in mind whole wheat absorbs more liquid, so you may need to add an extra tablespoon or two of warm water to achieve the right dough consistency.
