 Pin this
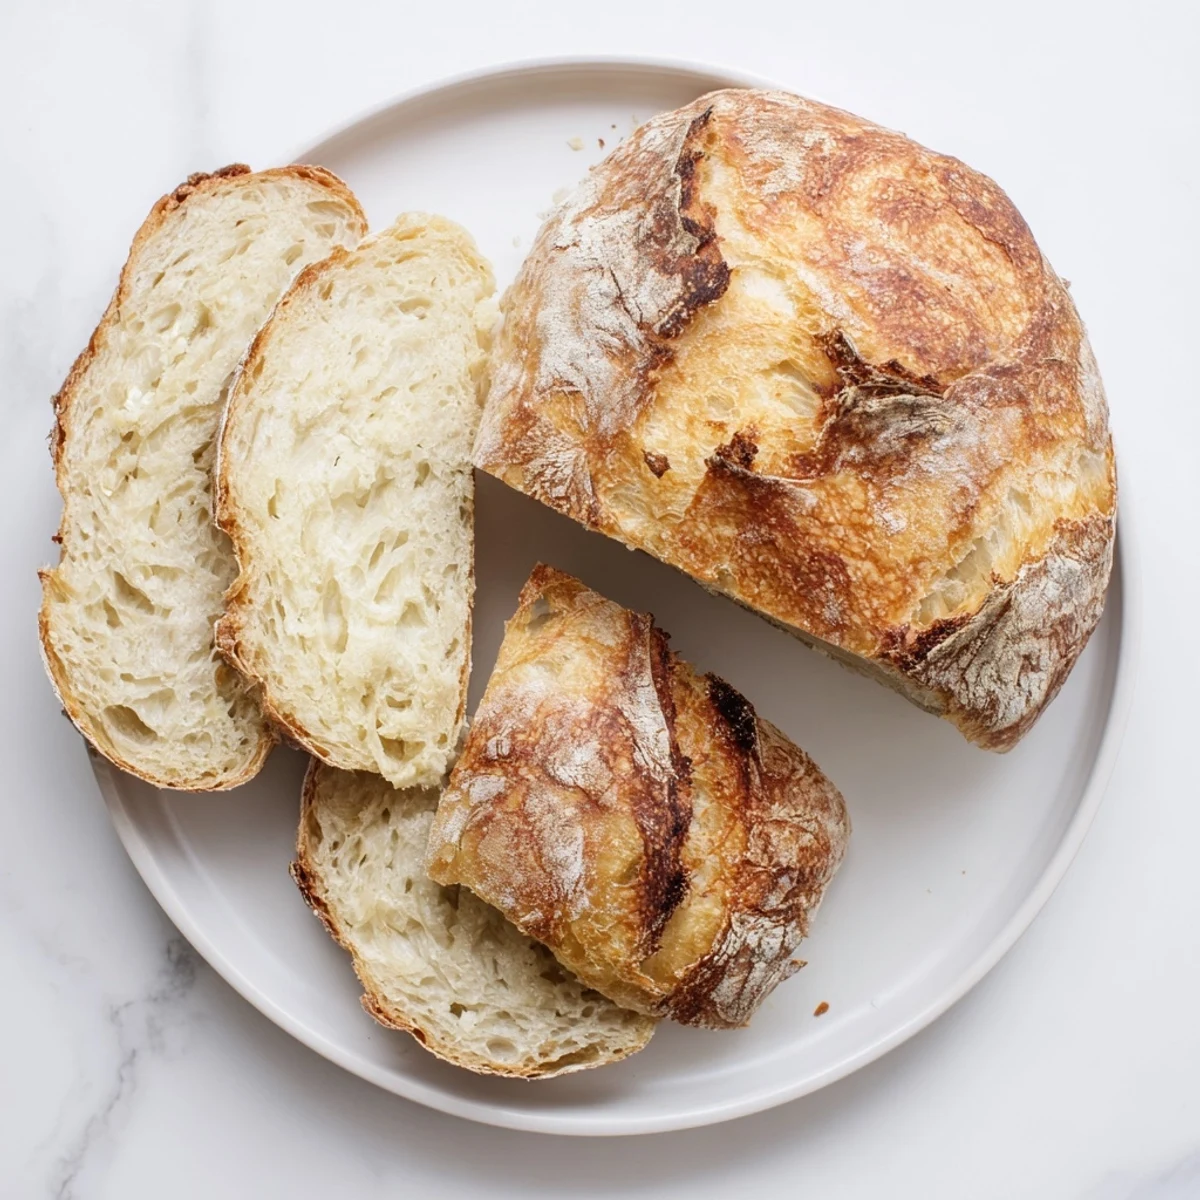
 Master the art of rustic bread baking with this straightforward technique that delivers professional results. The dough develops deep flavor through an extended fermentation period, creating those signature air pockets and chewy texture found in European bakeries.
Baking in a preheated Dutch oven generates steam, producing the signature crackling crust that shatters beautifully when sliced. This versatile loaf complements everything from hearty soups to morning toast, and keeps well for days.
The winter my apartment radiator broke and sat at a steady 62 degrees was the winter I finally cracked the code on this bread. That cool drafty kitchen turned out to be the perfect proving ground, and Id wake up to find the dough had bubbled up overnight like it was ready to tell me secrets. Now I keep making it even with the heat fixed, because some discoveries are worth holding onto.
My roommate walked in while I was pulling this loaf from the Dutch oven that first time, steam curling up in the winter light, and asked if Id secretly enrolled in culinary school. The truth was I had barely done anything but stir some flour and water the night before. Sometimes the best recipes are the ones that humble you with how little effort they actually require.
Ingredients
- All-purpose flour (3 cups/375 g): Bread flour would make it chewier, but I love the tender crumb regular flour gives, plus its probably already in your pantry
- Salt (1 1/2 teaspoons): Dont be tempted to reduce this, salt is what keeps the wild fermentation in check and actually develops flavor
- Instant yeast (1/2 teaspoon): Such a tiny amount for such a long rise, which is exactly what creates that complex, slightly tangy taste
- Lukewarm water (1 1/2 cups/360 ml): Think bathwater temperature, too hot and youll shock the yeast, too cold and it will take forever to wake up
Instructions
- Mix the dough:
- Dump the flour, salt, and yeast into a large bowl and give them a quick stir so the salt doesnt get too friendly with the yeast in one spot, then pour in the water and mix until everything comes together into a shaggy, sticky mass
- Let it rest overnight:
- Cover the bowl with plastic wrap or a clean kitchen towel and walk away for 12 to 18 hours, letting time do all the work of developing those beautiful air pockets and flavor
- Shape the loaf:
- Turn the dough out onto a lightly floured surface, gently fold the edges toward the center to create tension, and shape it into a rough ball before placing it on parchment paper
- Preheat your pot:
- Put your Dutch oven or heavy lidded pot in the oven and crank it to 450°F (230°C) for at least 30 minutes because that preheated vessel is what creates the spectacular crust
- Bake with the lid on:
- Carefully lift the parchment paper and dough into the searing hot pot, cover it immediately, and bake for 30 minutes to trap steam and create that oven spring
- Finish with color:
- Remove the lid and let the bread bake for another 10 to 15 minutes until the crust turns a deep golden brown that sounds hollow when you tap it
- Cool completely:
- Let the loaf rest on a wire rack for at least 30 minutes because slicing into hot bread will ruin the texture you just spent all day creating
 Pin this
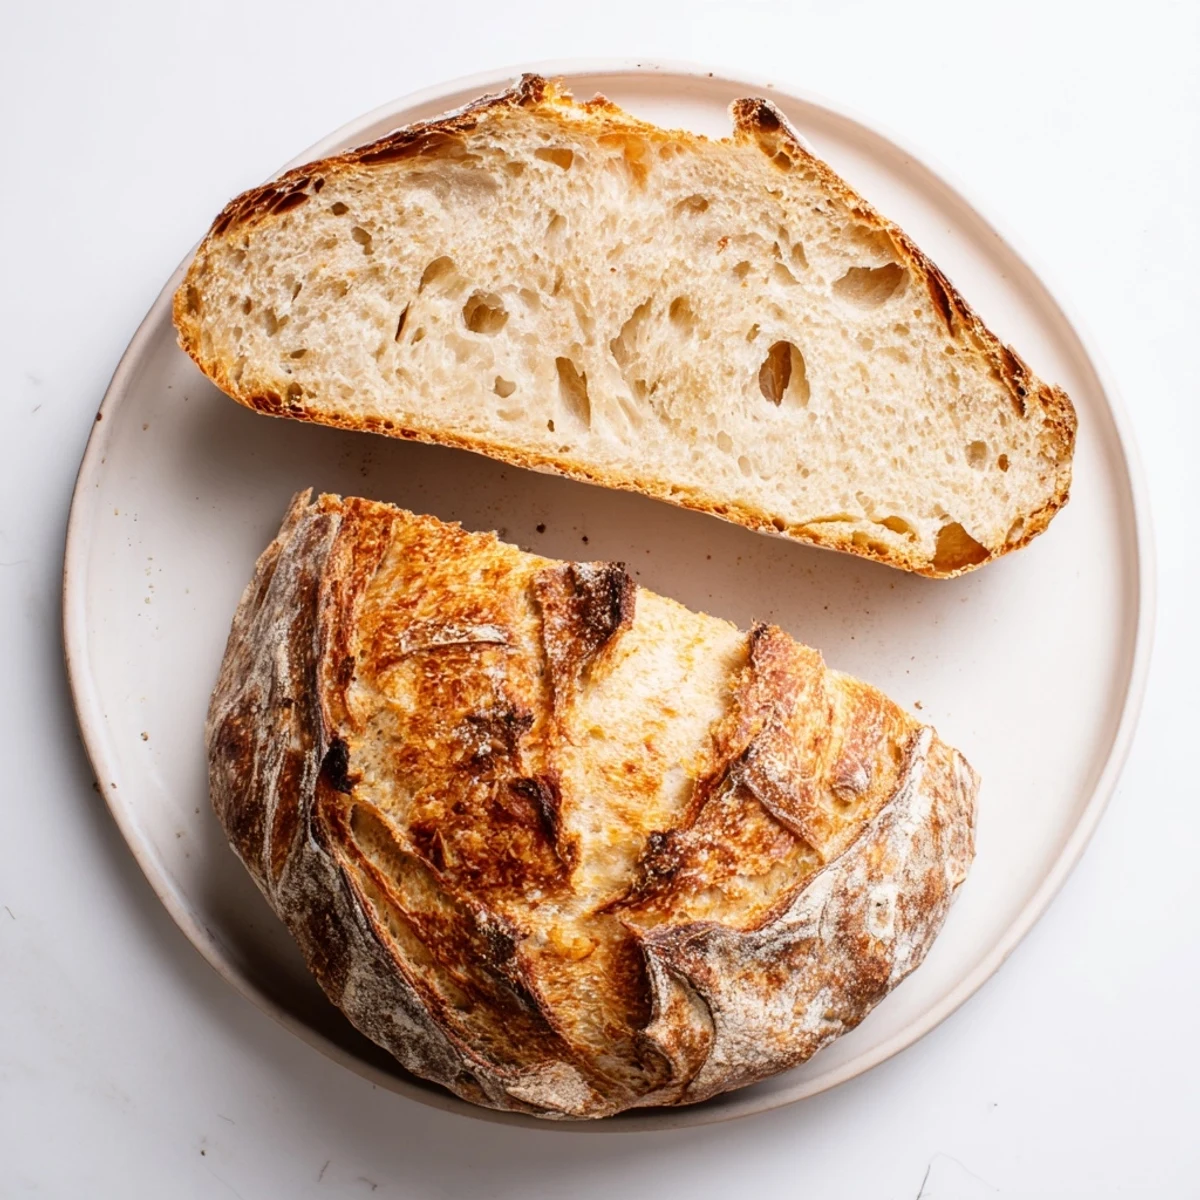
 This bread became my go-to during that long winter, appearing on the table alongside simple soups or just toasted with melting butter for breakfast. Something about making it with so little effort but getting such spectacular results felt like having a secret weapon in the kitchen.
The Dutch Oven Secret
That heavy pot with a lid is doing something professional bread bakeries achieve with steam injection ovens, creating the perfect environment for oven spring. The trapped steam keeps the crust soft initially, allowing the bread to expand dramatically before hardening into that crackling shell.
Temperature Matters More Than You Think
Cold kitchens will slow down your fermentation, while warm spaces might speed it up too much. I learned to trust the bubbles and doubled size more than the clock, because every kitchen has its own microbial personality that affects the timing.
Making It Your Own
Once you have the basic method down, this dough becomes a canvas for whatever you are craving. The variations that work best are folded in during that initial mix, letting the flavors meld and deepen throughout the long overnight rest.
- Try folding in chopped kalamata olives and rosemary for a Mediterranean twist that pairs perfectly with hummus
- Roasted garlic cloves get sweet and mellow after hours in the dough, creating pockets of intense flavor
- Chopped fresh herbs like thyme or sage work beautifully, especially when serving alongside hearty soups
 Pin this
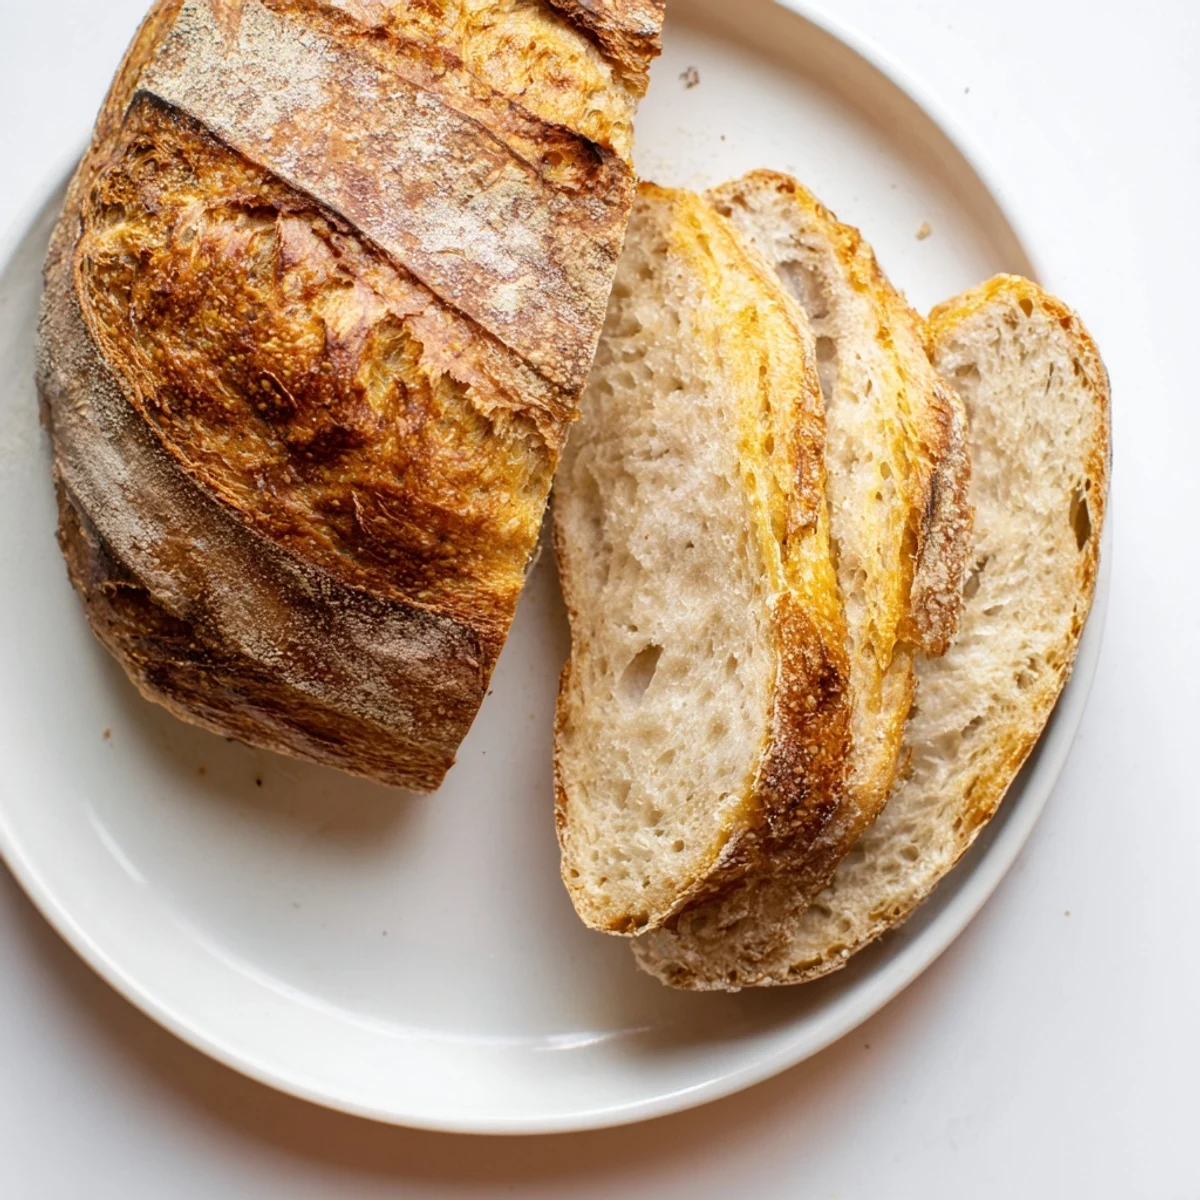
 There is something profoundly satisfying about serving homemade bread that required almost no active work but delivers such impressive results. This recipe taught me that sometimes the best cooking is really just good timing and a little bit of faith.
Recipe Questions & Answers
- → Why do I need a Dutch oven?
-
A Dutch oven traps steam during baking, creating the ideal environment for a crackling, golden crust to form. The heavy, lidded pot mimics professional steam-injected ovens, resulting in that signature artisan bakery appearance and texture.
- → Can I use regular yeast instead of instant?
-
Yes, active dry yeast works perfectly. Just dissolve it in the lukewarm water first for about 5 minutes until foamy, then proceed with mixing the dough. The fermentation time remains the same.
- → Why does the dough need to rise for so long?
-
The extended 12-18 hour fermentation develops complex flavor, breaks down gluten for better texture, and creates those desirable airy pockets inside the crumb. This slow rise is what gives artisan bread its characteristic taste and chewiness.
- → How do I know when the bread is done baking?
-
The crust should be deep golden brown, and when you tap the bottom, it should sound hollow. An instant thermometer inserted into the center should read between 200-205°F (93-96°C). The crust will also crackle as it cools.
- → Can I add mix-ins like herbs or cheese?
-
Absolutely. Fold in chopped olives, roasted garlic, fresh rosemary, thyme, sun-dried tomatoes, or grated cheese during the final shaping step. Just keep additions to about ½ cup total to maintain the dough's structure.
- → How should I store this bread?
-
Keep at room temperature wrapped in a cloth or paper bag for up to 2 days. For longer storage, slice and freeze in an airtight bag. Avoid plastic bags which can make the crust soft. Refresh stale slices in a 350°F oven for 5-10 minutes.
